A sticky header will stay at the top of the page and scroll down or up with the browser. It has become more popular, and many websites are transforming their regular header into sticky ones.
Elementor, one of the most versatile page builders plugins for WordPress, enables us to build a sticky header quickly.
In this article, you’ll learn how to create a sticky header with Elementor.
Why Create a Sticky Header
Elementor is now one of the most popular WordPress page builders plugins, and for a good reason.
Equipped with their theme builder feature, we can build great headers, footers, and sidebars in a breeze without any coding skills.
Page headers are one of the most critical sections of your website. It contains links and helps your visitors easily navigate your site pages.
The header appears at the top of the document and disappears from view when scrolling down the page. On the other hand, a sticky header stays visible on sight view even while scrolling down.
A sticky header will make the site navigation and the user experience way more manageable because it will keep the menus’ links visible at all times.
When the header links are invisible, there is a higher chance of navigating away from your website.
However, keeping the header at the top will increase the opportunity to click on the links and spend more time on your website. As a result, it will also improve the time on page parameter tracked by Google Analytics.
How to Make a Sticky Header with Elementor
Elementor is a very flexible page builder with many options to edit and design every page section. The header is one of the sections that we can edit.
We can use the theme builder feature of the Elementor pro to create and display a header on our website.
Step #1: Edit the header template
If you don’t already have a header, you’ll need to create one. Therefore, navigate to Templates -> Add New and create a new header.
If you already have a header (which I assume you do), navigate to Templates -> Theme Builder -> Header and click on Edit with Elementor.
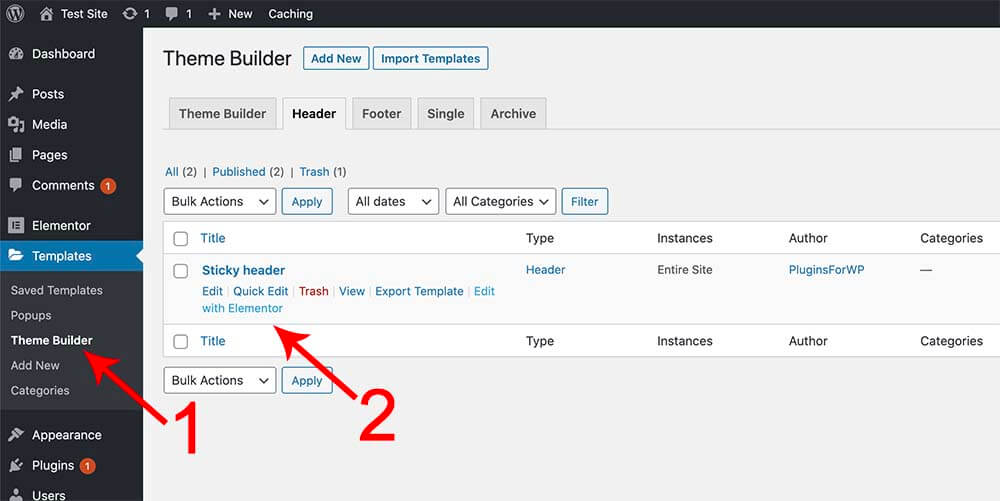
Once the visual editor is loaded, we can move forward to set it up.
Step #2: Enable the sticky feature
Click on the setting of the section you want to target and navigate to the Advanced tab.
Then, expand the Motion Effects option, and change the sticky field to the top choice.
Under the Sticky On field, decide which devices the header will be sticky on. The default is set to all devices, but you can remove any device based on your needs.
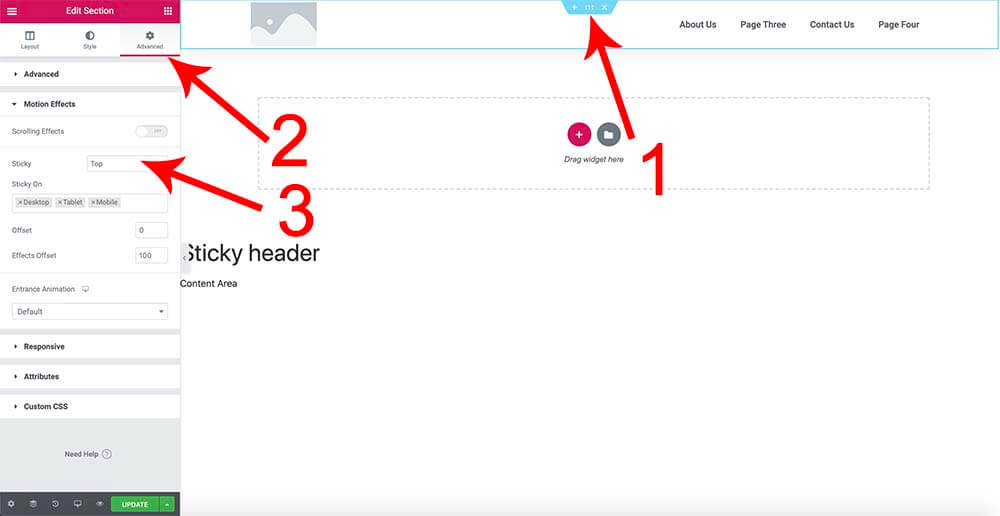
Once done, update the changes and move on to the next step.
Step #3: Test the header
If done correctly, the header should stick to the top and scroll down or up with the window.
Navigate to any page that triggers the header and ensure it’s scrolling down the page.
Most times, that did the trick, and your job is done. Sometimes, however, the sticky header will not function as expected, and we need to fix it.
Troubleshooting for Sticky Headers
After creating a sticky header, you may notice some problems with it. Here are a couple of the most common issues that may happen:
- The sticky header is transparent with no background color.
- The header is hidden behind the content.
Don’t worry. Both problems are easy to fix. Let’s start with the first one.
Fix the transparent header without a background-color
That usually happens when the header background color is white, but you did not define it to be while. It is a transparent color, and the default color of the body tag is the color you see, as we discussed in our making a transparent header tutorial.
To fix this issue, you’ll need to define and set the background color of the header to have a color as well. Thus, under the Style tab of the header, set the background to solid or gradient and pick your desired color.
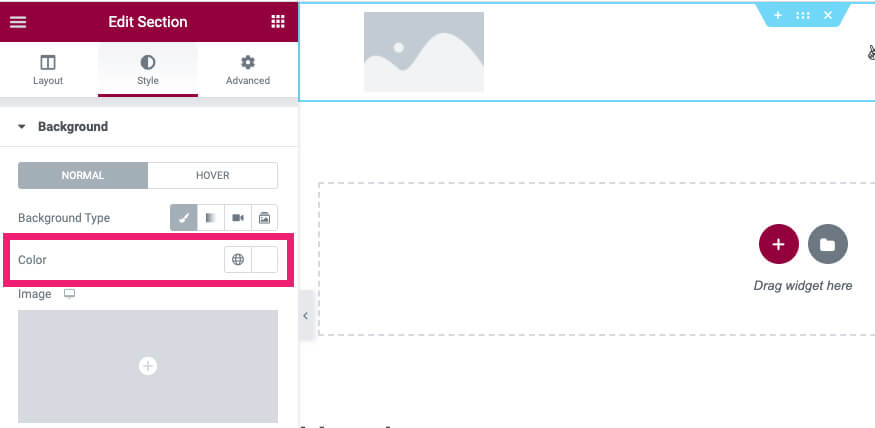
Once saved, the header will be visible over the other sections behind it and won’t blend in.
Fix header hidden behind the content
Another common issue is that the other sections cover the header when scrolling down the page.

That happens because the other elements have a higher z-index. To fix that, we will need to increase the z-index value of the header section.
The z-index property in CSS controls the vertical stacking order of elements that overlap.
css-tricks.com
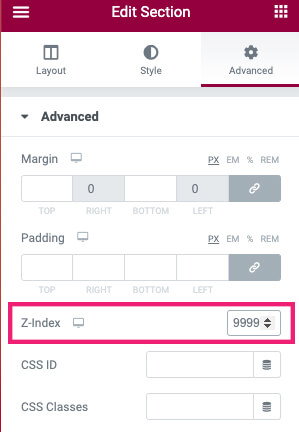
Navigate to the Advanced tab of the header, fill the Z-Index field with the 9999 value and save the changes. If you don’t see any difference, increase the number by adding another 9 to 99999.
Add Effects Offset to the Header
A tall header can take a large portion of your screen view and bother the readers of your website. The goal of a sticky header isn’t to take the focus off your content but to help your visitors to navigate easier.
In those cases, you’ll need to adjust the size of the header in its sticky mode. You’ll need to inspect some parts of your title and modify their values to create the correct result.
Let’s take Kinsta, for example. 100px after scrolling down the page, their header shrink and is painted with a white background color.

To achieve similar results, open the Advanced tab and set the effects offset option to 100 (or any other number).
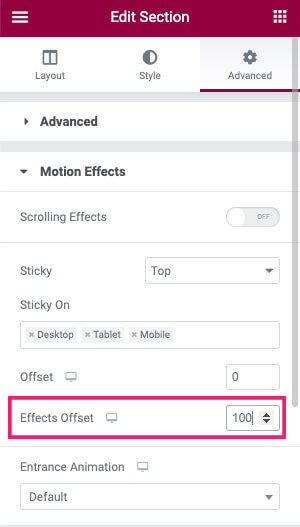
By doing so, Elementor will add a class called --effects to the header section every time you’ll scroll below the entered number (100px in our case).
We must apply the styles we want for the --effects class based on what we want to achieve.
For example, we’ll need to inspect which elements to change or adjust to resize the header.

In our header, we have two columns. Our website logo is on the left, and the menu is on the right.
When we inspect the logo image, we can see that the default width of the logo is 120px. Because the header takes the height of his child elements, we will need to change the size of the elements.
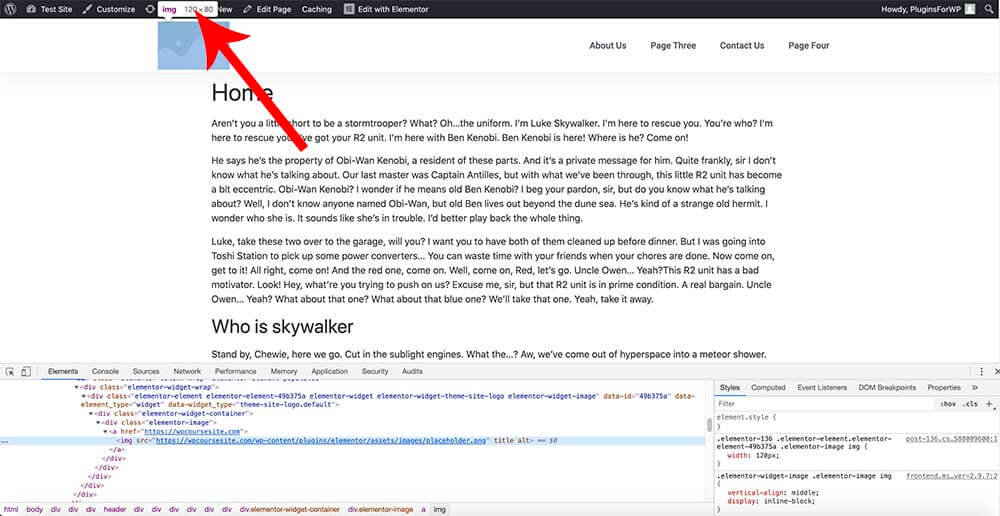
Images keep an auto ratio between width and height, so changing the image’s width will change the size simultaneously. Therefore, we can change the width of the image to 90px for the --effects class and the height will decrease as well.
Style the elements with CSS
To add custom CSS to the Elementor header section, click on the Custom CSS option under the Advanced tab. To target the current selection, we will need to use the selector along with the child section class.
In our example, because we want to target the logo image of the header section, we will use the following:
selector.elementor-sticky--effects img {
width: 90px;
padding: 5px;
}
The code above will work only when the --effects class was triggered and will reduce the image width and height sizes. However, adjusting the logo isn’t enough, and we should also change the links.
Inspecting the menus’ links reveals that their heights are set by the top and bottom padding and are 35px each. That is why changing the image size by itself isn’t enough. Thus, changing the menu items’ top and bottom padding will adjust the header’s height.
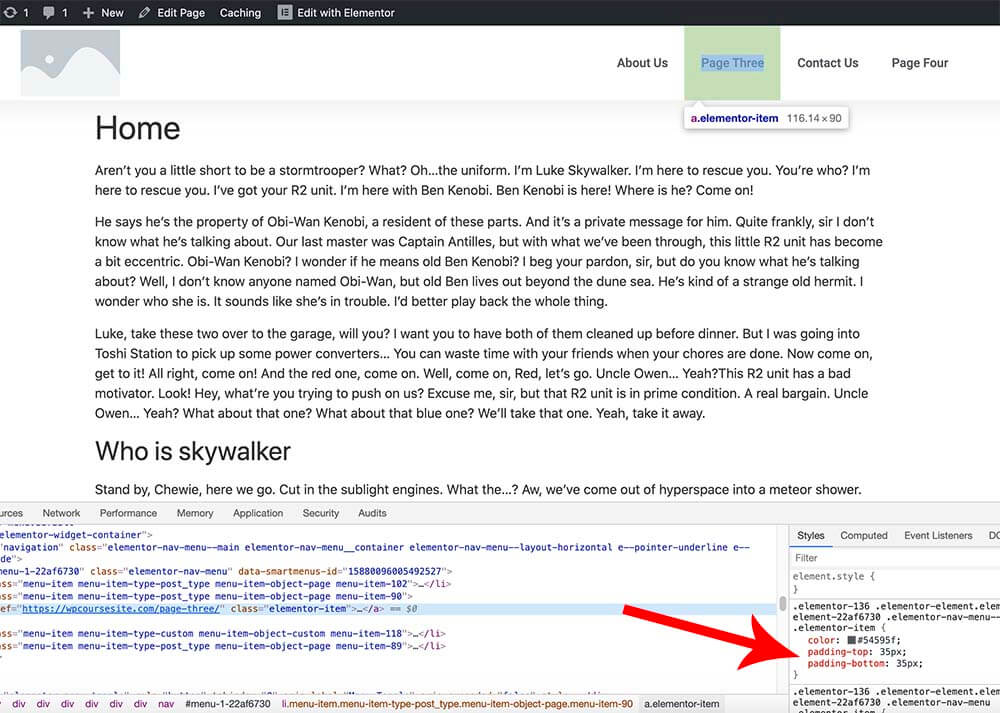
To do that, we can use the following:
selector.elementor-sticky--effects .elementor-nav-menu--main .elementor-item {
padding-top: 20px;
padding-bottom: 20px;
}
That will reduce the top and bottom padding of the links from 35px to 20px.
Changing the logo size and links will adjust the header’s height and display the desired result.
To smooth the height transition of the elements, we can use the values below:
selector > .elementor-container {
transition: all 1s;
}
The adjustments above will work for most scenarios, but it’s not guaranteed to work for all. Try it with your header first. If it doesn’t work, inspect and find which elements define your header’s height and modify them.
Additional Sticky Header Options
There are multiple various ways to improve your Elementor sticky header, and here are some of them:
- Make it a transparent header.
- Change the background color on the scroll.
- Add a bottom border.
- Shrink it down.
- Shrink and change the logo.
- Blur the background color.
- Display the sticky header when scrolling up.
Using Elementor to create a simple sticky header is an easy task. Adding the extra styling options, however, like CSS or JavaScript, is for more advanced users.
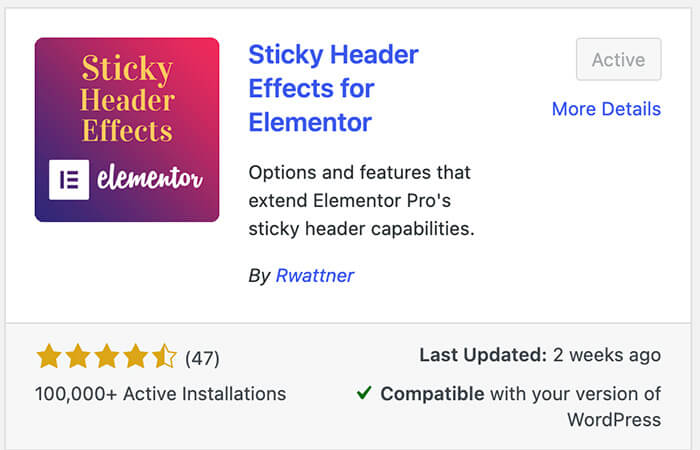
Luckily, there is a great plugin that will enable us to do all the options above without adding any custom codes.
Thus, from your WordPress website, navigate to Plugins -> Add New, and install the Sticky Header Effects plugin.
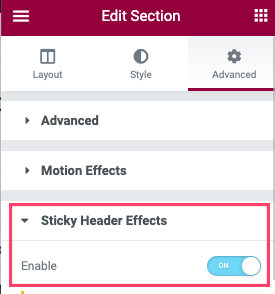
Once activated, edit your header template with Elementor and move to the advanced tab of the header section.
Expand the new sticky header effects tab, and toggle the checkbox option to on.
For some of the options to work flawlessly, verify that the Scroll Distance value of the Sticky Header Effects matches the Effects Offset number under the Motion Effect tab.
Then, toggle your desired sticky effect to on and go through the different setting options of it.
Transparent header effect
The transparent header option is useful when you would like the header to adopt the background color or image of the section behind it.

Initially, enabling the transparent option will add the CSS property position: absolute to the header section and will jump the section below it to the top of the page.
That will create an illusion that the header and the section below it are one and will look good.
Keep in mind that when enabling this option, the menu link’s colors should be different than the background color of the rear section.
You can also explore additional ways to create these effects by reading our Elementor and transparent header article.
Changing background color on scroll
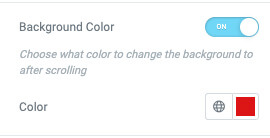
When enabling the background color option, you’ll be able to assign a different color to the sticky header once it reaches the set scroll distance value.
Once enabled, click on the color square and choose a different color for the sticky header.
You may not see the effect working when testing inside the header template. Therefore, save the changes and try it once again on the live website.
Shrinking header effect
Often, when creating a sticky header, it will be wise to shrink it when scrolling down. Doing so will make sure that the header is still available on view but doesn’t harm the user’s experience.
Once enabling the Shrink Header effect, drag the bar to the desired number to set its new height after it enters its sticky phase.
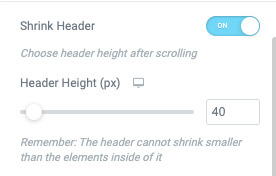
Remember that header cannot shrink smaller than the elements inside of it. If the shrink effect doesn’t work, you’ll need to adjust the header’s elements height like changing the logo size, links sizes, etc.
Please remember to save the changes inside the visual editor first and then test the shrinking effect on your live site.
Sticky header on scrolling up
The hide header on scrolling down is one of my favorite options. Enabling this option will hide the header if scrolling down and show the sticky header when scrolling up.
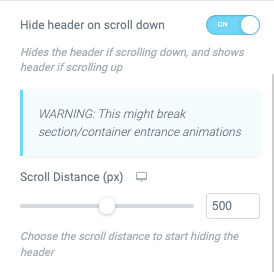
The logic behind this sticky behavior is to minimize the interference for your visitors when they’re browsing through your content.
Most likely, when scrolling down the page, the content to be revealed to your visitors is new, and they should better pay attention to it.
However, when scrolling up, the visitors are trying to get to the navigation links to explore other pages on your website.
Sticking the header when scrolling up will shorten this process and save your visitors valuable time.
Conclusion
In this article, you learned why and how to make a sticky header with Elementor.
If you have any questions or want to get specific CSS for the theme you’re using, please leave us a comment down below.
Also, make sure to subscribe to our YouTube channel and like our page on Facebook.