Tables are the best way to organize and display content on your website.
Although Elementor doesn’t come with a default table widget, it is still possible to create tables with Elementor.
In this article, you’ll learn how to create tables with Elementor.
Create Tables with Elementor
In this article, I’ll show you two ways how to create a table with Elementor. The first way is by generating one online and using the default HTML widget, and the second way is by using a dedicated table widget.
Start with the first one by generating a table with an online tool.
Generate the Table Online
If you already know how to create an HTML table, you can use a text or code editor and make it yourself.
However, if you don’t know how to or prefer to do it quicker, we can use an online table generator.
Build the Table Structure
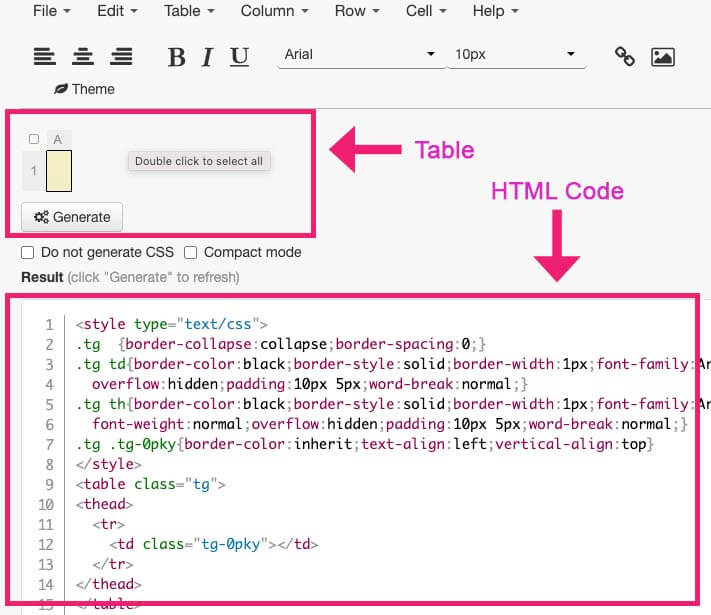
First, navigate to this online table generator tool.
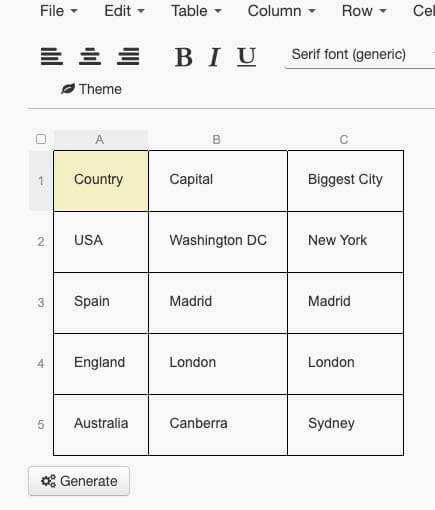
You can see what your table looks like on the top side, and on the bottom, you can see the HTML code.
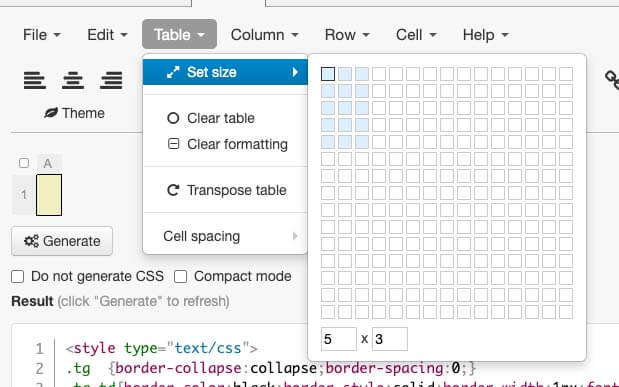
Then we will need to add additional columns and rows based on the data we would like to display. Click on the Table tab -> Set Size and choose the number of cells.
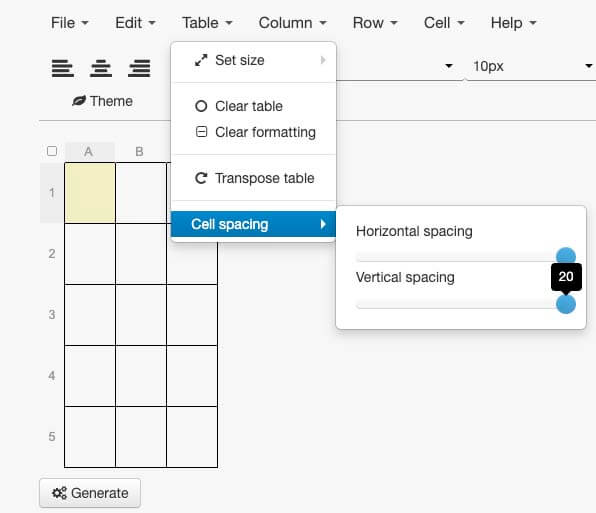
Make the cells spacious by going to Table -> Cell Spacing and increase both the vertical and horizontal values based on your needs.
Once the table frame is ready, we can move forward and fill in the data.
Populate the Table’s Cells
In this step, we will enter the content into the table.
Double click on any table’s cells and type in the content you want to display. The cells’ width will expand to fit the range and look good when finished.
Once you populate the table with the right content, we can move forward and style the cells.
Style the Cells
We are almost done creating our table. All we have left is to style the table first and generate the HTML code afterward.
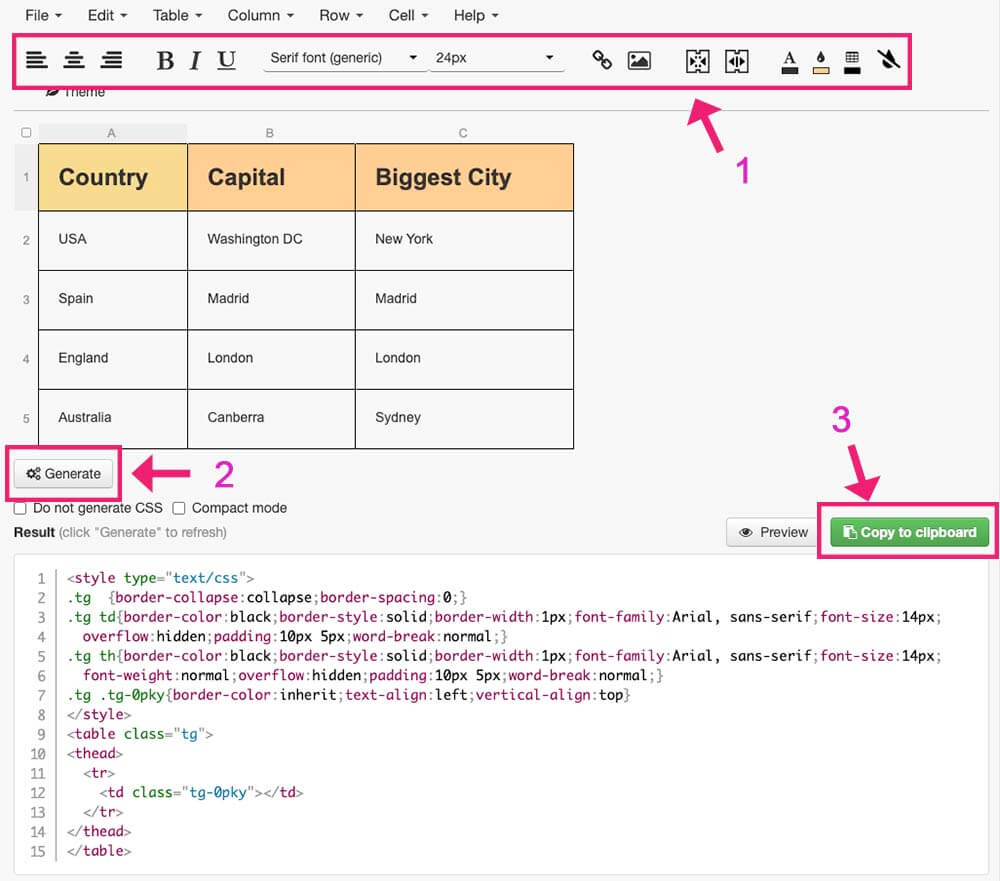
Please go through the different styling options offered for us to use. You can enlarge the width of the columns by dragging them to the right and away from each other.
You can also apply a background color or change the text color by marking the desired cells and using the appropriate top toolbar.
Once satisfied, click on the Generate button and copy the HTML code.
Last, we must paste the HTML code inside the default Elementor HTML widget.
Insert the HTML
Inside the Elementor editor screen, drag the HTML widget from the left side to your desired section on the right.

Then, paste the code you generated inside the box on the left. Once you do, the table will be displayed immediately on the right side.
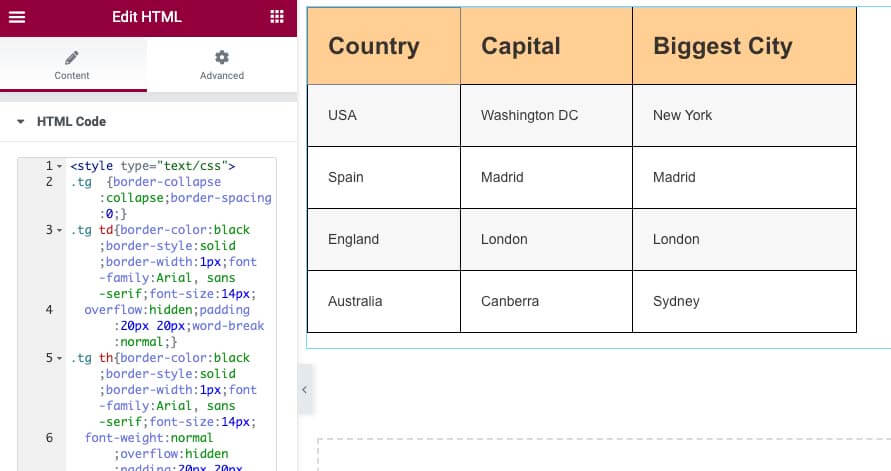
Great job, you created a beautiful table with Elementor by yourself.
Although it’s a relatively easy and quick process, you may prefer even an easier way to do it. The good news is that there is an easier way by using an Elementor widget.
Use a Table Widget
Elementor does not have a widget to create tables out of the box. That being said, we can still use an addon plugin to add a table widget.
Install the Addon
First, we need to download an addon plugin that contains a table widget and add it to the Elementor library.
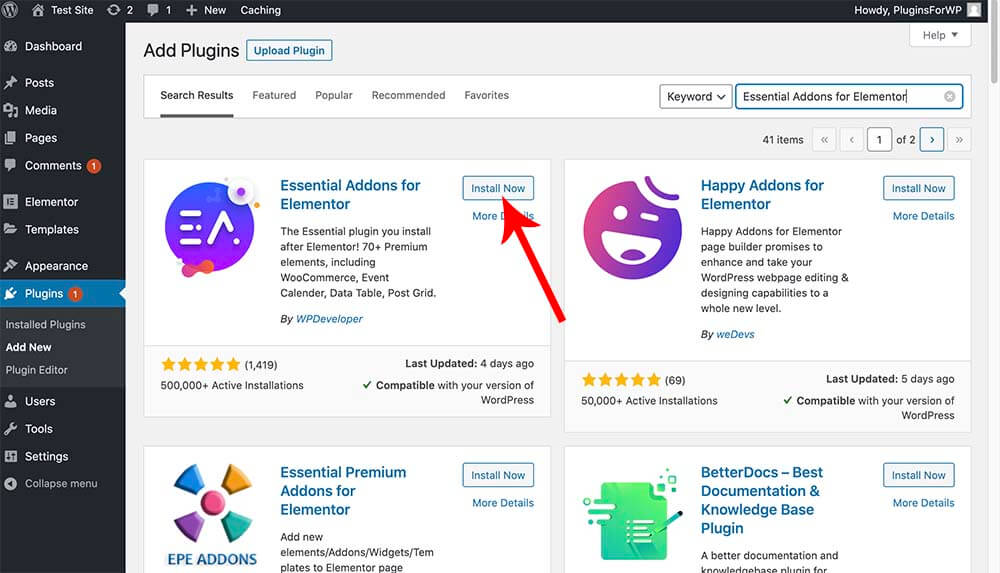
Inside WordPress, navigate to Plugins -> Add New, search for Essential Addons for Elementor, install and activate it.
Edit with Elementor
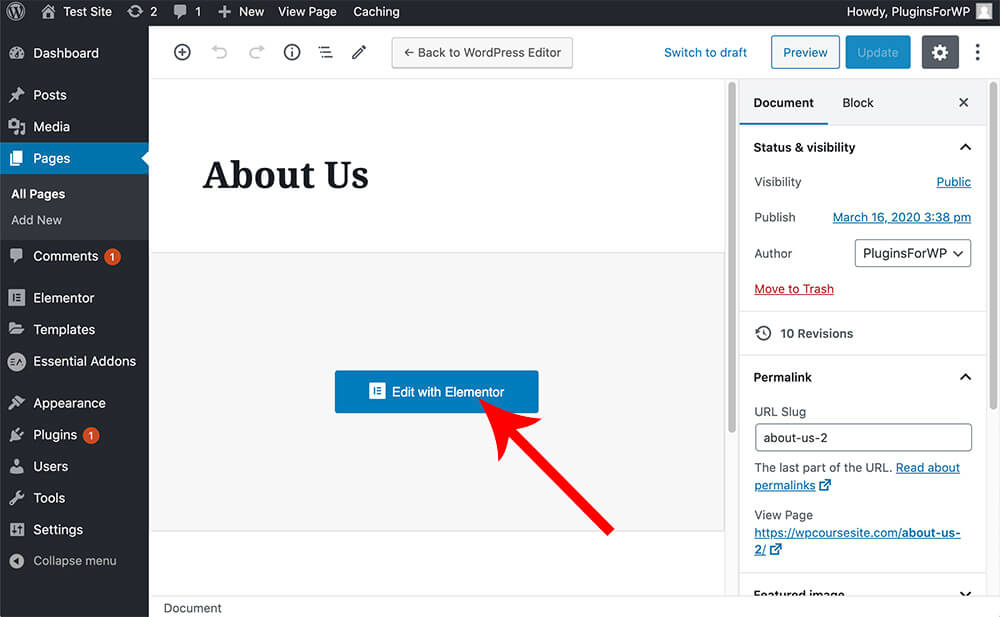
Once activated the plugin, edit your desired page with Elementor.
All the new Essential Addons for Elementor widgets were added to the left sidebar.
The table widget is part of the free version of the plugin. But, you’ll see many locked widgets that are part of the pro version. You can buy the pro version from the official website or us for only $4.99.
Use the table widget
Look for the Data Table widget and drag it to the desired section.
Like any other Elementor widget, use the content, style, and advanced tabs to edit the widget.
We should focus on two tabs, the header, and the content.


Let’s start with the table’s header.
The table’s content
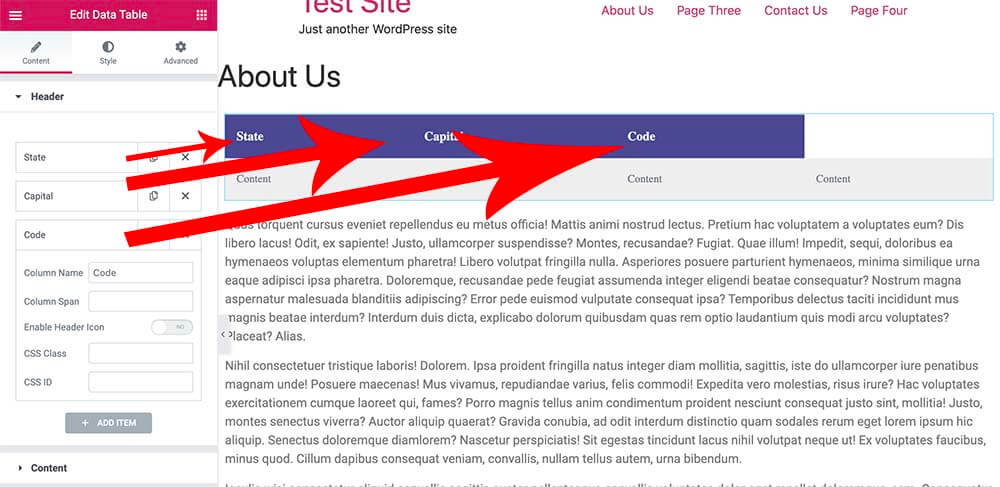
The header
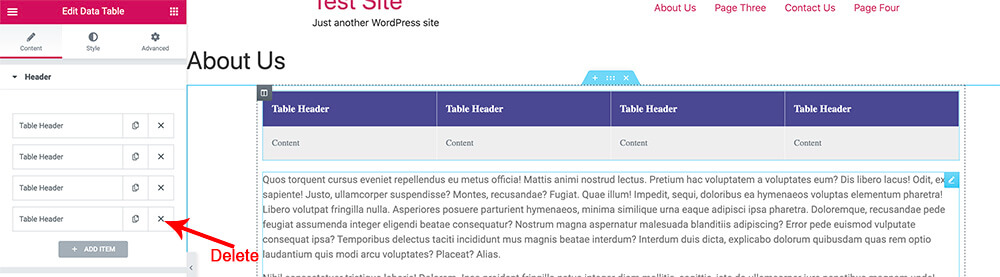
The widget contains one header that includes four cells.
Adjust how many cells to display on each row by adding or deleting the elements on the left.

In our example, we will build a table with a few USA states’ names, capital, and state code, using three columns.
Thus, we can delete one header cell from the left and leave only three.
Once deleted, only three cells are left in our header.
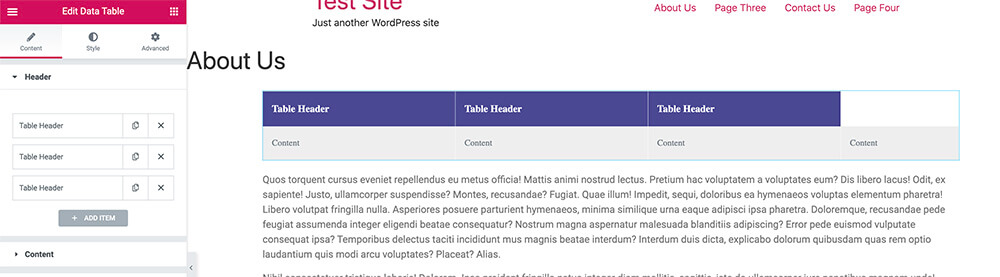
Now, all we have left to do is to change the header names like so:
- Left column – state name.
- Middle column – capital name.
- Right column – state code.
Once we are satisfied with the header, moving forward and handling the content is a great time.
The body
If the table came pre-loaded with four columns, why do we see five elements instead of only four?
Also, the first element starts with a row, and all the elements that go beneath it start with col.
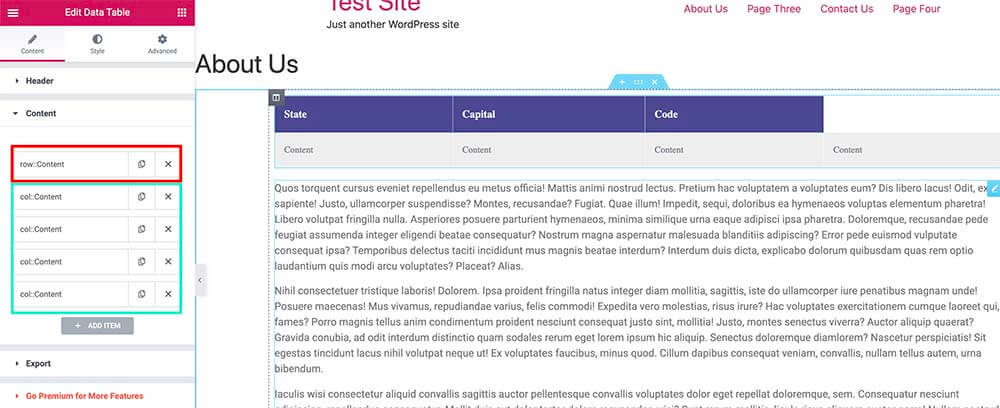
The answer to the above questions is simple. When building a table, the first element is the row containing all the columns (col) inside it.
Imagine the row element as a horizontal line and all the column elements as vertical. Thus, we should start building the content with a row and add all the cells (col) under the row.
In our example, we decided to create three columns table instead of four, so let’s delete one of the col elements.
After deleting one of the col elements, our table got straightened up again and thus looks incredible.

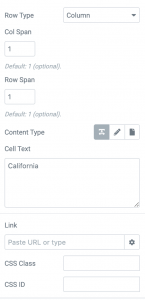
Like we did we the header, we can change and edit the text of each of the col cells.
Click on one of the col elements to expand and edit the text. You also can add a link, class, or ID.
As shown above, we added our first row, and it started to look good. It’s a great time to add a couple more rows.
We must start every table row with a row element, as mentioned earlier. Therefore, to create a new row, we will click on Add Item and set the Row Type to Row.
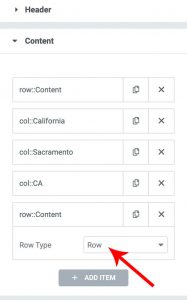
Add many column elements as desired under the row element.
We will add the New York state to the table body in the second row. We have a couple of options for displaying our data in this case.
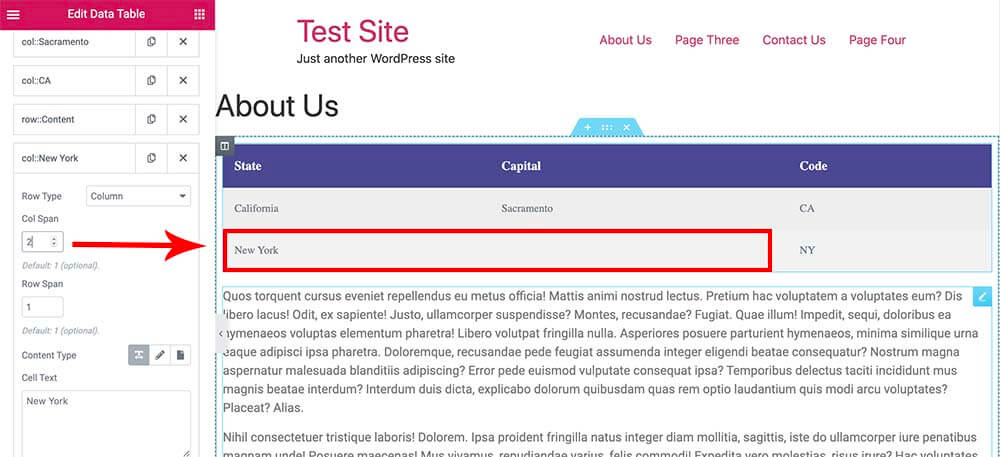
Merging tables’ cells
Like the first row, we can display the state and the capital in two different cells. But, because the state and the capital of New York are the same (for this example, pretend that it’s New York instead of Albany), let’s create one cell for them both.
To do that, change the col span option of the cell that you would like to expand to the number of the desired cells. In our example, it will be two.
Then, complete the table and add as many rows as needed.
Styling the Table
Style the table like any other widget of Elementor from within the Style tab.
In the Style tab, change any table color, from the head to the backgrounds, including text and link colors.
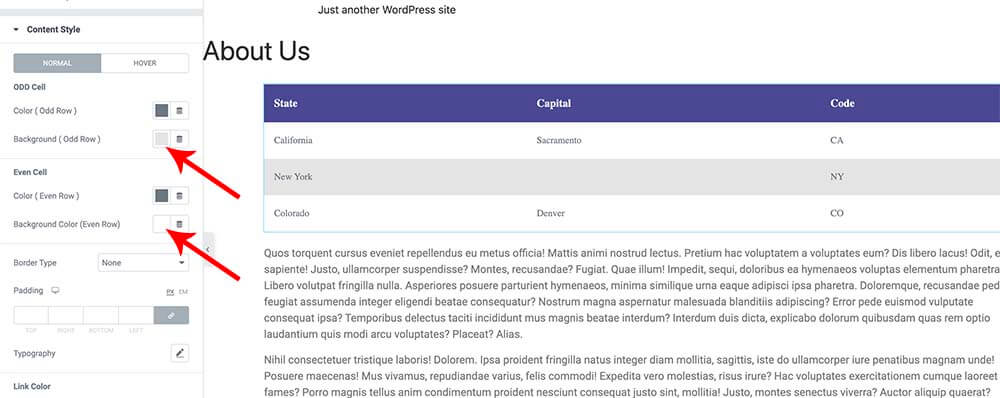
The best practice is to give odd and even rows different colors for easy reading.
Therefore, expand the Content Style tab and look for the background colors. Set background color to the odd row and a different color to the even row.
Feel free to play with the colors and change them as you wish. Elementor is very forgiving and easy to maneuver. Moreover, if you make a mistake, you can always reset and start from the beginning.
Additional Elementor Addons
Essential Addons is only one of many plugins that offer a table widget for Elementor. Here is a list of some of the best alternative extensions plugins for Elementor that I recommend you to try:
- The Plus Addons
- Ultimate Addons for Elementor
- Unlimited Elements
- Piotnet Addons
- Namogo Extras
- Element Pack
- Croco Blocks
- Essential Addons
- Premium Addons
The plugins above are fantastic and offer different widgets (including tables). You can get each of them from their official website or all of them from us.
Debating which plugin to use? Check out our unlimited download plans and download them all for a small fixed price.
Conclusion
In this article, you learned how to create tables with Elementor in two different ways.
Leave us a comment below if you have any questions, and let us know which one of the methods you used to achieve this task.
Also, make sure to subscribe to our YouTube channel and like our page on Facebook.