
A transparent header will have a see-through background color, so you’ll be able to see the section behind it.
You can easily create your website header with the theme builder feature of Elementor pro.
In this article, you’ll learn how to make a transparent header with Elementor.
What is a Transparent Header
The transparent header is the section at the top of the page and has a very light or no background color.
Transparent sections are in front of the other sections and will show their content. It’s a relatively new style that can be seen on many websites.

This new minimalistic look will blend smoothly with any page and transfer the focus to the hero section of the website.
That way, you won’t need to match the first section to the header’s style. Instead, the header will automatically adopt the section’s look behind it and will look like a single unit.
Make a Transparent Header with Elementor
Creating the transparent header is an easy process that you can do by changing the section’s settings and some simple CSS rules.
We have to remove the header’s background and then push the section behind it to the top of the page.
Step #1: remove the background
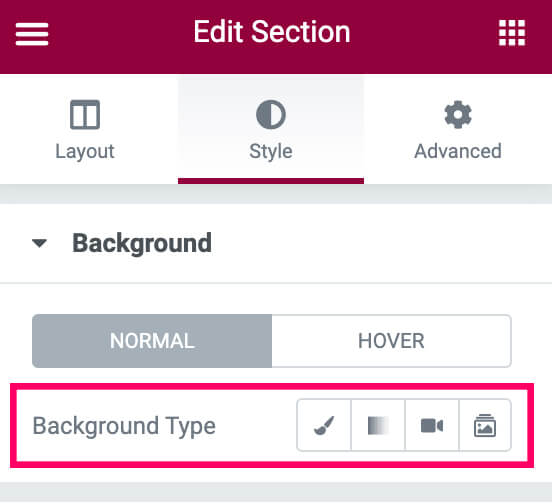
In the first step of the process, we need to remove any background color that the header may have.
Therefore, click on the header’s section, switch to the Style tab, and remove the header’s background color.
Step #2: prioritze the layer
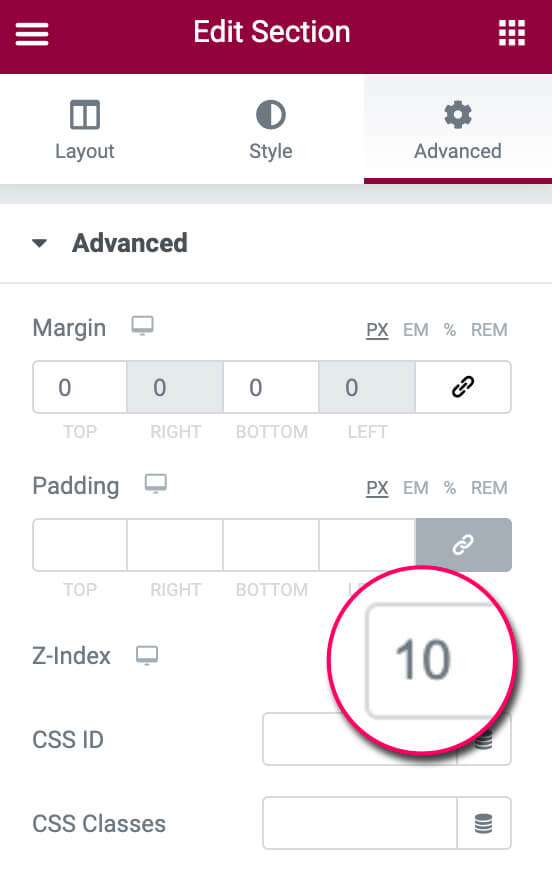
The z-index is a way to prioritize the layer’s order. The elements with the higher z-index value will be displayed on top of the lower-valued ones.
To ensure the header will be on top of the section behind it, we must give the title a sizeable z-index value.
While editing the header, move over to the advanced tab and increase the z-index property to 10.
Step #3: add custom CSS
We will add the custom CSS rules to make the header float on top of the other sections in this last step.
We’re asking the browser’s engine to position the content at the top of the page behind the header.
Under the advanced tab, expand the custom CSS option and paste this code:
selector {
    position: absolute;
    width: 100%;
    top: 0;
    left: 0;
}
After pasting the code, publish the template and revisit one of your website’s pages to view the changes.
See-through background-color
Another option is to paint the header with a light opacity background color to match your brand’s colors.
Instead of removing the background (step #1), choose the desired color but lower the opacity.
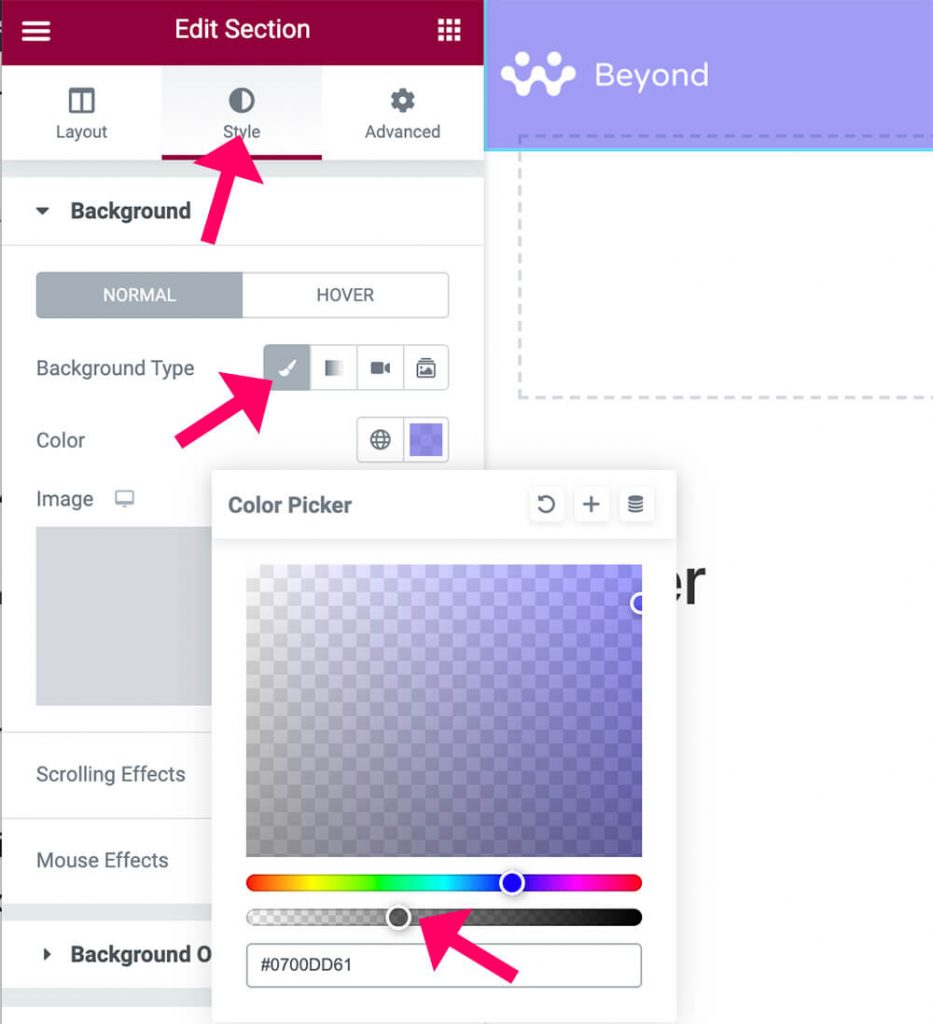
Thanks to the low transparency number, the section behind the header will be visible.
Step #4: Add top padding (optional)
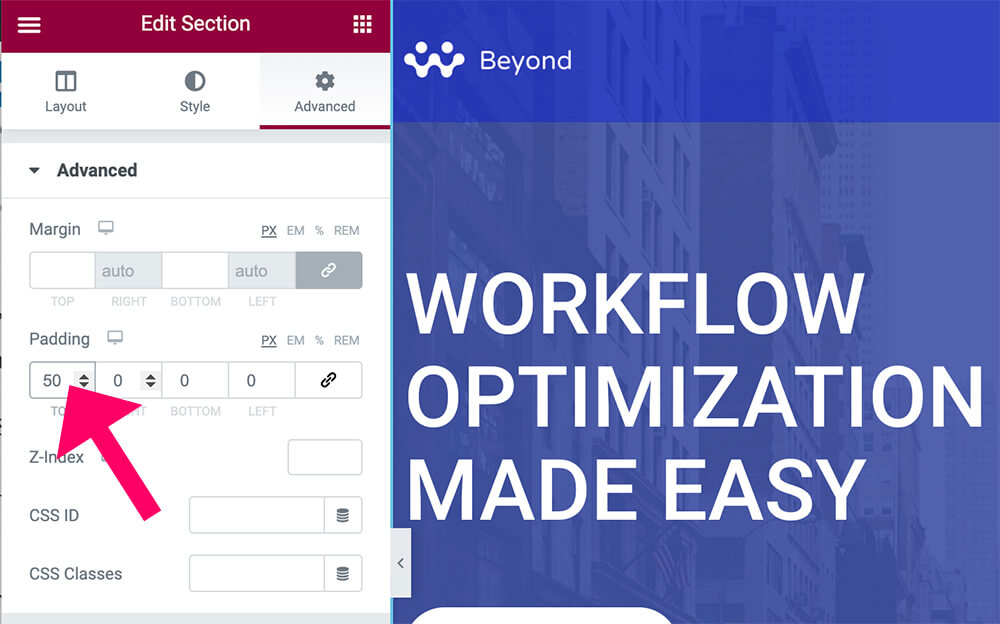
Sometimes, the header elements will hide essential parts of the section behind it. Thus, we should fix it by increasing the padding number of the back section.
Open the Elementor visual editor of the page with the hidden section, and click on it.
Navigate to the advanced tab and increase the top padding to match your style needs. Adding padding will keep the section at the top of the page and push the content downward from the inside.
Last, save the changes and revisit the page to view it live.

Sticky, Resize, and Special Effects
Making a transparent header is a design upgrade. In this section, I would like to show you how to take it further and improve it.
Sticky header
A sticky header will always stick to the top even while scrolling up or down the page. This is a handy feature because it will keep the site’s links accessible at any time.
Combining both methods enables us to create any header design we can dream of without coding.
Make sure also to read our article on how to create a sticky header with Elementor to learn more about the subject.

Adding sticky effects to the header can improve your website visitors’ experience. Therefore, I recommend you do it.
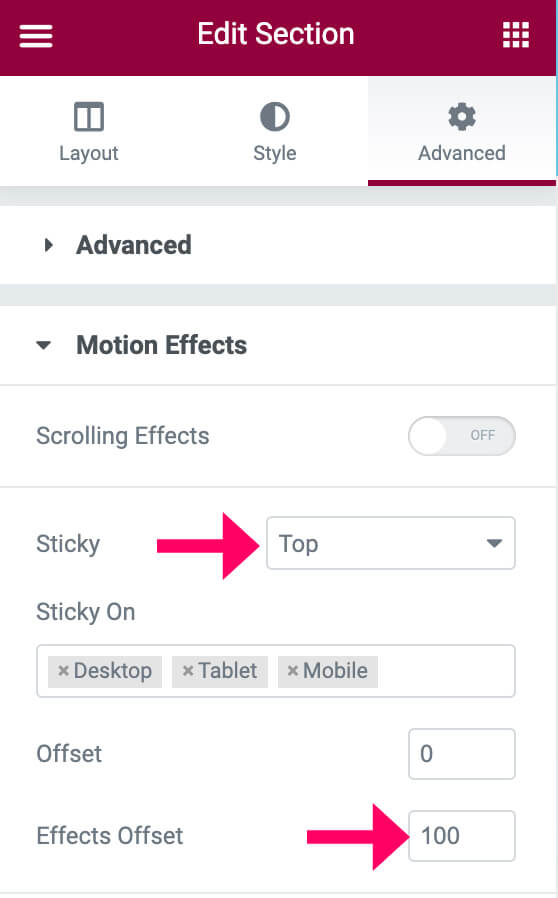
First, expand the motion effects tab and change the sticky option to the top.
When scrolling, it’s best to give the header a background color to make the links visible on white background sections.
Then, set the effects to offset number to define how many pixels add the background color. I entered 100, meaning that the new background color will fire after scrolling 100px from the top.
A CSS class elementor-sticky--effects will be added to the header section when reaching the effects offset number above. Add the CSS rules below to apply to the new class.
Expend the custom CSS tab and enter these rules:
.elementor-sticky--effects {
   background-color: #66c0ff82;
    transition: 0.5s ease;
}
A light blue background will be added to the sticky header when reaching the set scrolling point.
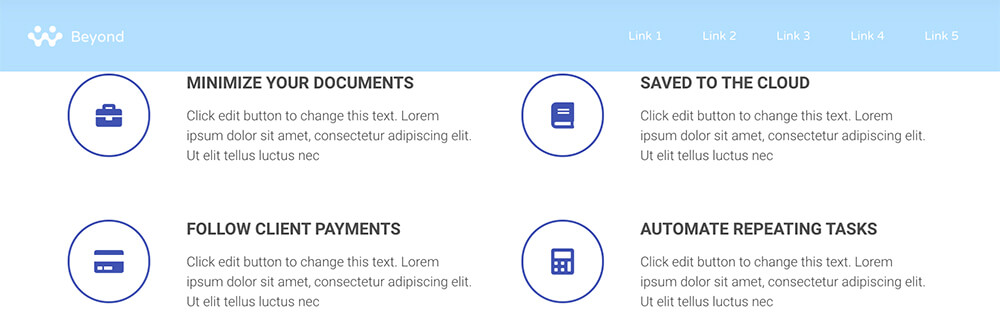
If you want to change the color to a different one, replace #66c0ff82 it with your desired color’s code.
You can read our how-to change link’s color in the WordPress article to learn how to get the color code.
Shrinking header
Another cool trick that often can be seen with many websites is the shrinking header when scrolling down.
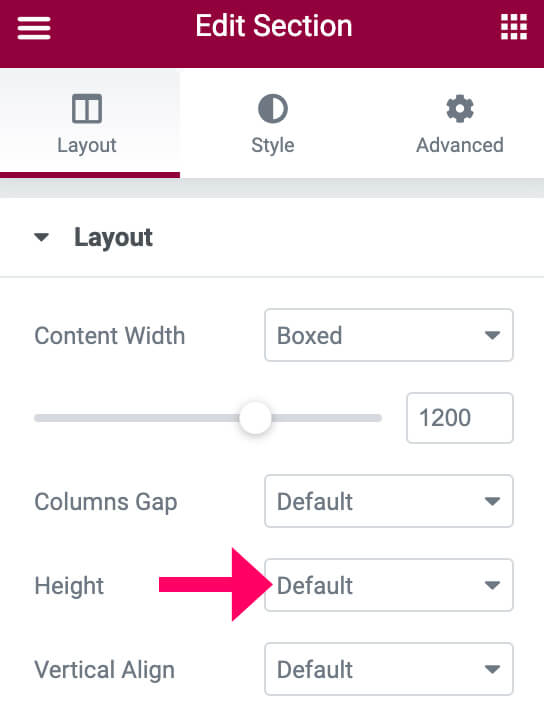
The tallest element inside of it usually determines the height of the header.
Many times, the logo’s height is the one that sets the header’s height, while in other times, it’s the padding of the menu’s links.
The CSS below will tackle both options.
Resize the logo
Paste the code below inside the custom CSS tab of the header’s section to reduce the logo size to 50%:
.elementor-sticky--effects .logo img {
width: 50% !important;
}
Save the changes and test your website. If the logo size sets the section’s height, that should address it. However, if the link’s paddings set the height, delete it, and keep reading.
Remove menu’s links padding.
If the header’s height is affected by the menus’ links padding, decreasing or removing the paddings should resize the header.
The CSS below will do the trick:
.elementor-sticky--effects a {
    padding: 0!important;
}
If non of the codes worked for you and the header’s height stayed the same, switch back to the content tab and change the size to default.
Finally, save all changes and test your website once again.
Conclusion
In this article, you’ve learned how to make a transparent header with Elementor easily.
Leave us a comment below and let us know if you need further help on the subject.
Also, make sure to subscribe to our YouTube channel and like our page on Facebook.