

Would you like to use Elementor to enable users to register to your WordPress website? If so, you came to the right place.
Although Elementor does not have a default widget to let visitors sign up, we can still achieve it in two ways: a PHP function or an addon.
This article will teach you how to create a user registration form with Elementor.
Enable User Registration In WordPress
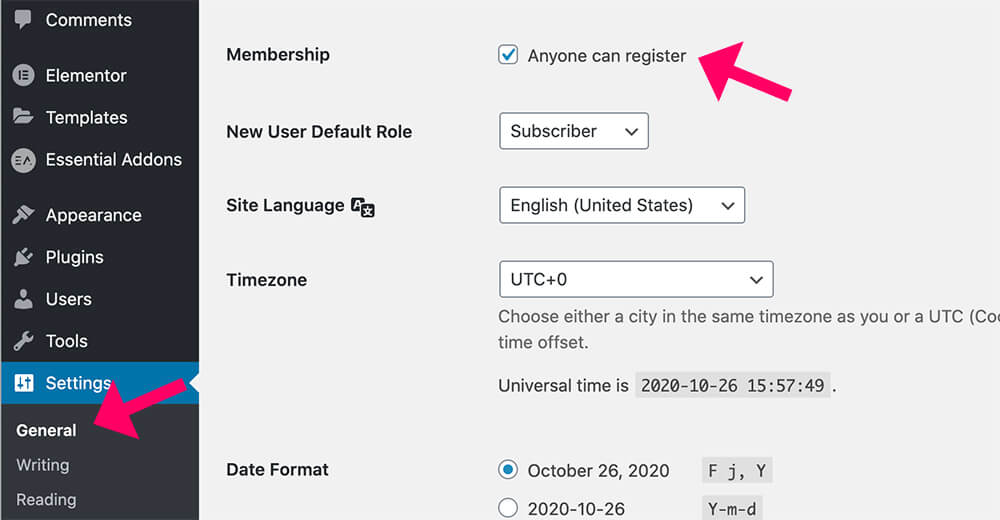
The first step of the process is to enable the user registration option in WordPress. To do that, we need to allow registrations and let our website visitors sign up.
First, navigate to Settings -> General and check the anyone can register box.
By default, the new user role is set to ‘subscriber,’ and I recommend leaving it that way.
In addition, you can read the user roles article to learn more about the differences between the multiple roles.
Once enabling the membership option, scroll to the bottom of the page, save the changes, and choose one of the ways below to create the signup form.
As I said above, there are two ways to create a signup form with Elementor.
The first way is by using a PHP function, and the second way is by using an external widget.
We will dive both ways, but let’s start with the first.
Create Elementor Registration Form with a Function
We will use the default Elementor Pro form widget to build the form and a PHP function to add the new user to the database.
It may sound complex, but it isn’t. Just follow the instructions as explained, and it will work perfectly fine.
Step #1: Create the form
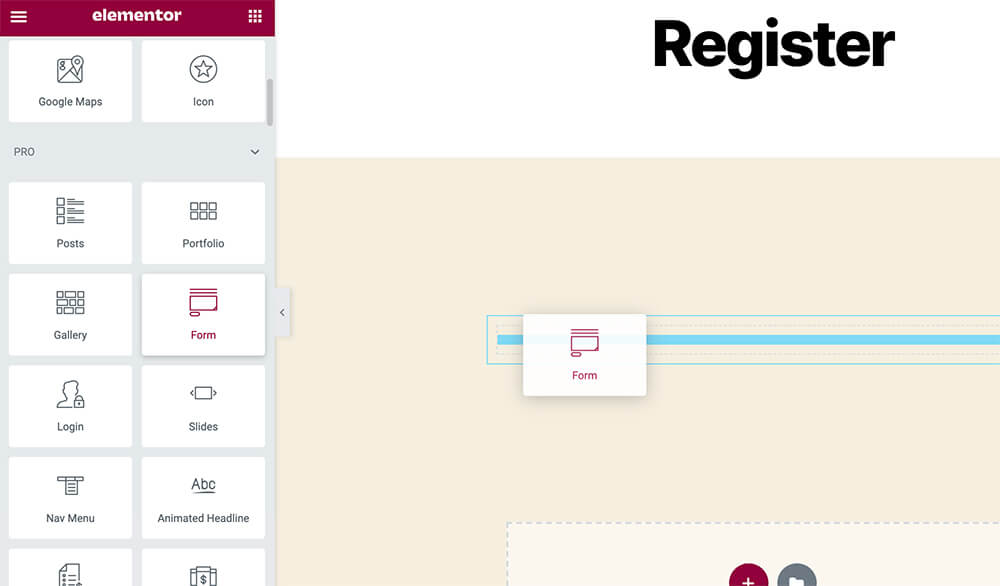
Edit your desired page with Elementor and drag the form widget from the left sidebar to the correct section afterward.
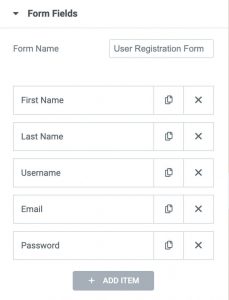
Then, name the form ‘User Registration Form‘ under the form fields tab and add the form fields.
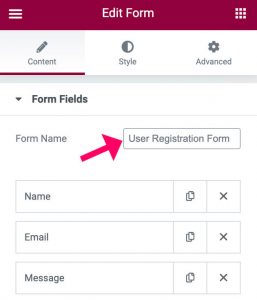
Modify the form to contain five (5) different fields:
- First Name.
- Last Name.
- Username (Required).
- Email (Required).
- Password (Required).
The function includes variables, and it is all case-sensitive. Therefore, you’ll need to precisely name the form and the field’s label as described in the table below.
Any small mistake will prevent the function from working correctly or working at all.
| Field | Type | Label | Required |
|---|---|---|---|
| First Name | Text | First Name | No |
| Last Name | Text | Last Name | No |
| Username | Text | Username | Yes |
| Yes | |||
| Password | Password | Password | Yes |
The table above shows you to set the email field as an email option, label it as Email (uppercase E), and make it required. It should look like that:
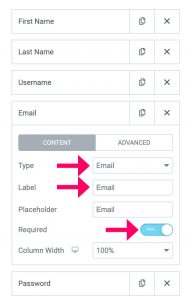
Verify that all the other fields are formatted exactly as shown in the table above, and then move forward to paste the PHP function.
Step #2: Use the PHP function
Once the signup form is created and saved the changes, move on to the next step and use the PHP function to make it work.
Paste the function below inside the functions.php file of your child’s theme. If you don’t already have one, read our how to create a child theme article first.
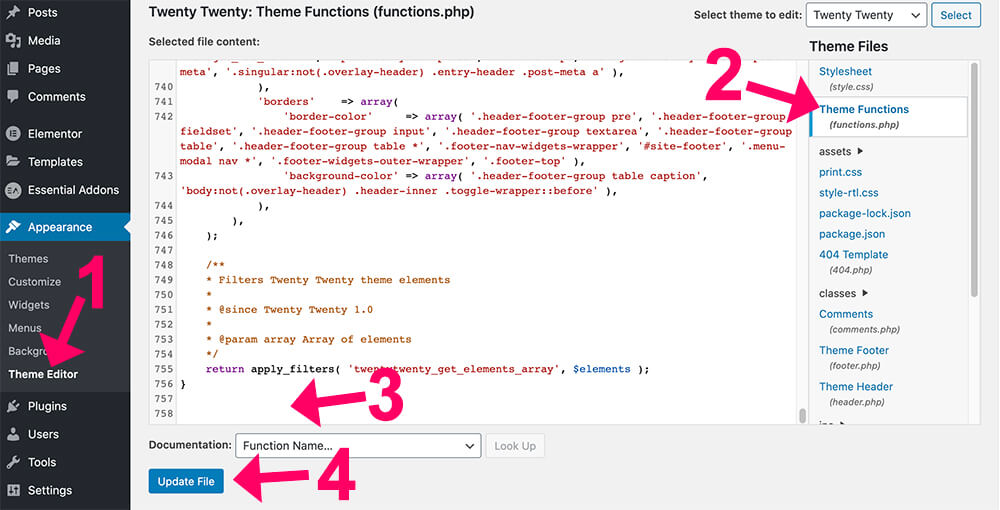
Then, from your WordPress dashboard, navigate to Appearance -> Theme Editor and click on the functions.php file on the right sidebar.
Alternatively, you can access your WordPress core files by creating an FTP account. Regardless of your choice, please back up your site before moving forward.
Then, scroll to the bottom of the file, paste the function below, and save the changes.
add_action( 'elementor_pro/forms/new_record',  'p4wp_elementor_reg_form' , 10, 2 );

function p4wp_elementor_reg_form($record,$ajax_handler)
{
    $form_name = $record->get_form_settings('form_name');
    //Check that the form is the "create new user form" if not - stop and return;
    if ('User Registration Form' !== $form_name) {
        return;
    }
    $form_data = $record->get_formatted_data();
    $username=$form_data['Username']; //Get tne value of the input with the label "User Name"
    $password = $form_data['Password']; //Get tne value of the input with the label "Password"
    $email=$form_data['Email'];  //Get tne value of the input with the label "Email"
    $user = wp_create_user($username,$password,$email); // Create a new user, on success return the user_id no failure return an error object
    if (is_wp_error($user)){ // if there was an error creating a new user
        $ajax_handler->add_error_message("Failed to create new user: ".$user->get_error_message()); //add the message
        $ajax_handler->is_success = false;
        return;
    }
    $first_name=$form_data["First Name"]; //Get tne value of the input with the label "First Name"
    $last_name=$form_data["Last Name"]; //Get tne value of the input with the label "Last Name"
    wp_update_user(array("ID"=>$user,"first_name"=>$first_name,"last_name"=>$last_name)); // Update the user with the first name and last name

    /* Automatically log in the user and redirect the user to the home page */
    $creds= array( // credientials for newley created user
        "user_login"=>$username,
        "user_password"=>$password,
        "remember"=>true
    );
    $signon = wp_signon($creds); //sign in the new user
    if ($signon)
        $ajax_handler->add_response_data( 'redirect_url', get_home_url() ); // optinal - if sign on succsfully - redierct the user to the home page
}
The PHP function above will log in and redirect the user to the homepage after submitting the form. However, if you would like to redirect the user to a different page, replace the get_home_url() in the last row with get_permalink(PAGE-ID-GOES-HERE) (make sure to enter the ID of the desired page).
Step #3: Test the registration form
Once the form and the PHP function are ready, test and ensure new users can register.
Visit your website as a logged-out user. You can use a different browser or an incognito window. Fill in the fields and then submit the form.
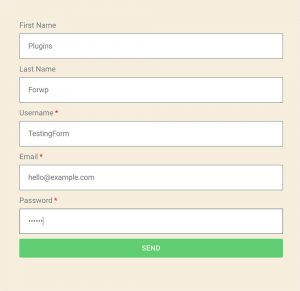
Once everything works as expected, the new user should be registered and redirected to the page specified in the function (the default is the homepage).

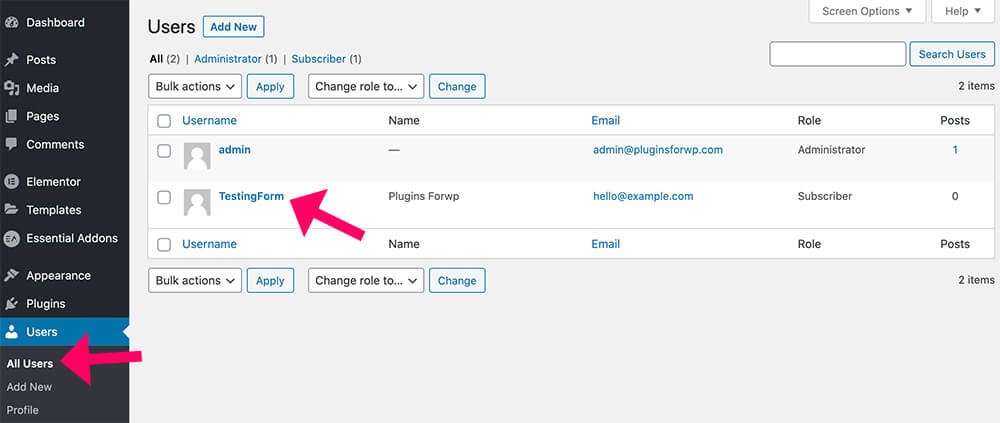
Then, as an admin, navigate to the Users tab and verify that you added the new user successfully.
Hopefully, you find this method simple and easy to follow. Otherwise, don’t worry. Below, you will learn how to create a similar form more straightforwardly by using an Elementor addon.
Elementor Registration Form Widgets
Although you should easily create the form with a PHP function, some may find it intimidating and want to achieve it more easily.
This section will teach you how to create a user registration form using an addon plugin.
There are tons of widget libraries that will add a signup option to Elementor, and in this article, we will use the Essential Addons plugin because it’s simple and free.
Install Essential Addons for Elementor
The first step is to install the Essential Addons plugin.
Navigate to Plugins -> Add new, search, and install the Essential Addons for Elementor plugin.
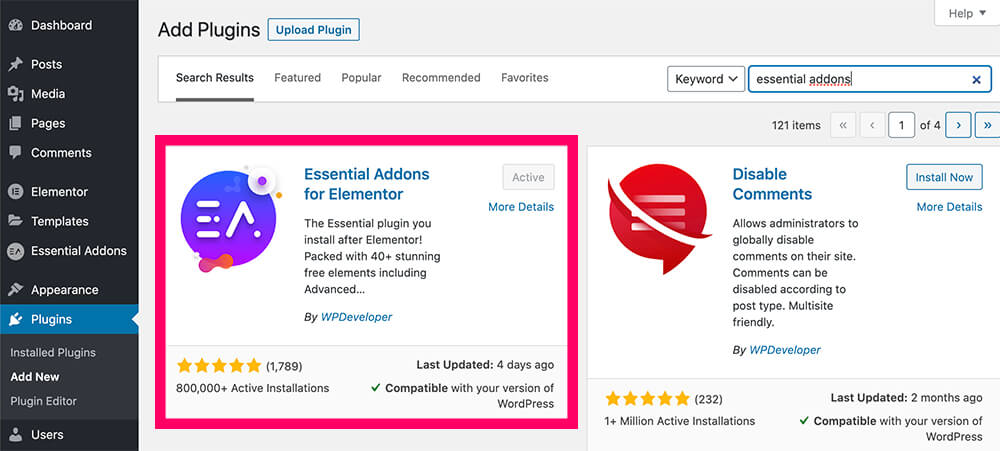
Once activating the plugin, it will add a new set of awesome widgets to your widgets library.
Build the Form
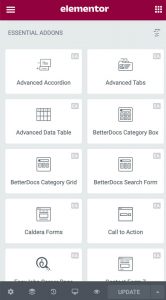
Launch the Elementor editor screen of the page you want to display the signup form, and then scroll to the bottom of the widgets sidebar.
Then, browse all the additional widgets added under the Essential Addons tab. The EA tags are free, and the ones with the lock are part of the pro version.
Suppose you see any pro widget that you would like to try. Then, you can buy the pro version from the official website for the total price or from us for only $4.99 (the same plugin).
The signup form widget is included in the free version. Therefore, drag it to your desired section.
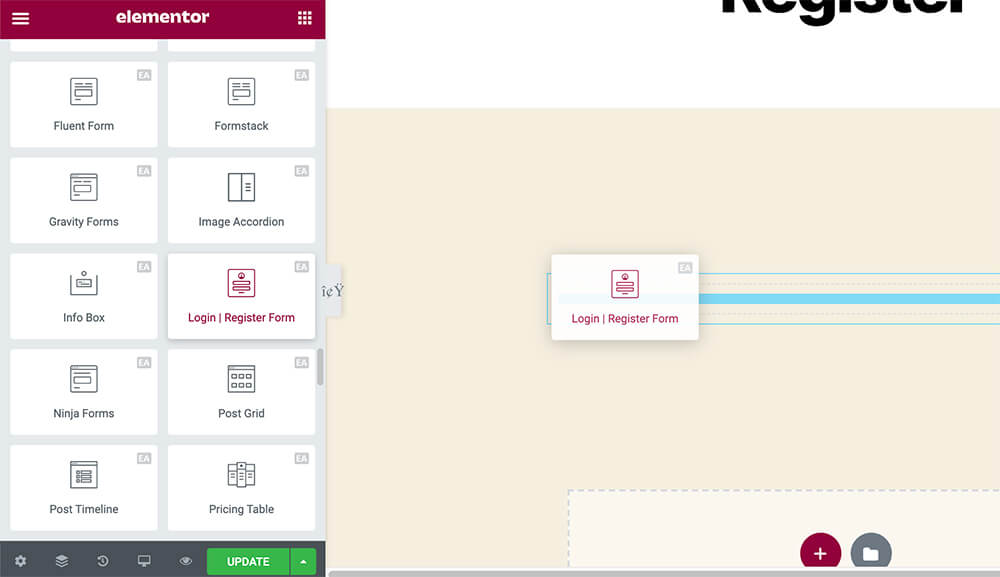
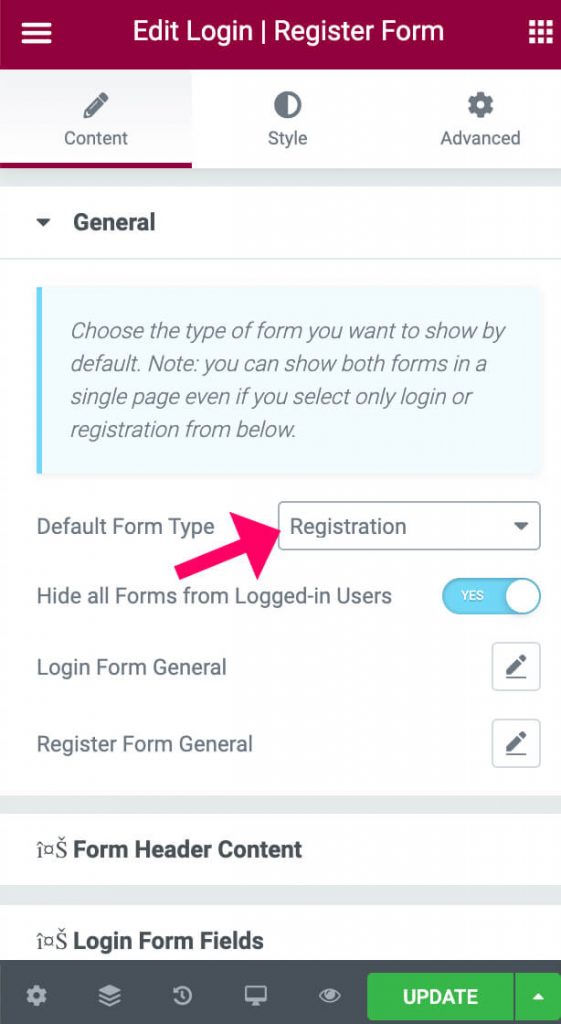
The login widget will display a sign-in form. First, change it to a registration form by expanding the General tab and changing the default form type to Registration afterward.
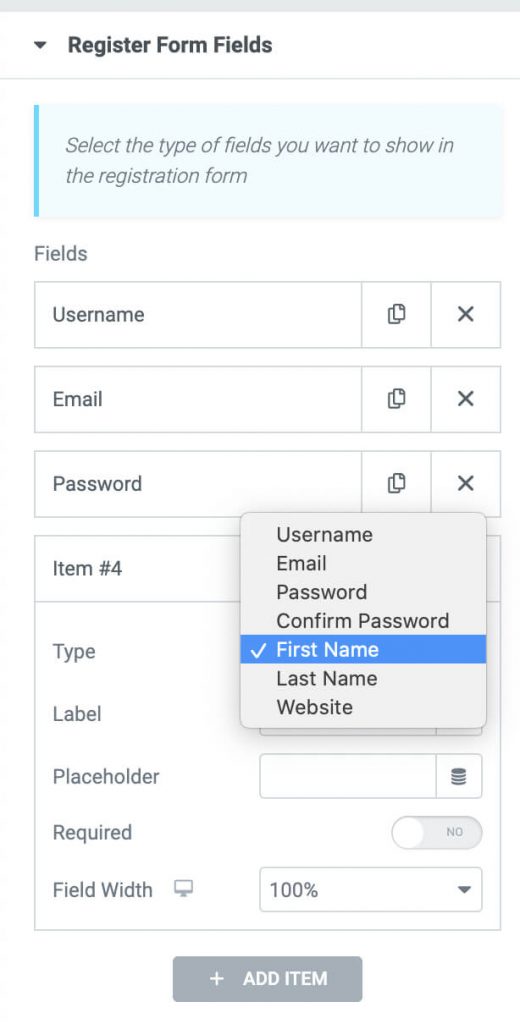
The form will display three fields: username, email, and password.
Expand the Register Form Fields tab and add your desired areas, such as first name, last name, and website, to add additional fields.
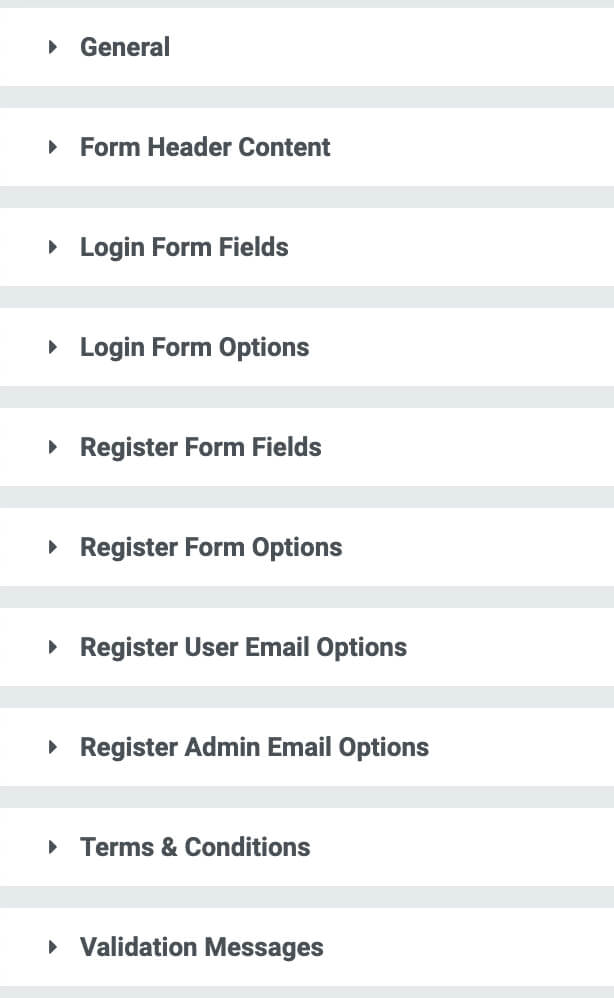
Another exciting setting about this widget is the Register Form Options tab. Under this tab, you can send the new subscriber an email, automatically log in, or redirect them to another page after submitting the form.

There are a few more incredible options, such as agreeing to the terms and conditions or customizing the validation messages.
When building the form, please move to the style and advanced tabs to customize its look like any other default Elementor widget.
When satisfied with the result and the appearance, use an incognito window to visit your website and register using this new form.
If you set it up correctly, the new user will be added successfully and found on the user’s screen.
Once verified, make sure to also add a logout link to your website to enable users to log out.
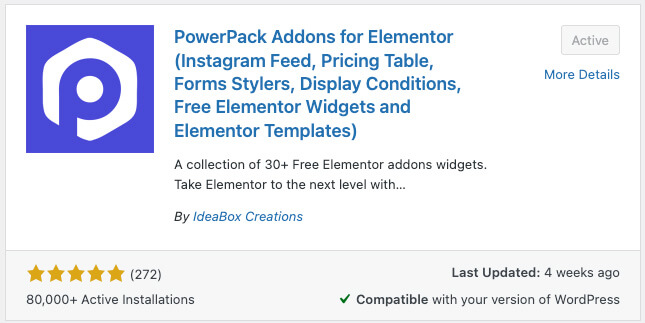
PowerPack for Elementor
PowerPack is another excellent plugin that enables us the option to add a registration form to Elementor. Moreover, because the signup widget is part of their pro version, it comes with additional customization options that others don’t provide.
Some of the many different customization options of the widget:
- Advanced input field types
- Enable reCaptcha to fight fake registrations
- Lost of styling options
- Prevent dull signup email notifications
- Assign default user roles for new user registration
- Custom password strength force
- Auto redirect after successful signup
First, let’s install both the free and the pro versions of the PowerPack plugin.
Then, navigate to your website’s login page, and click on the edit with Elementor button to launch the visual editor screen.
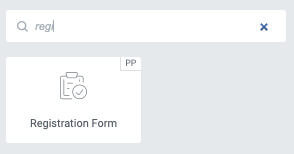
Once opened, search for the registration form widget, and drag it to your desired section on the right.
Setting up the signup widget is identical to any other default Elementor widget, and all the options are accessible under the Content tab.
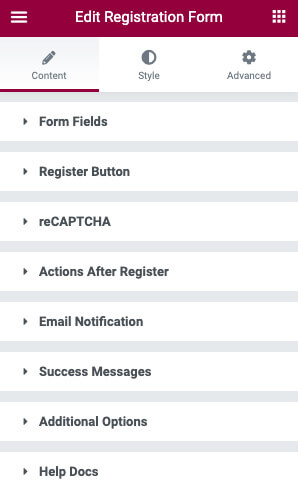
Go through the different options and save the changes when done. Please test the registration form once you have finished setting it up.
Conclusion
In this article, you learned how to create a user registration form with Elementor in two ways.
Leave us a comment down below and let us know which one of the methods you used.
Also, make sure to subscribe to our YouTube channel and like our page on Facebook.


I used the second option you presented, and it works fine for me, but I wanted to create a form option that the email field is already filled in according to the user’s details and in this listing it does not work. (In the regular WordPress listing it works fine), how can I arrange for the user’s email to appear on the form?
Hello, try to use the email’s field shortcode. That should pull the user’s email address dynamically.
Hey, I used your first option and it worked great, much appreciated.
I also want to add a “Phone Numer” option on the registration form.
Could you help with that? What should I add to the code?
Thanks!