Elementor is a powerful page builder plugin that enables us to design our website in any way we desire.
Although it comes with many great widgets and options, Elementor is not perfect and, therefore, can be improved.
External third-party plugins such as PowerPack, and Ultimate Add-ons, took it on themselves to expand Elementor functionality by adding additional settings and widgets.
In this article, we will walk through and review the fantastic PowerPack plugin for Elementor.
What is the PowerPack Pro for Elementor Plugin
PowerPack is a powerful plugin developed to expand the functionality of Elementor.
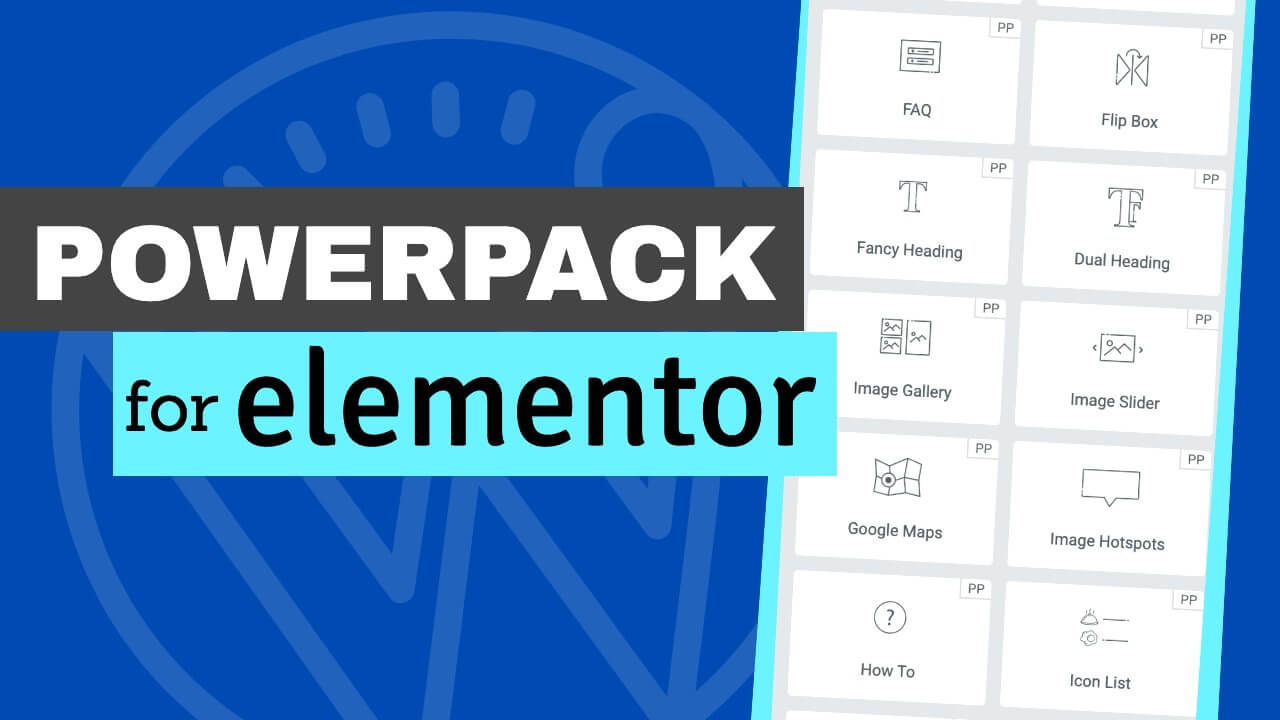
The lite version contains over 30 extra widgets, while the pro version has over 70 new widgets!
Get PowerPack Pro: official website (minimum $49) || or us ($4.99)
Although many PowerPack widgets overlap with Elementor Pro widgets, they add additional blocks, templates, and styles that we can use to improve our website.
Some of the many added widgets are:
- Advanced accordion
- Countdown timer
- Dual heading
- Instagram feed
- Pricing table
- Divider
- Link effects
- Many more
That was just a short list of widgets included in the lite version. The PowerPack pro plugin also has widgets such as breadcrumbs, coupons, WooCommerce, etc.
Moreover, PowerPack also continues adding more widgets and design options constantly.
How to Use PowerPack for Elementor
Using the PowerPack plugin is simple. After activating the plugin, access all the added widgets from inside the Elementor visual editor screen.
Let’s start by downloading the plugin first.
Step #1: Download the Plugin
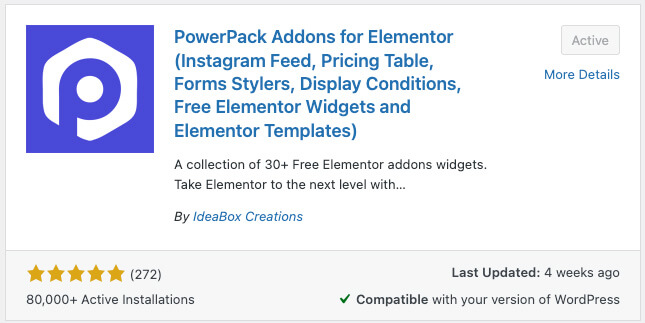
PowerPack does have a lite version and a pro version. You can download the free version from the WordPress repository or your website.
First, navigate to Plugins -> Add New, search, install, and activate the PowerPack plugin.
Elementor must be active on your website before activating the PowerPack plugin.
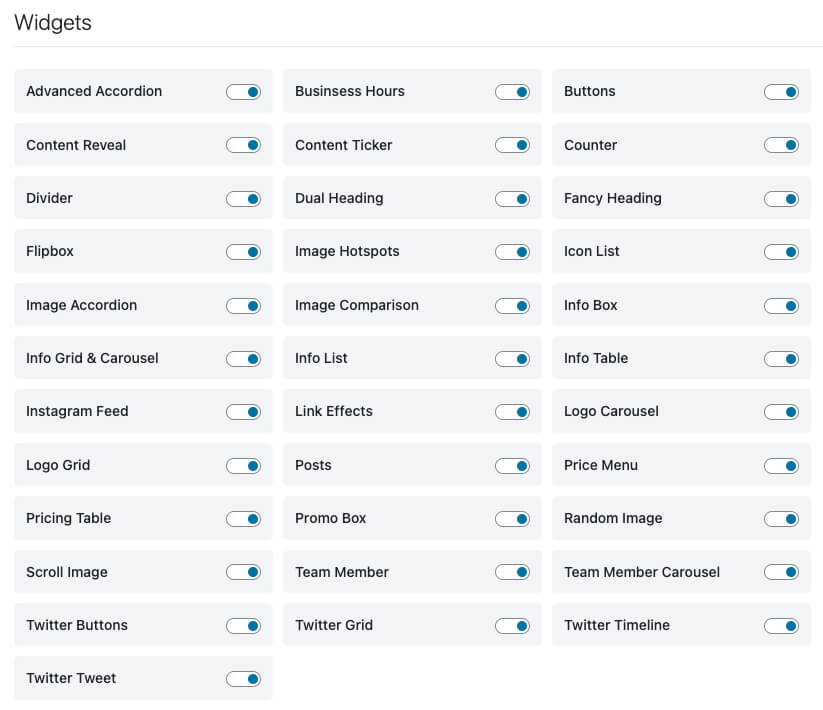
Once activated, navigate to Elementor -> PowerPack and view all the available widgets that came with the free version.
By default, all the widgets are active and ready for you to start using them. You can also deactivate individual widgets if you do not need them.
The other tabs, extensions, and integration contain more advanced settings to manipulate the widgets. The Display Conditions option, for example, will enable you to show or hide a widget based on preset conditions.
For example, you can create a login link to display to logout users and vice versa.
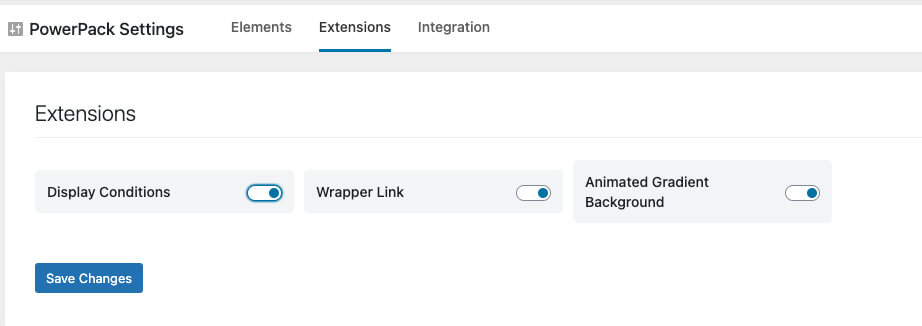
Make sure to save the changes after you finish setting it up.
Step #2: Access the Widgets
When you are ready to start using the great widgets of the plugin, navigate to your desired page and click on Edit With Elementor.
Once the visual editor of Elementor is loaded, scroll down the sidebar to the PowerPack’s widgets section.
All the widgets marked with PP on their left top corner are part of the PowerPack plugin. If a widget has a lock icon, it’s part of the pro version. Otherwise, it is part of the free version, and you can start using them now.
To start designing your website, drag your desired widget from the left sidebar to the canvas on the right.
Step #3: Style the Widgets
Plugins that were built to expand Elementor are functioning in a similar way to the native widgets. That’s their most significant advantage.
Each widget has three different tabs: content, style, and advanced.
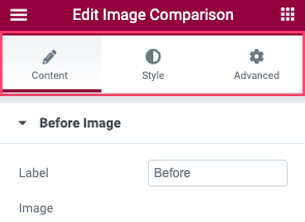
The options under each tab are unique to the widget you’re editing. For example, the content tab options of the heading module will be different than those of the image gallery widget.
However, the purpose of the tabs is the same for all widgets. The content tab is in charge of everything related to the content, the style tab for the design and appearance, while the advanced tab for everything else, like margin, padding, custom CSS, etc.
PowerPack Pro Widgets Examples
Now that we know how to access the PowerPack widgets let’s go through a couple of examples of how we can use them.
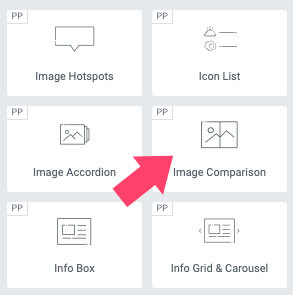
In this section, we will explore one widget from the lite version and one from the pro version. Let’s start with the image comparison widget of the free version.
Image Comparison Widget
One of my favorite features of PowerPack is the Image Comparison widget.
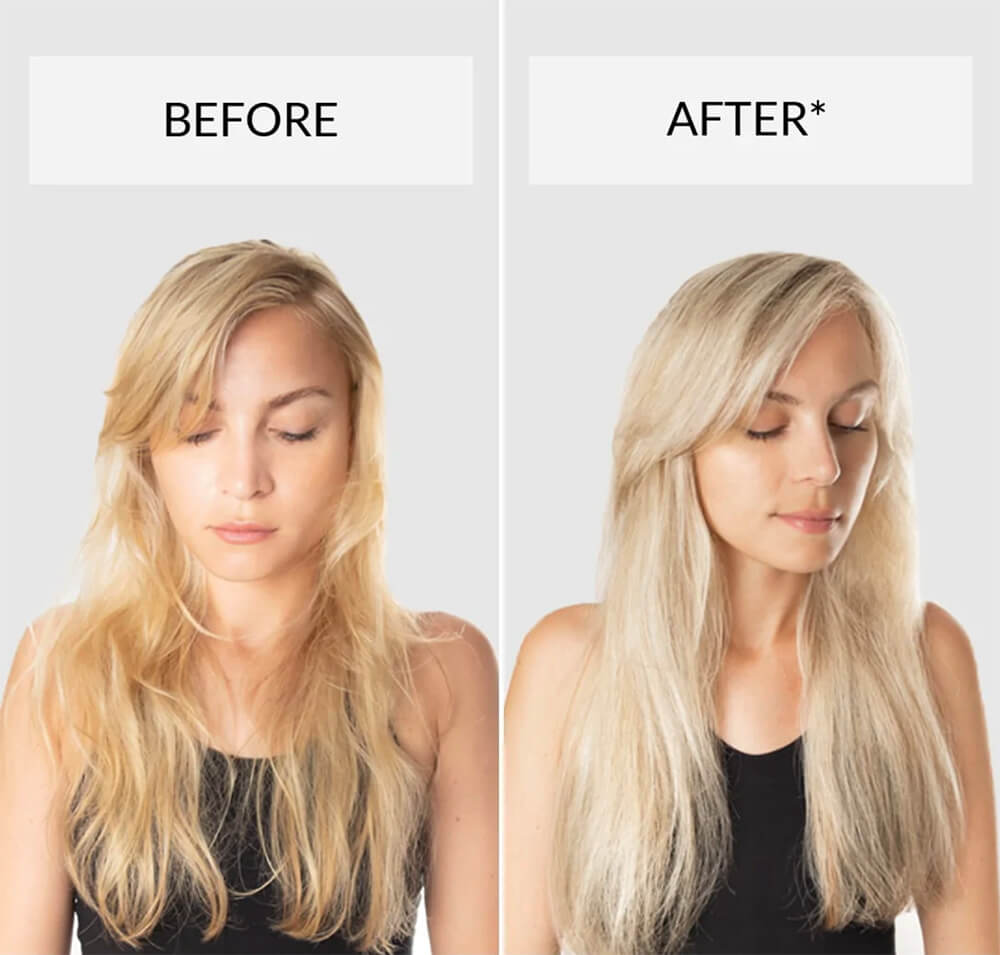
The image comparison widget enables you to upload two different images, side by side, and a slidable divider to control which image to expose.
The image comparison slider is handy to display the before and after results after using products or services. For example, a cosmetic company can show a client hair before and after using their shampoo.
The Easy Digital Downloads website uses the image comparison feature to display the EDD plugin on the backend and front end.
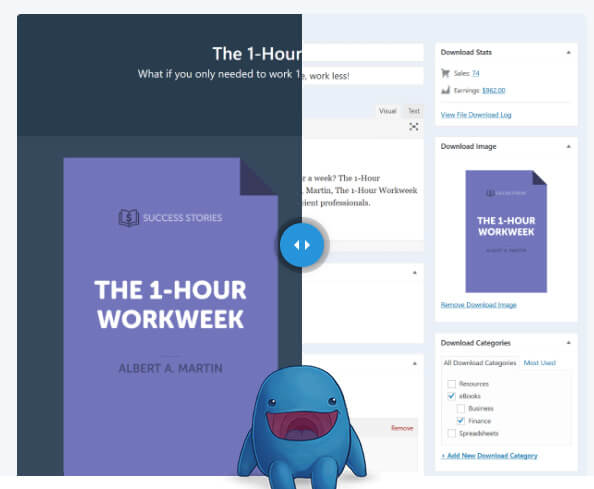
To start using the widget, drag it to the desired position and upload both before and after images. In our example, I’ll add two images of a WordPress user before and after he heard about us.
The before the image will show a man frustrated with the high prices of WordPress plugins, while the after photo will show the same person happier after he found our service.

Once uploaded both images, expand the setting tab and decide where to position the widget’s spine.
You can also change the orientation from horizontal to vertical and the move slider option to determine what will move it.
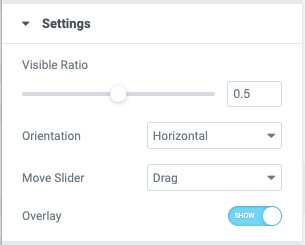
If you’re satisfied with the default behavior, keep it as is. However, I recommend exploring the different options and discovering what fits your website best.
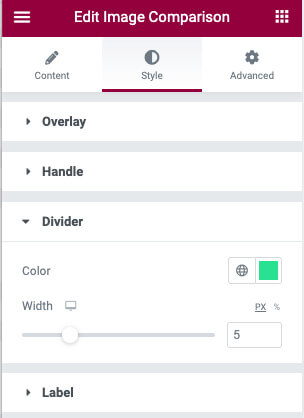
Inside the style tab, you can change anything related to the widget’s look, including its overlay, handle, divider, and label.
If, for example, both images are dark, it will be wise to set the handle and divider colors to white or any other bright tone. Doing so will encourage your website visitors to take action and move the slider to view both images.
Finally, when you’re satisfied with the section’s look, save the changes and visit the page to verify everything is working well.
Tooltip Extension
The valuable extensions are among the great features of PowerPack pro and premium widgets.
You can access the extensions from the extensions tab and decide which one you’d like to enable.

Once enabled, you can access the extensions from the advanced tab of every widget.
In our example, we toggle all the extensions to on, and I will now show you how to use the tooltip feature.
The tooltip feature is handy when you want additional information when hovering over an item.
You can often see it inside the pricing table next to some of the listed features. Hovering over the text will expose additional information that was hidden.
On the Aweber pricing page, for example, hovering on some features will expose the tooltip hidden text with additional relevant information.

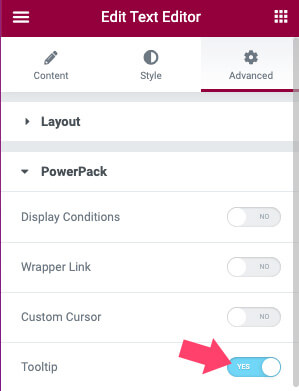
To use the tooltip extension, drag any widget to the canvas and navigate to the advanced tab.
Then, expand the PowerPack tab and toggle the Tooltip option to on. Once enabled, please enter your custom tooltip content and set its behavior.
For example, you can change the tooltip position from the top to the right side, which is the most common place to display it.

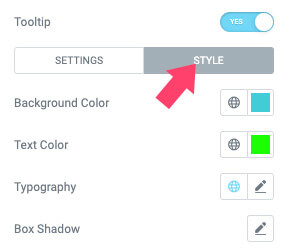
If you want to change its appearance, switch to the Style tab and change any aspect, such as background color, text size, etc.
When done, save the changes and revisit the page to verify it’s working as expected.
Additional extensions that may spark interest are the animated and background effects, custom cursor, magic wand, and the option to change the default login URL link.
Conclusion
In this article, you learned how to use the PowerPack Pro plugin for Elementor.
The PowerPack plugin is a handy plugin loaded with great features, tools, and widgets that will help you take your website design to the next level.
Combining PowerPack with Elementor will open up many new possibilities that weren’t available just by Elementor itself.
We highly recommend you take the PowerPack plugin for a spin and test all of its beautiful features. You’ll love it.
Also, make sure to subscribe to our YouTube channel and like our page on Facebook.