Elementor is an excellent tool for editing website pages. For example, with its theme builder feature, you can customize the look of your WooCommerce cart page to make it more appealing and user-friendly.
This tutorial will show you how to use Elementor to edit your WooCommerce cart page.
What is the WooCommerce Cart Page
The WooCommerce cart page is the page that displays the items in your shopping cart. It allows you to view and modify the items in your cart and remove or change the quantities.
You can also specify the shipping and payment information on this page.
The cart page is the first step out of the two-step WooCommerce checkout funnel and comes before the checkout page.
When you want to customize the WooCommerce cart and checkout pages, you can use Elementor in several ways.
You can either create a new page and add an Elementor widget to this page, or you can use an existing page and edit it with Elementor directly.
Once you have the page, the process is essentially the same. Because WooCommerce will automatically create the cart and checkout pages after installation, we can skip the first step of creating a new page.
How to Edit WooCommerce Cart Page with Elementor
The first step is to install and activate Elementor on your WordPress website.
For maximum control over the cart page look, use Elementor Pro (you can get it from the official website for $49 or us for only $4.99).
Once activated on your website, navigate to the cart page and click on the Edit with Elementor button.
You can start adding widgets and customizing your WooCommerce cart page. There are many different widgets available in Elementor, so feel free to use them according to your needs. For example, you can use a Call To Action widget to encourage users to add items to their cart.
After opening the Elementor editor screen, you can customize the cart page using the default WooCommerce shortcode [woocommerce_cart] or the dedicated cart widget of Elementor Pro.
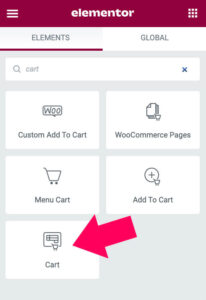
Both ways will show the same cart content but with a slightly different look. This is because the shortcode will use the CSS rules of WooCommerce, while the cart widget will use Elementor’s stylesheet.
We will use the cart widget to take full advantage of customizing with Elementor.
By default, the cart will be displayed in two columns, the products list on the left and the checkout button will be on the right.
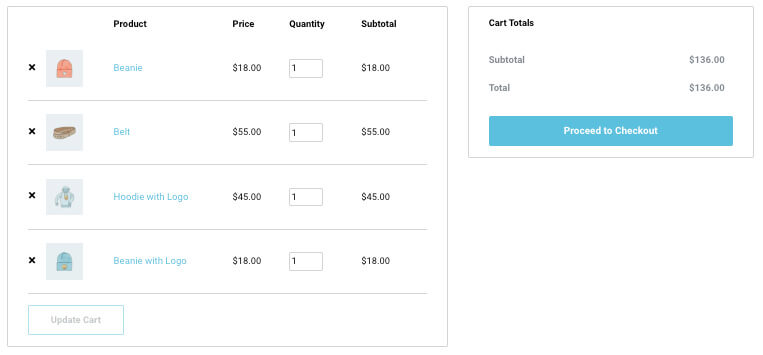
Use the different options under the Content tab to change the cart behavior and the Style tab to adjust its look.
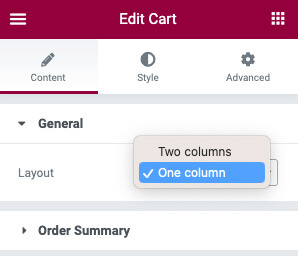
If you want to change the cart to only one column, expand the General tab and change the Layout option to one.
Now, let’s style the cart. To do this, click on the Style tab in the top toolbar. Then, please select a style from the list of presets or customize it to match your needs.
For example, if you want to change the checkout button’ color, you can do so from the Style -> Checkout Button screen.

Please go through the different options and adjust them to fit the needs of your website and customers. Then, read the best practices below to improve the cart and checkout pages when finished.
WooCommerce Cart Page: Best Practices
When customizing your WooCommerce cart page with Elementor, you should follow some best practices to ensure a positive user experience.
First, make sure to use high-quality images and fonts in your design. This will help improve the overall look and feel of your page.
Second, keep your content concise and easy to understand. Users should be able to quickly scan your page and understand what it is about.
Third, use actionable buttons and CTAs to encourage users to add items to their carts or subscribe to your newsletter.
Finally, test your page on different devices and browsers to ensure it looks and works correctly.
Minimalistic Page Layout
Ensure your customers are goal-oriented and only focusing on completing their purchases by selecting a minimal page layout.
Unlike on other pages containing the full header, sidebar, and footer, removing all these destructions from the cart and checkout pages will be wise.
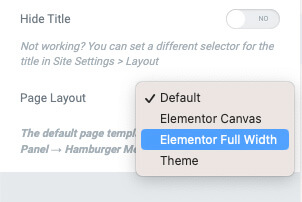
Therefore, click on the cogwheel icon on the bottom left side of the screen, and change the Page Layout option to canvas or full width.
The canvas template will remove the header and all the other page’s extras but keep the content.

The full-width template will keep the header and footer but will remove the page title.
If you still want a header and footer designed explicitly for the cart and checkout pages, I recommend creating a separate template.
Add Header and Footer to Cart
Thanks to the fantastic theme builder feature of Elementor Pro, we can quickly create any theme part, including the header and footer.
As mentioned above, both should be minimal without any destruction. Usually, these two funnel pages display only the site logo and secure checkout badges to increase buyer trust.
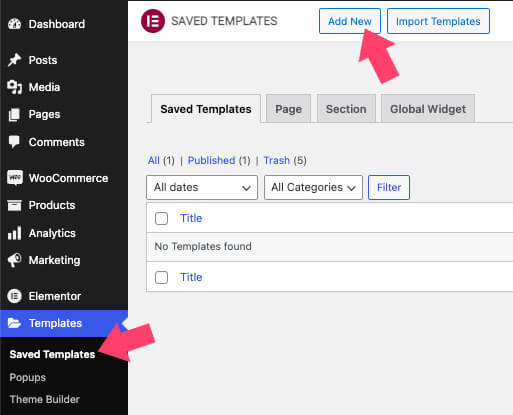
To create a custom header template, navigate to Elementor -> Saved Templates, and click on the Add New button.
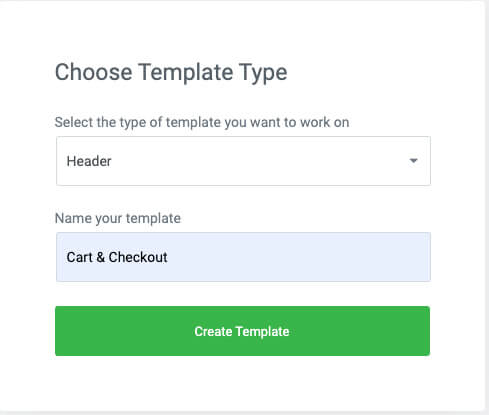
Then, choose the header option, give it a proper name, like the cart and checkout, and click Create Template.
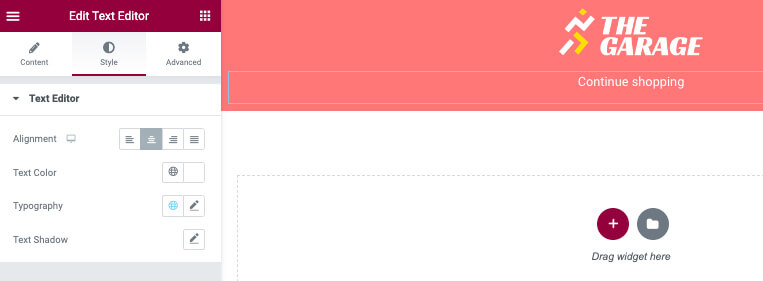
Add specific widgets like the site’s logo or name and a continue shopping button to return to the shop page.
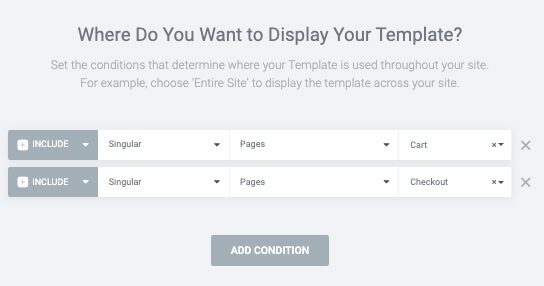
When ready to be published, click the update button and set the display condition for the cart and checkout pages.
Then, revisit the cart page to ensure it looks and works as expected. Once done, repeat the process and create a dedicated footer template.
Customize WooCommerce Cart Page with the ShopLentor Plugin
ShopLentor (formerly WooLentor) is an Elementor extension created to add and enrich WooCommerce widgets.
The plugin was developed to specialize in working with Elementor and WooCommerce to design a better eCommerce experience. It has unique widgets to target any aspect of your stores, such as product, cart, and checkout pages.
Some of the many added ShopLentor widgets are:
- Product tabs
- Add banners
- Image marker
- Category list
- Customer review
- Image accordion
- Ajax search form
- Many more
Cross-sell is one of the most useful widgets you can add to your WooCommerce cart page. The cross-sell widget will add recommended products section with an option to add the items to the cart.
The recommended section will encourage customers to add additional products to their cart, improving the conversion rate and increasing revenue.
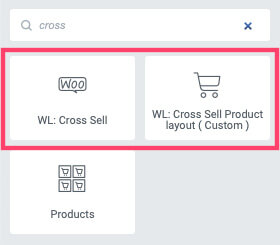
Once you activate ShopLentor Pro (get it from the official website for $49 or from us for only $4.99) on your WordPress website, add the Cross-sell widget to the cart page.
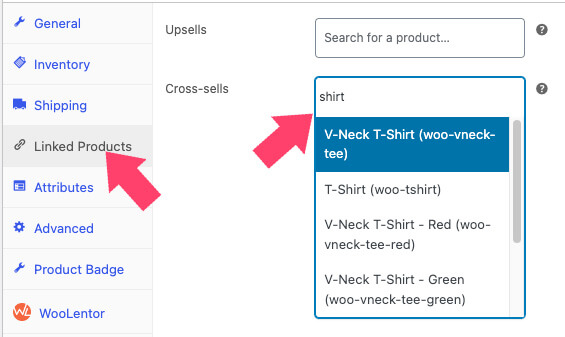
Then, to add custom recommended products, edit one of the cart’s products, and navigate to the Linked Products tab. Then, enter the items related to the current one and save the changes.
When done, revisit the cart to ensure you can see the products in the upsell section.
Premade Templates for WooCommerce Cart and Checkout Pages
One of the best advantages of the ShopLentor plugin is the premade templates that you can use to speed up the customization process.
You have ready-to-go templates for any WooCommerce page, such as product, archive, search, cart, and checkout pages.
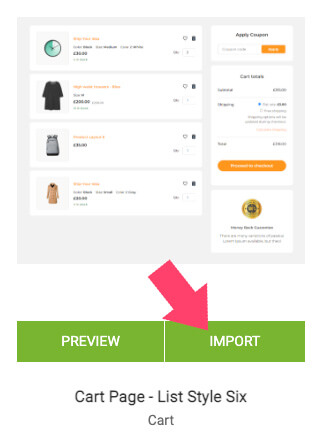
To use a cart or checkout template, navigate to ShopLentor -> Template Library and the Cart options.
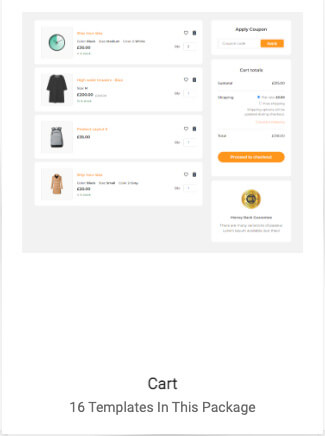
Browse between the many beautiful templates and import your desired design.
Once imported, navigate to ShopLentor -> Settings and choose the imported template for the cart page option.
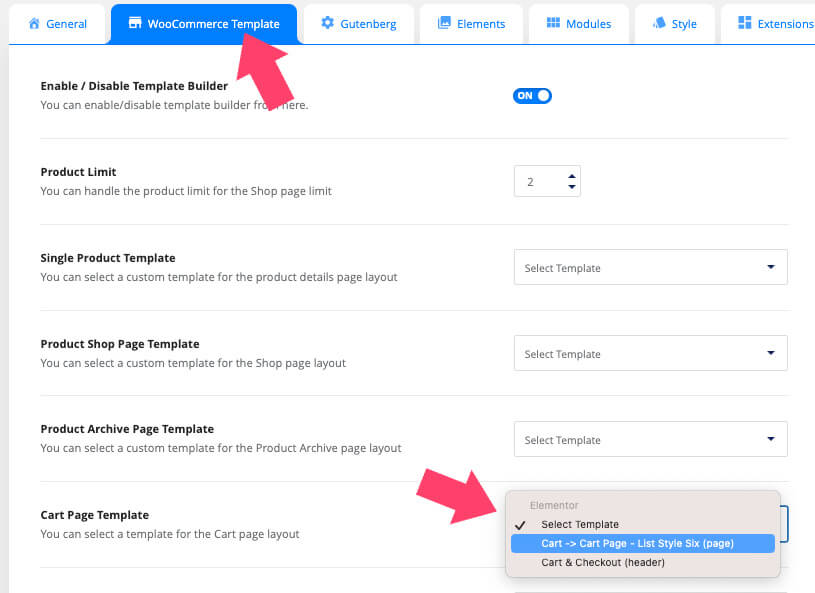
After saving the changes, revisit the cart page to test it out. You can also add additional widgets if needed.
You can also repeat the process and use a template with the checkout page. To do so, browse between the checkout templates and import your favorite one.
Then, set the desired template under the checkout page option inside the ShopLentor settings screen.
Finally, visit the checkout page and ensure it looks and works as expected.
Conclusion
This article taught you how to use Elementor to customize your WooCommerce cart and checkout pages in multiple ways.
Overall, customizing your WooCommerce cart page with Elementor is an easy and quick process that can benefit you immensely.
Just use different widgets according to your needs and customize them as needed. This will help you create a more appealing WooCommerce cart page that encourages users to add items to their carts and increase revenue.
Leave us a comment and let us know your method to achieve this task.
Also, make sure to subscribe to our YouTube channel and like our page on Facebook.