
Contact Form 7 is one of WordPress’s most popular plugins for creating various forms.
While its functionality is versatile and can be used for many purposes, its default style is plain and boring. Because of that, potential users are dropping CF7 and using different form plugins that are easier to style.
In this article, I’ll show you how to style Contact Form 7 to match the look of your website.
Why Style Contact Form 7
As mentioned above, CF7 is a powerhouse plugin for creating different forms on your WordPress website.
There are many uses for the forms that you can create with the CF7 plugin. You can connect the forms with PayPal to collect payments or even integrate with Mailchimp to capture leads.
Although the many advantages of contact form 7, there is one thing that the plugin lacks: the form’s appearance.
The forms created by Contact Form 7 lack style because the plugin doesn’t include any CSS files to come with it.
The form’s appearance is generated by the default style assigned by the browser and, therefore, is very blank.
In today’s world, while every website strives to present uniqueness, displaying a basic form that doesn’t match the rest of the website look is a no-go. Therefore, many website owners are dropping the Contact Form 7 plugin, regardless of its benefits and uses.
It is essential to have a consistent design for all the elements of your website, and in the next couple of sections, you’ll learn how to style your Contact Forms 7 forms.
Contact Form 7 Styling with the CF7 Styler Plugin
We assume that if you knew how to write CSS rules, you probably wouldn’t read this article.
Therefore, bombarding you with CSS rules you are unfamiliar with is not the best solution for you.
Instead, it will be more beneficial to use visual editor plugins. That way, you’ll be able to take an active role in styling your forms and change any parameter to fit your needs.
The first plugin that I would like to show you is CF7 Styler. Navigate to Plugins -> Add New, and activate the Contact Form 7 Wow Styler.
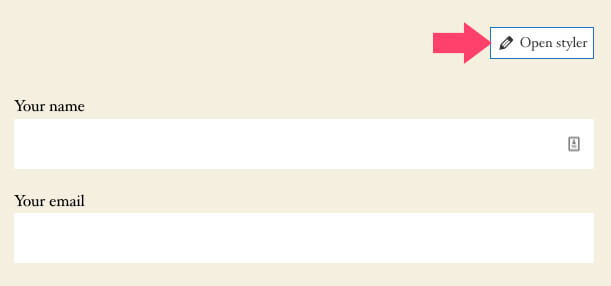
Once activated, navigate to the page that displays the form you want to style and click on the open styler button.
The styler screen is divided into two sections, the left sidebar contains the styling options, and the right section shows what the form looks like.
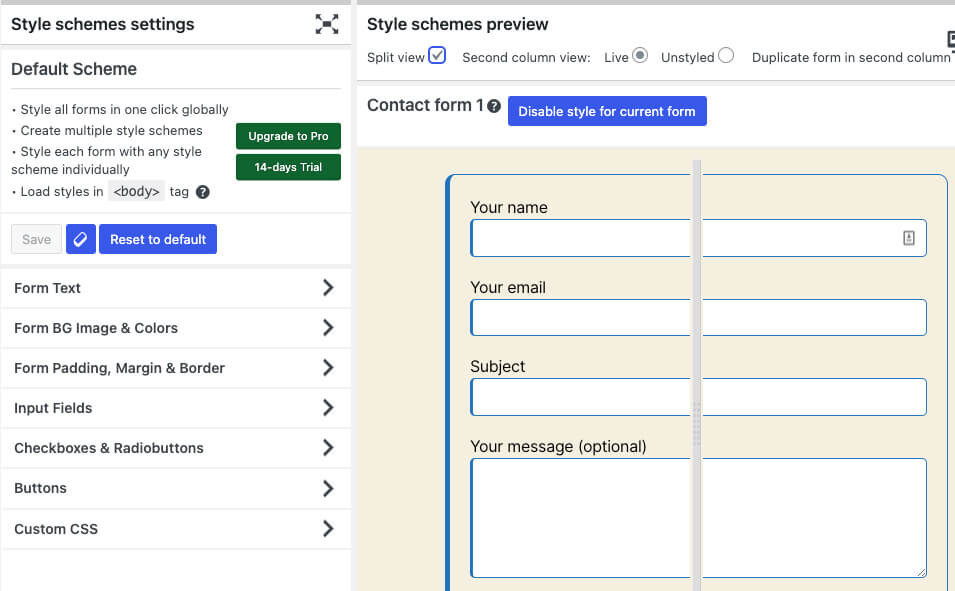
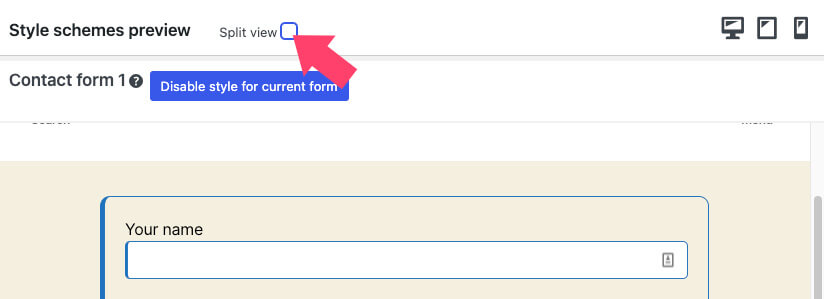
The visual section is displayed in a split view, the before and after look of the form. I find it confusing, so I’ll uncheck the split view box and focus only on what I want the after state to look like.
Once I only see a single form, I can move over to the properties sidebar and style any element of the form.
Style Schemes Settings
From the style sidebar on the left, we can customize and prettify any form part, from the text size to background and border colors.
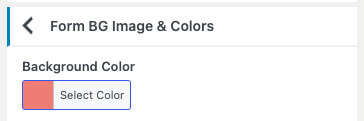
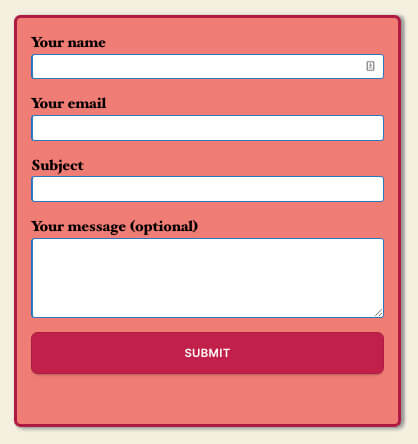
If, for example, we would like to add a light red background color, let’s expand the Form BG Image & Colors tab and set your desirable color.
Once selected, the form on the right will change accordingly and display the new chosen background color.
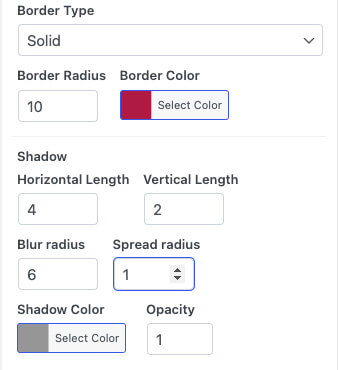
If we would like to add a border or a shadow, please expand the Padding & Margin tab, and change the property values based on your needs.
In our form, we will add a maroon border and grey outline shadow,
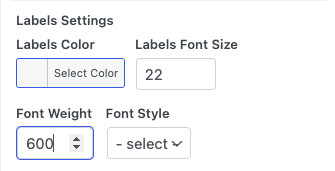
The form’s labels can be accessed through the Label Settings section under the form text tab.
We can increase the label text size by entering a more significant number into the label’s font field. In addition, you also have the option to make the text bolder by changing the font weight.
Finally, we can move on and style the form’s submit button to match the rest.
Therefore, expand the Buttons tab and change your desired properties. To match the created design, I’ll make the button a full width and change its color to red.
Please ensure to hover over the button to view its hover state and change it accordingly.

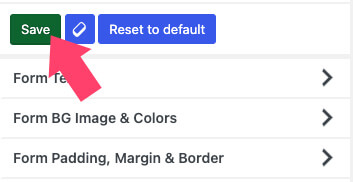
Once satisfied with the overall look of the form, it’s an excellent time to save and publish the changes.
Therefore, click on the green save button at the top of the styling sidebar and then the activated style for the current form button.
Then, revisit the form page and ensure it adopts the new look.

If you are happy with the results and how they look, that’s great. Keep it. Otherwise, you can always open the styler screen again and tweak the design.
Style Contact Form 7 with a Visual Editor Plugin
The CF7 Styler plugin we explored above is a dedicated plugin that can only be used with Contact Form 7 plugin.
Suppose you are looking for a more flexible visual editor that can also style any form on your website. In that case, you can use YellowPencil, CSS Hero, or SiteOrigin CSS, the plugin I will show you in this section.
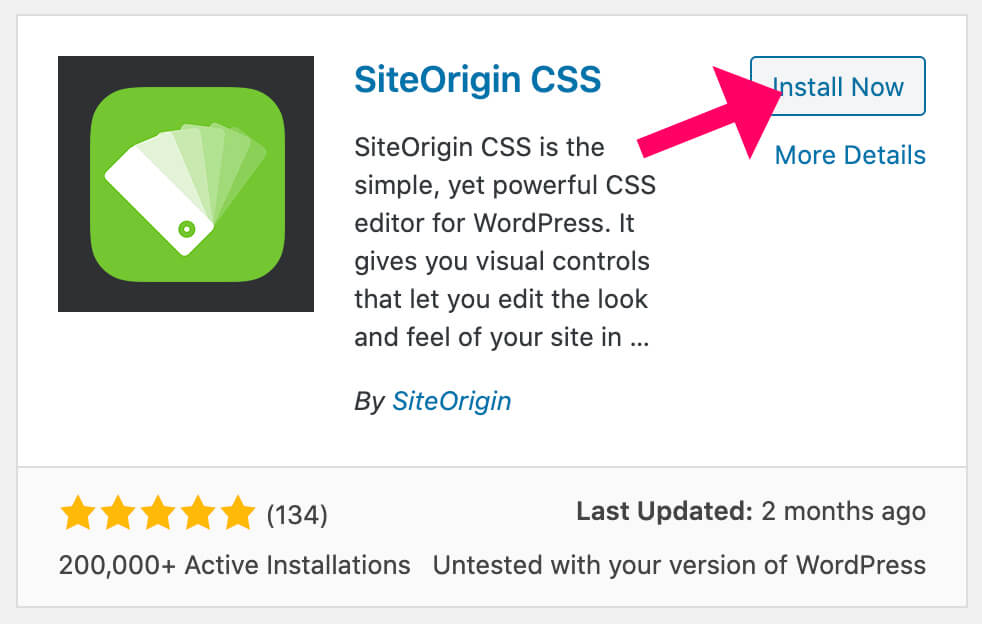
In short, the SiteOrigin CSS is a visual editor plugin that can style and customize any tag or element on any page.
SiteOrigin can modify the existing elements of your website but won’t add any new ones, unlike a page builder plugin such as Elementor.
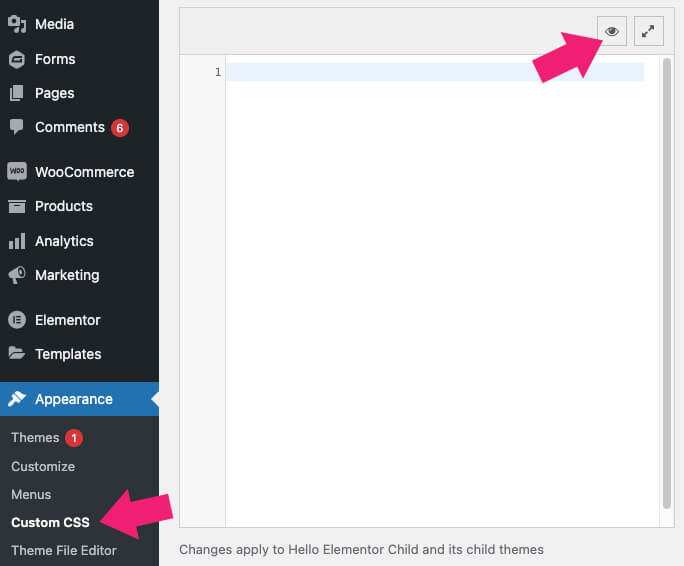
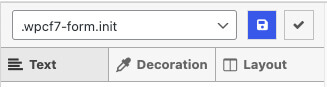
Once you activate SiteOrigin, navigate to Appearance -> Custom CSS and click on the eye icon to open the visual editor.
The default page that will be displayed on the right is the homepage of your website. If that’s where the contact form exists, that’s good. Otherwise, enter the URL at the top field and click enter.

Then, hover your mouse over any of the form’s elements, highlight them, and select the one you would like to style.
Once selected, the element’s structure will automatically fill in the inspector tool below the canvas.
You can climb up the structure tree and select the form as a whole instead of a single label.
The tag you’ll need to choose depends on what you would like to style. If, for example, you would like to add a background color to the form, we will need to target the form itself, rather than just a single label.
Change the Properties Values
After you select the desired element, it will appear at the top of the styling bar on the left, and that’s the one you’re editing.
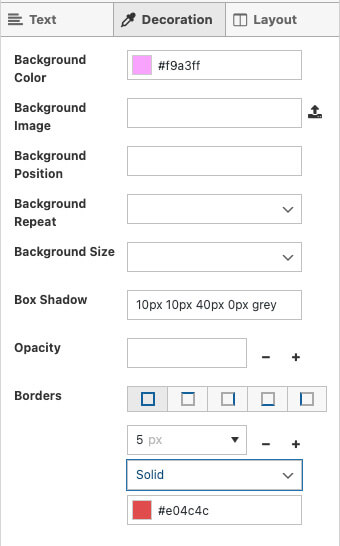
Similar to the CF7 WOW plugin, we can also change any part of this form, including font and text sizes, border and background colors, etc.
Go through the different styling options and change the property values to match your needs.
To add a background, navigate to the decoration tab and choose a color. You can also add borders and shadows from the same screen.
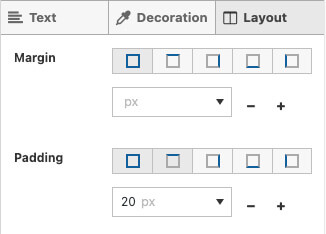
To add padding and make it more spacious, click on the layout tab and increase the padding numbers.
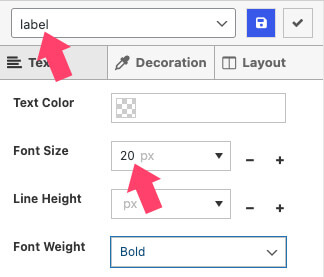
Then, click back on the label tag again and ensure it appears at the top of the styling sidebar.
Adjust the font size, weight, and other values, and see what the form looks like on the right.
Once done with the labels, click on the button element and style it. I changed its background color in our example and made it full width.

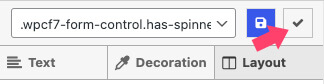
After styling every part of your form, click on the checkmark icon to save the CSS rules.
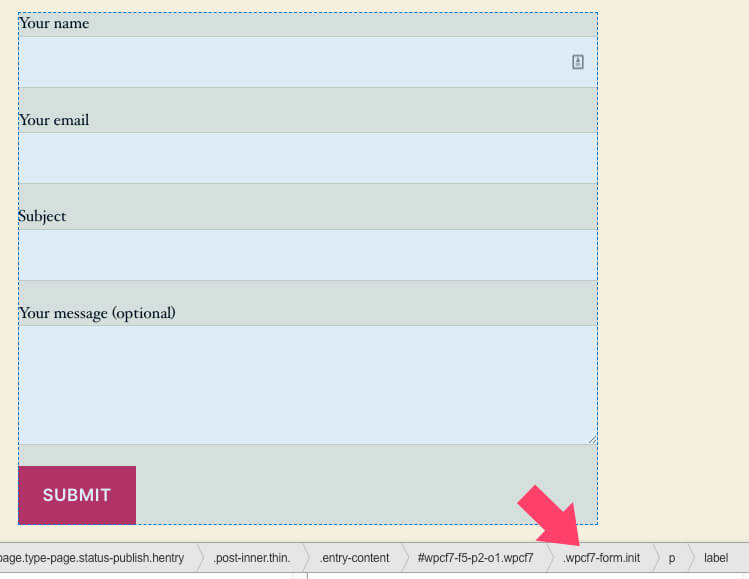
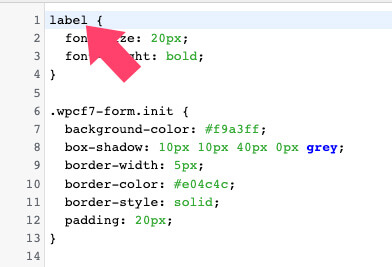
Saving the changes will take you back to the editor screen, where you can see all the CSS rules applied to the form.
Notice that any rule that doesn’t start with the wpcf7 class, such as the label one in the picture below, will affect the tag globally, which is not recommended.
Therefore, add .wpcf7-form to the left of those tags to only affect the properties of the Contact Form 7 plugin.
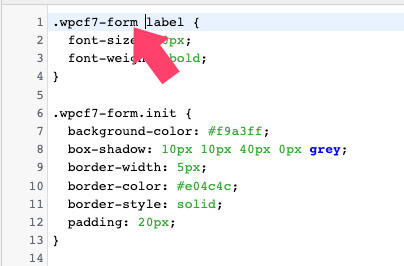
Then, save the changes and visit the page with the form again to ensure it looks as you styled it.
Bonus: Save the CSS Rules
The nice thing about the SiteOrigin plugin is that it provides you with the CSS rules it’s using to style the form.
If you’re only using the plugin to style the CF7 forms, we can use the rules and then deactivate the plugin.
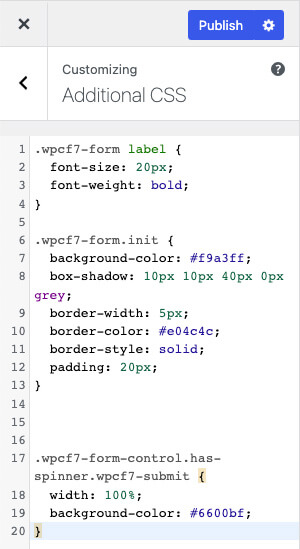
Navigate to Appearance -> Custom CSS and copy all the CSS rules from the editor screen on the left.
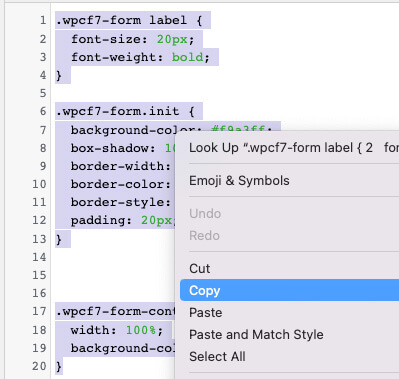
Then, paste the rules into the Additional CSS section inside the customization screen, and save the changes.
Once pasted, move on to the plugins page and deactivate the SiteOrigin plugin. Although the plugin is no longer active, recheck the form and ensure it still looks the same.
Conclusion
This article showed you how to style Contact Form 7 in a couple of ways, once by using a dedicated plugin and second by using a visual editor.
Leave us a comment and tell us which method you followed to achieve this task.
Also, make sure to subscribe to our YouTube channel and like our page on Facebook.