Are you looking for an easy way to customize your website appearance?
WordPress themes come preloaded with their default look and feel. Often, changing the theme’s face will require you to use a page builder plugin such as Elementor or code the CSS rules yourself.
The bypass solution to that is using a visual editor styler plugin named YellowPencil.
In this article, we will walk through and review the YellowPencil plugin for WordPress.
What is the YellowPencil Plugin?
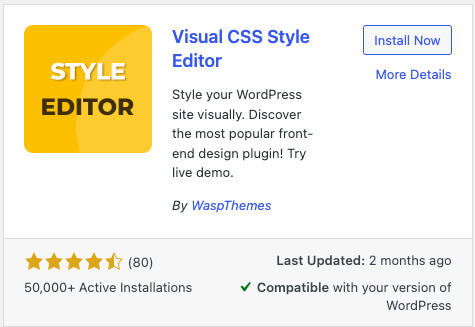
The Wasp team developed the YellowPencil plugin, and it’s a great tool to customize your website’s appearance.
There are thousands of WordPress themes, and testing them all to find one that looks the best is not practical.
The better way is to choose a suitable theme for your needs and style it how you want it to look.
Once you choose your desired theme, the YellowPencil will enable you to target the elements on the pages and change them with the visual editor tools.
The YellowPencil plugin is replacing you from writing the CSS rules to styling the elements. That will save you time and guessing work.
How to Use the YellowPencil Plugin
YellowPencil is a similar plugin to the ones we explored in our WordPress CSS article, and it initially works the same.
First, navigate to Plugins -> Add New, and install the YellowPencil plugin.
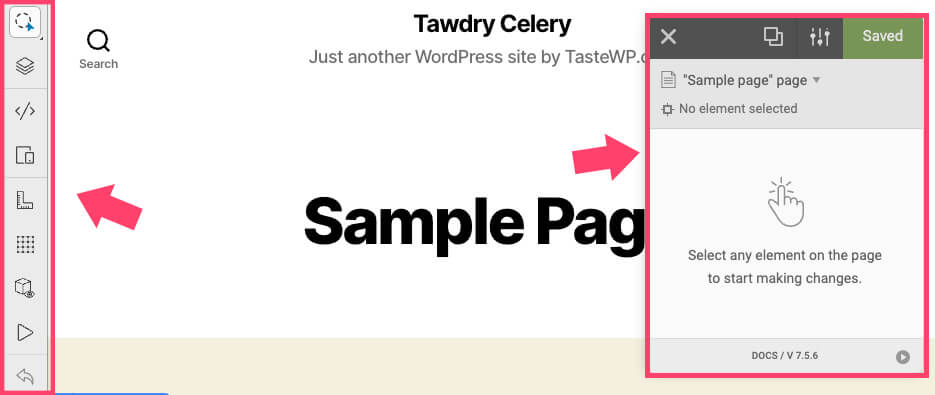
Once activated, navigate to any page or post that you would like to style and click on the brush icon at the top.

The visual editor screen will open up in a new window and will have two panels. The one on the left is the utility panel, while the one on the right is the elements panel.
The utility sidebar will load with various tools to help you understand the structure and the properties of the page or the element you’re working with.
For example, clicking on the wireframe option will show you the sections and columns that are assembling your page.

Understanding the page’s DOM structure will help you to make wiser decisions on how to style your website.
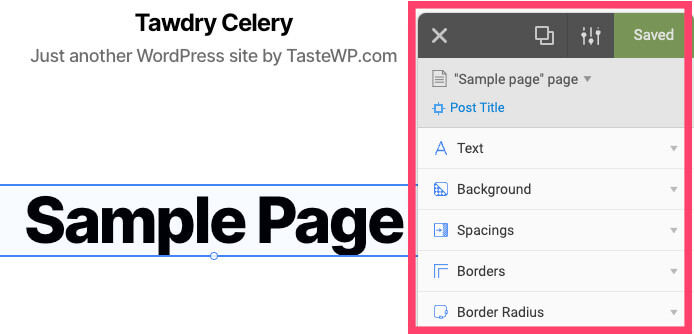
When you’re ready to start customizing your website, hover your mouse on any of the page’s elements and select it.
Once selected, the element’s sidebar on the right will be populated with relevant options regarding your selection.
Now, we can move forward and explore some of the styling tools.
The Styling Sidebar
The styling sidebar offers us many options to change the look of the page.
If we select a paragraph tag, for example, we will have relevant tools to style the appearance of the paragraph.
Some of the various options can be the text size, background, border colors, margin, padding, etc.
Assume we would like to assign a background color to the paragraph, expand the background tab, and use the color wheel to choose your desired color.
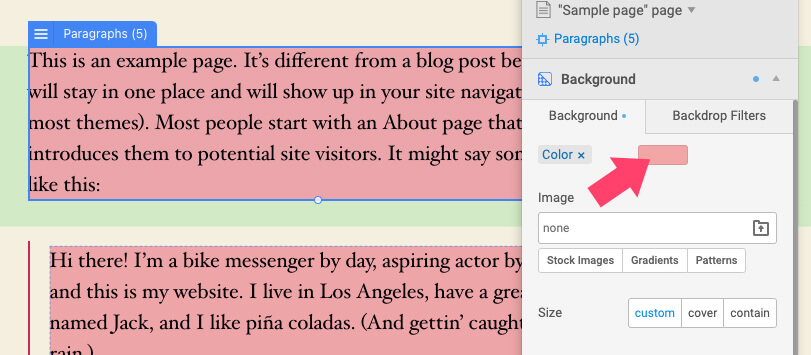
After performing the change, you’ll notice that the style rule was applied to all five paragraphs of the page.
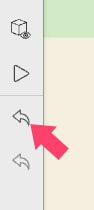
If you intended to style all the elements that share the same tag, you did it. However, if your initial intention was to change the specific component you selected, click on the back button to revert.

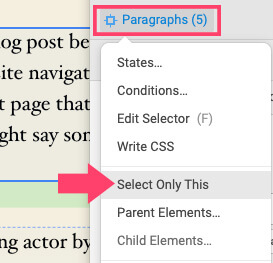
Then, select the relevant item once again, and notice the number that appears on the right sidebar. That number (next to the selected tag) indicates how many elements you are about to edit on the page.
Therefore, if you would like to edit just the specific selector, click on the number and choose the select-only option.
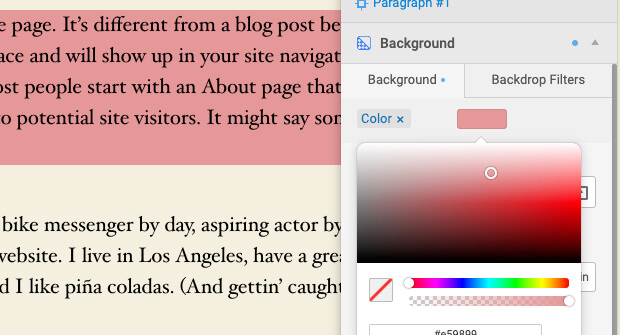
Once selected, all the changes will be performed on that specific element only.
When you’re satisfied with the results, save the changes and revisit the page to make sure the changes are live.
Responsive Design
A great feature of the YellowPencil plugin is the ability to style your website to look beautiful on every screen size, including mobile devices.
You can apply a different set of CSS rules based on the screen breaking point.
Let’s take our paragraph example once again and change its font size on mobile view only.
Thus, click on the responsive icon from the utility bar and select the desired screen size from the top bar.
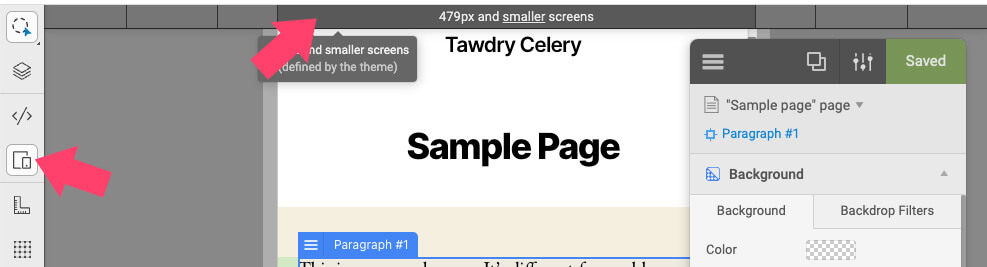
Then, click on your desired element and style it by using the editor tools that we explored earlier.
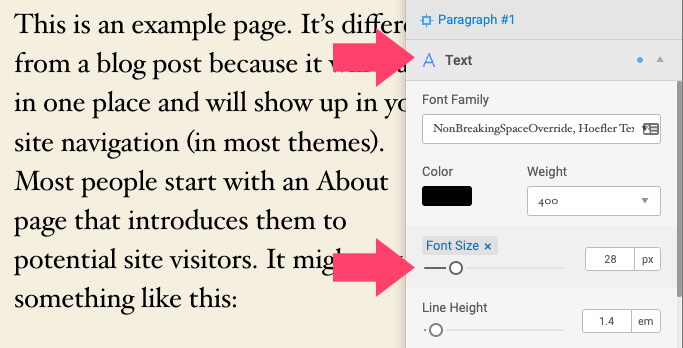
To change the font size, expand the text tab and drag the sidebar to the right to make the text bigger or to the left to make it smaller.
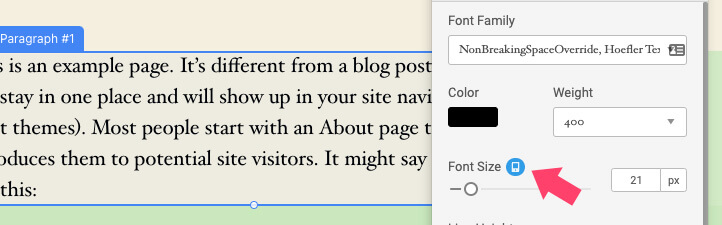
The changes will only be applied to the element/s when displayed on that screen size. You can turn off the responsive mode and verify that the text size remains the same for other screen sizes.
In addition, a blue screen icon is now being displayed next to the changed property to indicate that the element has been edited on another screen size.
Please remember to save the changes and revisit the page using your smartphone to make sure the updates are taking effect.
Customize it With CSS
Behind the scene, every chance you’ll apply to any element on the page will be inserted as a CSS rule to the plugin’s panel.
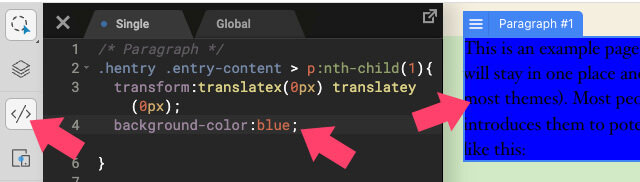
To view all the changes you created, click on the code icon from the utility bar to open the CSS editor.
Through the CSS screen, you can add custom rules that are not available when using the design’s sidebar.
For example, if we would like to change the background color of the paragraph, we can modify it inside the CSS editor.
The updates will take place immediately and overwrite the changes you created with the design panel. You can always undo the changes by clicking on the back arrow icon or simply using the visual editor to style it differently.
Although that screen is for more advanced users and probably irrelevant to others, I find it essential to be familiar with it in case you’d like to add your customization.
YellowPencil Free vs. Pro
The free version of the YellowPencil plugin, although limited, still comes with many customization options.
The main differences between the two versions are that the YellowPencil free version does not include font family, color, animation, size, and background properties.
However, you can still use the CSS editor of the plugin to add the properties yourself. In our how-to change WordPress links’ color article, we provided the correct CSS rules to perform this task. Feel free to copy the CSS rules from there and use them inside the plugin’s editor.
That being said, the affordable price of the YellowPencil pro version makes it a no-brainer decision to get the full version and enjoy all the great features that the plugin is offering us.
You can get the pro version from the official website for a total price of $26 or from us for only $4.99.
Conclusion
The YellowPencil is a powerful visual editor plugin for WordPress to help you simplify the process of styling your website.
Being such a robust plugin with many customization options makes it one of the best WordPress tools that every site owner must have.
Also, make sure to subscribe to our YouTube channel and like our page on Facebook.