A timeline section presents numerous events that occurred in a certain period.
Companies use the timeline section to display their highlights since they were established up to the current point.
This article will learn how to create a timeline content with Elementor.
What is a Timeline Content
As mentioned above, a website’s timeline will display essential milestones in the company’s life.
There are many different timelines examples, and you can mostly find them in the ‘about us’ pages of the big companies’ websites.
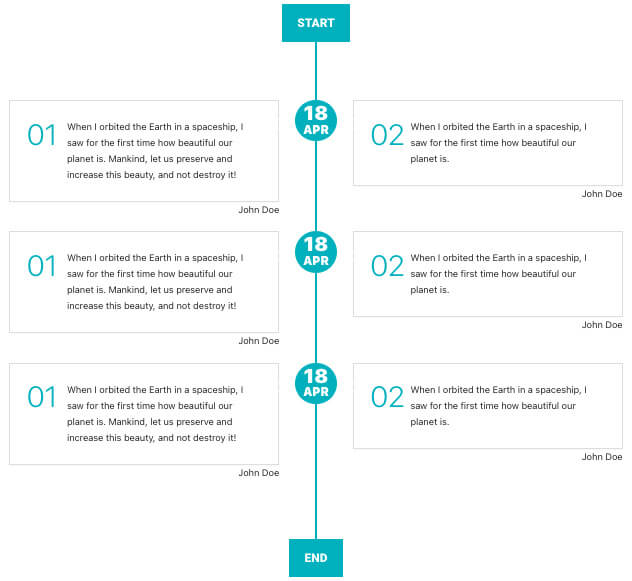
The timeline section usually contains three different components:
- The event.
- The year it happened.
- Spine to connect between the different events on the timeline.

Elementor does not have a widget to create a timeline out of the box.
However, we can still use Elementor to create timeline content in two different ways.
- Using the HTML widget.
- Using an external Elementor widget.
I’ll show you both ways in this tutorial, and let’s start with the first option.
Create a Timeline with the Elementor HTML Widget
If you already have the timeline HTML structure, drag the HTML widget to your desired column and paste it inside the widget afterward.
If you don’t have the HTML code yet, you’ll need to find one that you like.
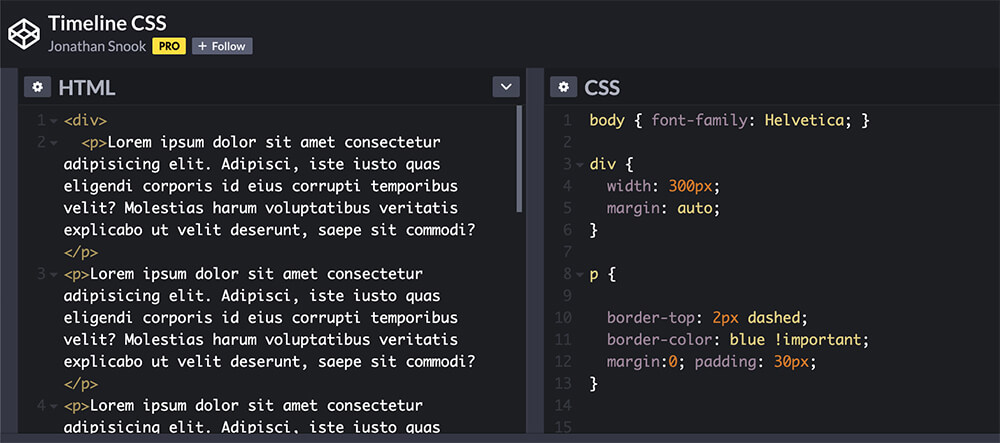
In this example, we will use a simple timeline structure by w3schools. However, later in the article, I’ll show you where to find other alternatives.
The timeline above contains an HTML structure and CSS to style it.
Use the HTML widget
The first step is to drag the Elementor HTML widget into the desired location.

HTML structure
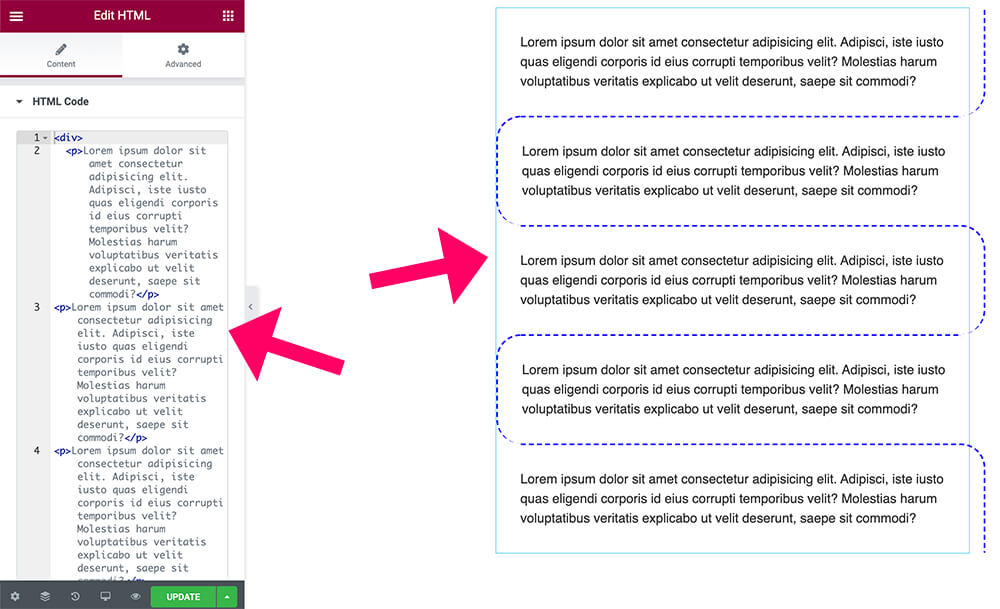
Once you have positioned the widget in the desired location, copy the HTML structure from the link above.
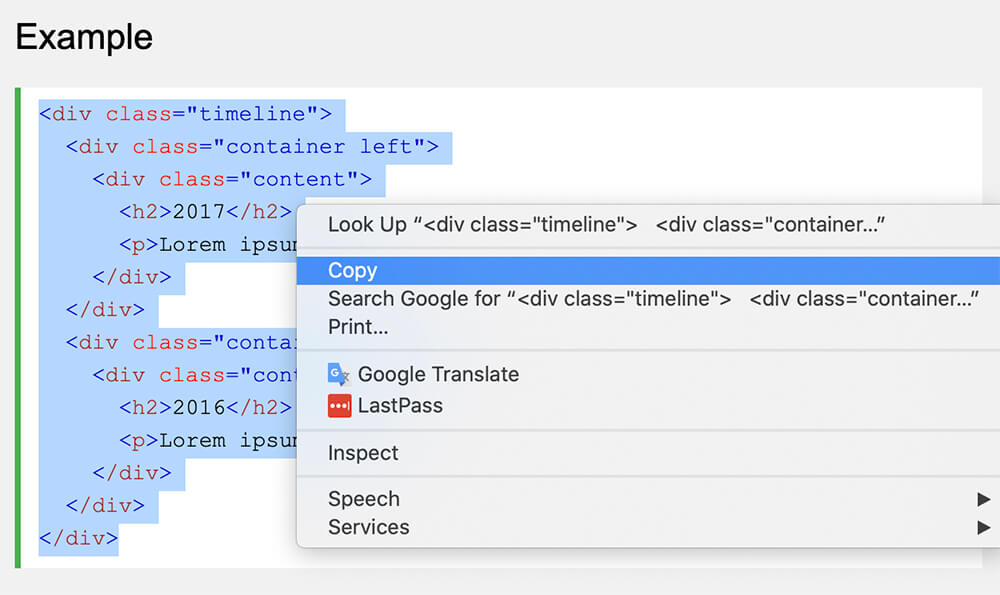
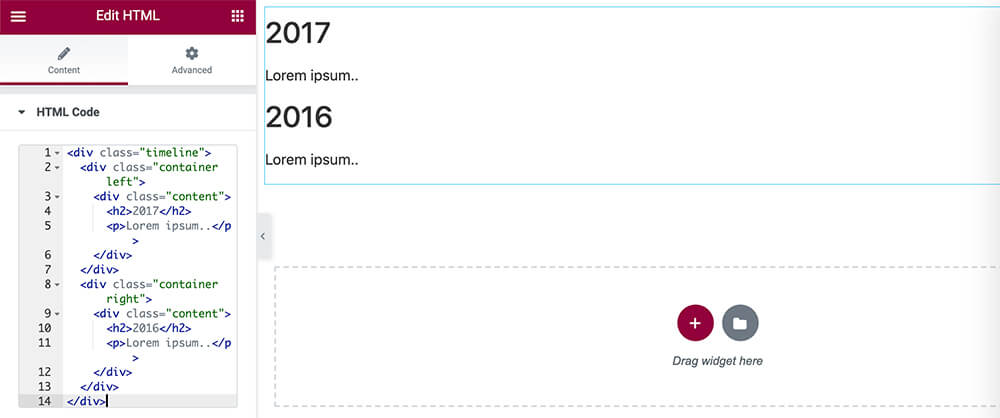
Then, paste it inside the HTML code box of the widget.
Once you do it, you will see the new un-styled timeline content on the right.
Style it with CSS
Finally, all we have left to do is copy the CSS rules and paste them inside the widget.
First, copy the CSS rules from the w3schools link above.
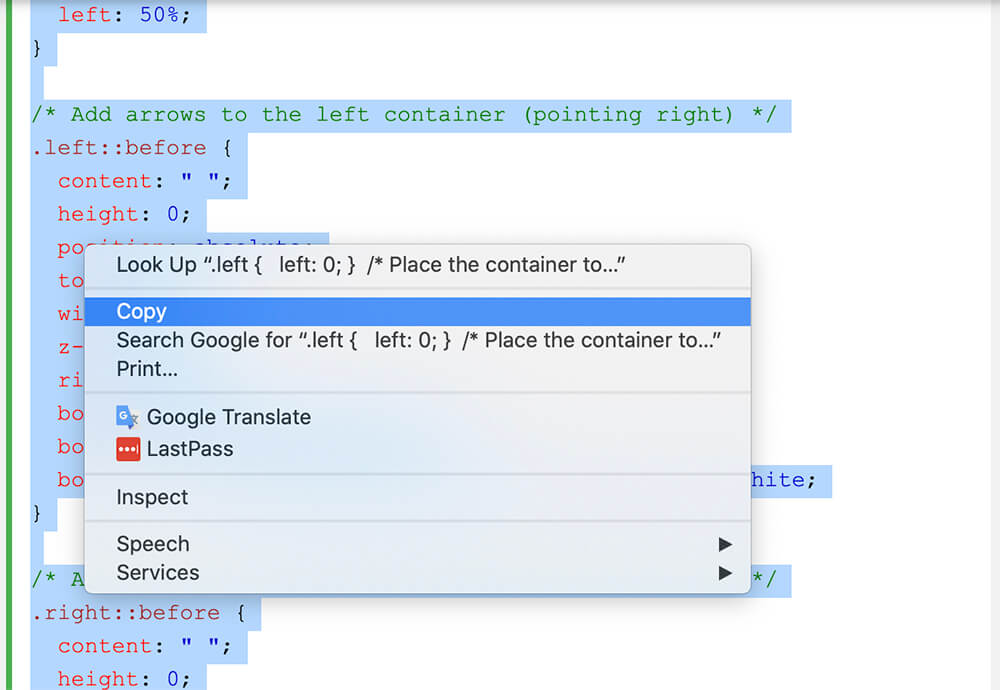
Then, navigate to the Advanced tab of the Elementor HTML widget and paste the CSS rules inside the Custom CSS option.
After pasting the CSS rules, the timeline section will be styled better.
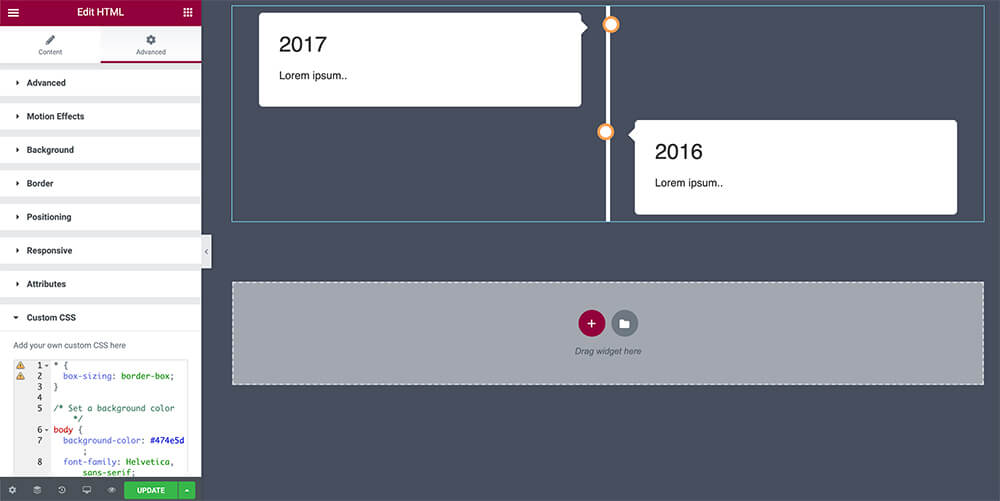
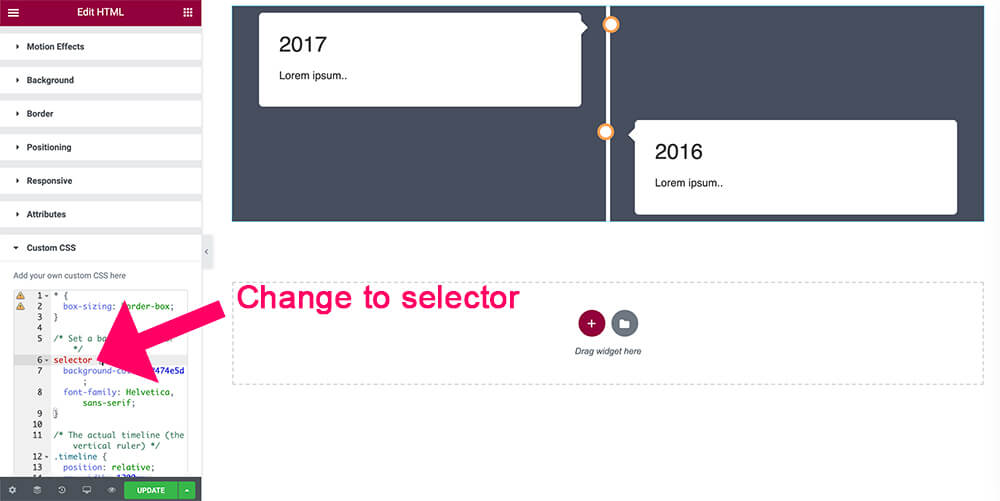
Please note that the background color was applied to the entire page and not only to the section itself.
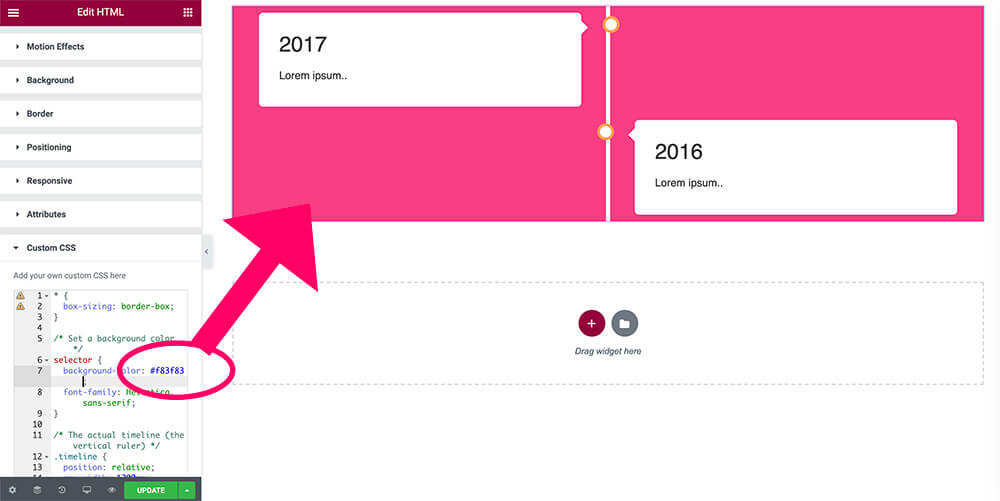
To fix that, change the body to selector and that should fix it.
Because the HTML widget of Elementor does not have a Style tab, you’ll need to know some basic CSS if you would like to change the colors or sizes of the elements.
If you know your way around, now is the time to add your extra touch and style it even further.
However, if you prefer to see other timeline examples, keep reading.
More HTML timeline examples
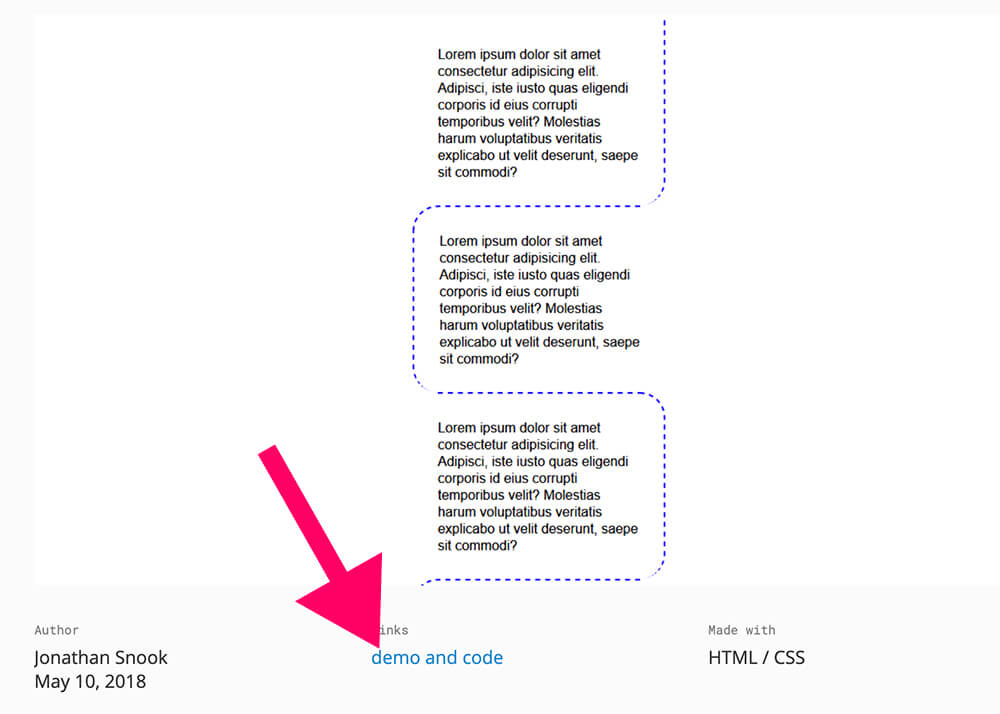
If you like the idea of using the HTML widget to create the timeline, check more beautiful timeline sections by FreeFrontend to get inspiration.
Once you have found the timeline design you like, click on the demo and code link to get the HTML structure and the CSS rules.
Then, copy the HTML and the CSS and paste them inside the Elementor HTML widget.
The result will look stunning and professional. Now, design and customize it as you wish.
Use a Premade Timeline Template
Like the method above, various talented developers have created many timeline structures.
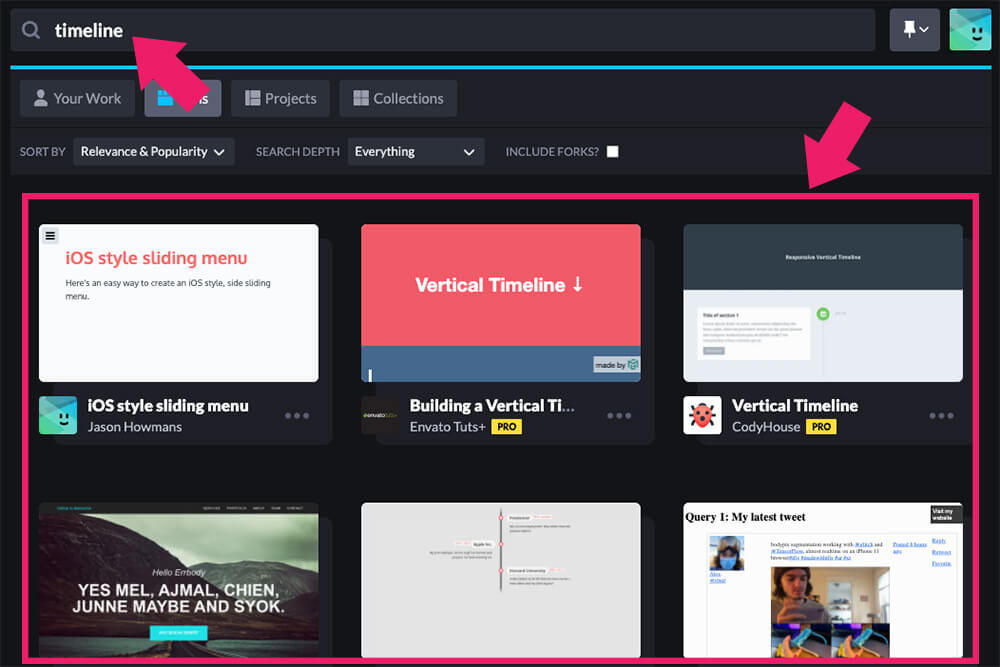
Another excellent timeline source is online code editor sites like CodePen or JSFiddle.
Navigate to Codepen, and search for timeline modules. The results will display multiple vertical and horizontal timelines from different developers.
Your desired timeline is structured by three different markup languages: HTML, CSS, and JavaScript. Each markup will be in a separate window with an example of the final result.
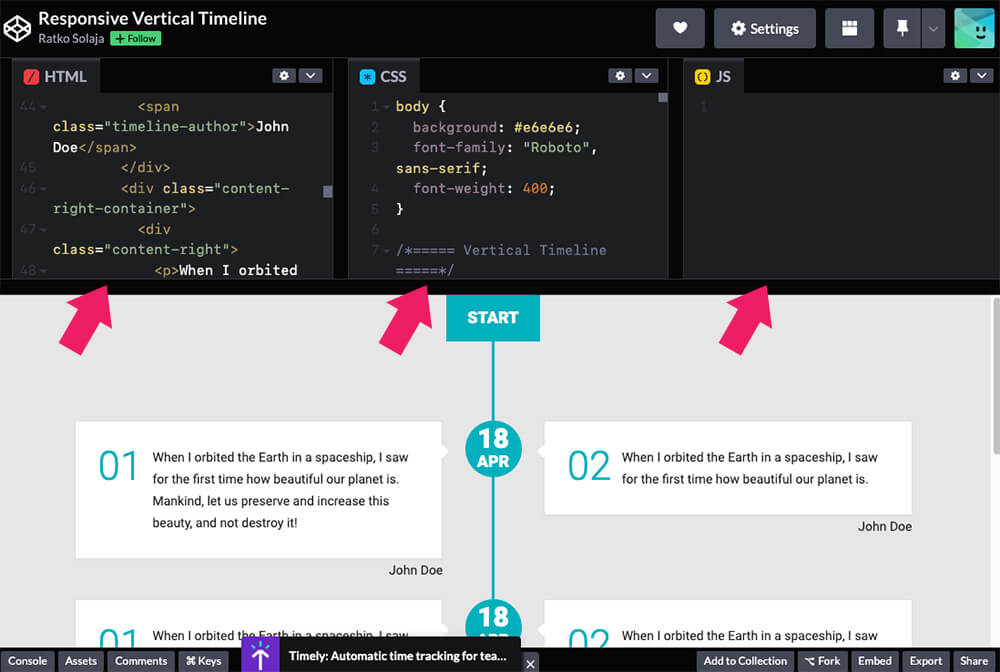
As we did above, start copying the HTML and pasting it inside the Elementor HTML widget. Then you can change the events’ words and dates based on your preferences.
Then, copy the CSS code and paste it inside the custom CSS under the advanced tab.
You may need to modify the CSS by adding the Elementor selector keyword only to target the timeline specifically.
Once saved, visit your website and ensure the timeline looks as expected.
Most times, the timeline doesn’t require JS to function properly. However, if your desired timeline contains JS, read our article on adding JavaScript to Elementor to complete the process.
Add a Timeline Widget to Elementor
To create a timeline with an Elementor widget, we will first need an extension library plugin to add an extra set of widgets to Elementor.
Although there are many great extension plugins for Elementor, we will focus on Happy Addons in this section.
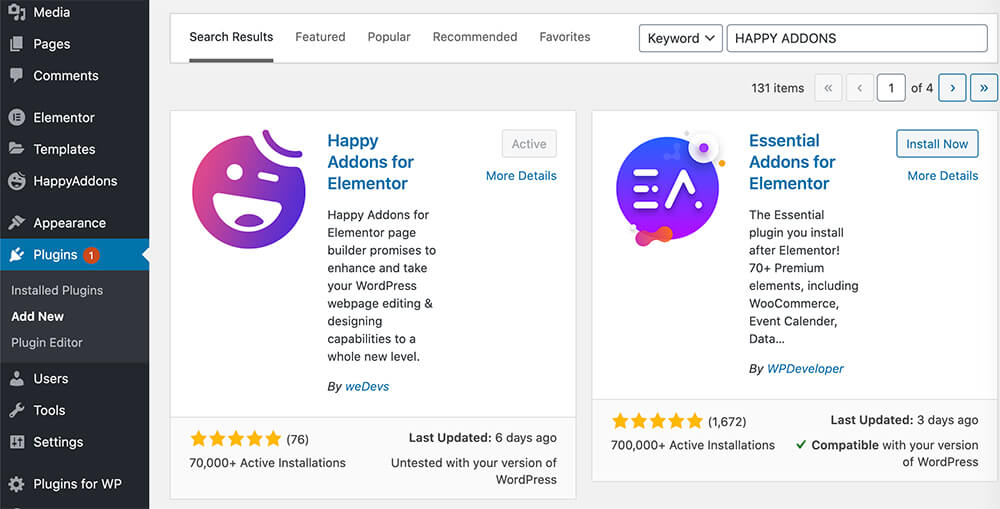
Step #1: install the plugin
To add the Happy Addons plugin, navigate to Plugins -> Add New and search for Happy Addons. Then, Install and Activate the first result on the left.
Now, we will need to install the pro version of Happy Addons. You can get the pro version from the official website for the total price or from us for only $4.99. It’s the same plugin, and the only difference is that we don’t provide technical support for the plugin.
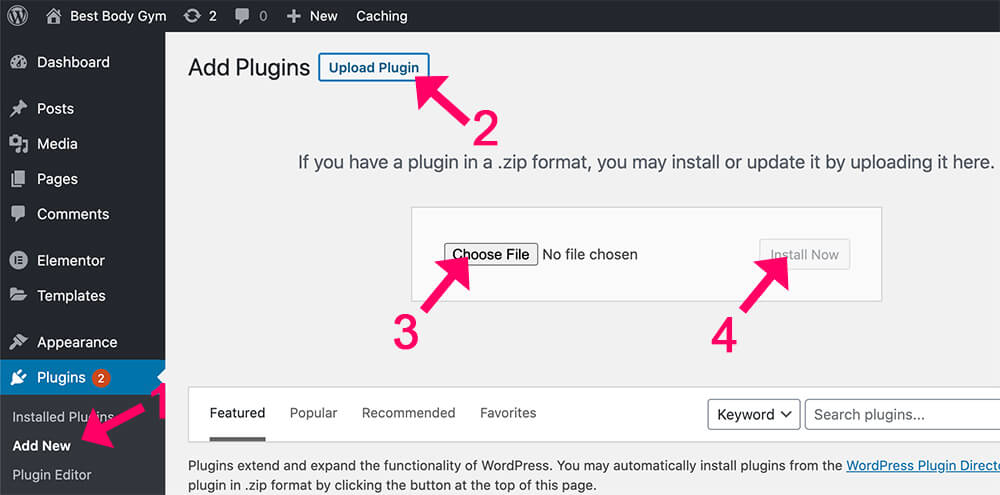
After downloading the pro version, upload it to your WordPress website by navigating to Plugins -> Add New -> Upload Plugin, choose the zip file and install it.
Step #2: use the timeline widget
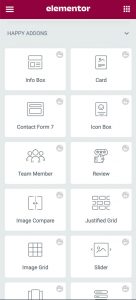
Once activating the Happy Addons for Elementor plugin, it added many new widgets to your library, and you can find them under the Happy Addons tab.
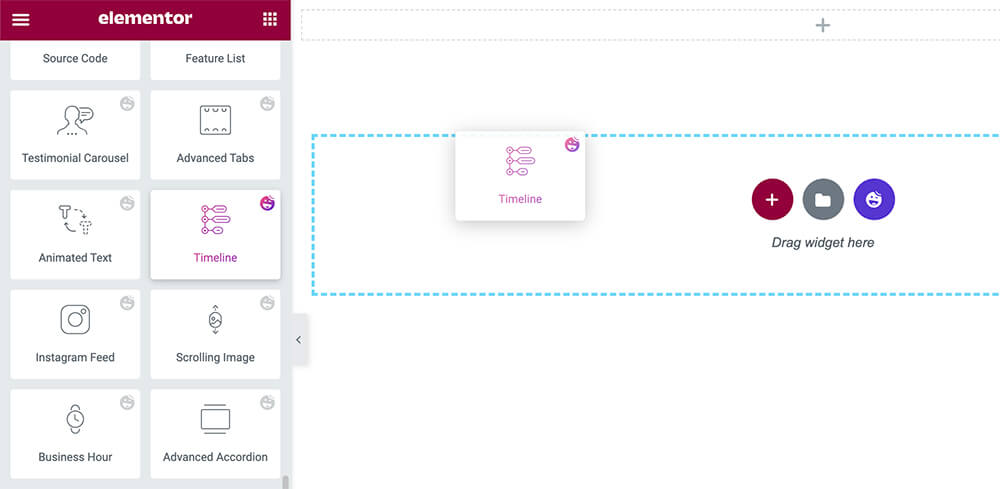
Look for the timeline widget and drag it to the desired location.
The Happy Addons widgets act precisely like any official Elementor widget and contain three tabs: content, style, and advanced.
I chose this specific plugin because of the various timeline options.
Expand the presets option under the content tab and browse between the different timelines options.
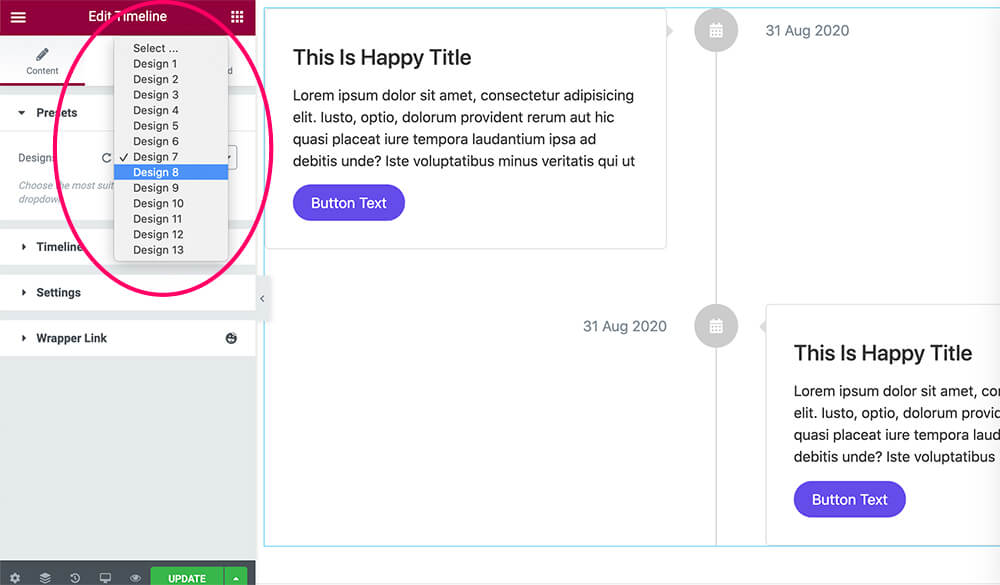
Then, please select the one you like most and move forward to add more events to it.
Step #3: modify the structure
Under the Timeline option, you can add more events to the section.
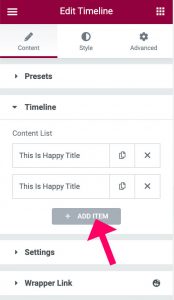
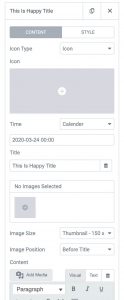
After building the timeline events, click on each event to change its icon, date, image, and description.
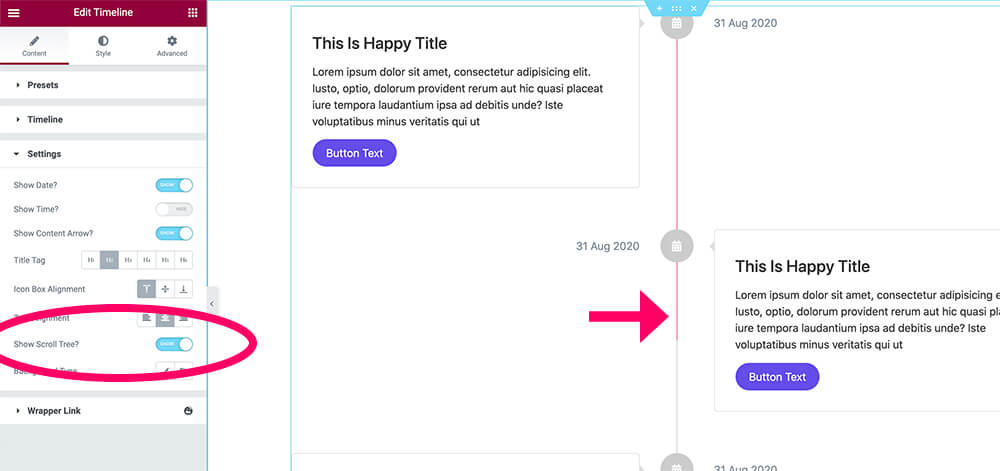
Then, expand the Settings tab to enable or disable various structure parts.
Under the settings option, you can show or hide the dates in the spine arrows and even align the boxes in different ways.
Another excellent option of the settings tab is the Show Scroll Tree. The spine color (scroll tree) will be painted when scrolling down the timeline by enabling this option.
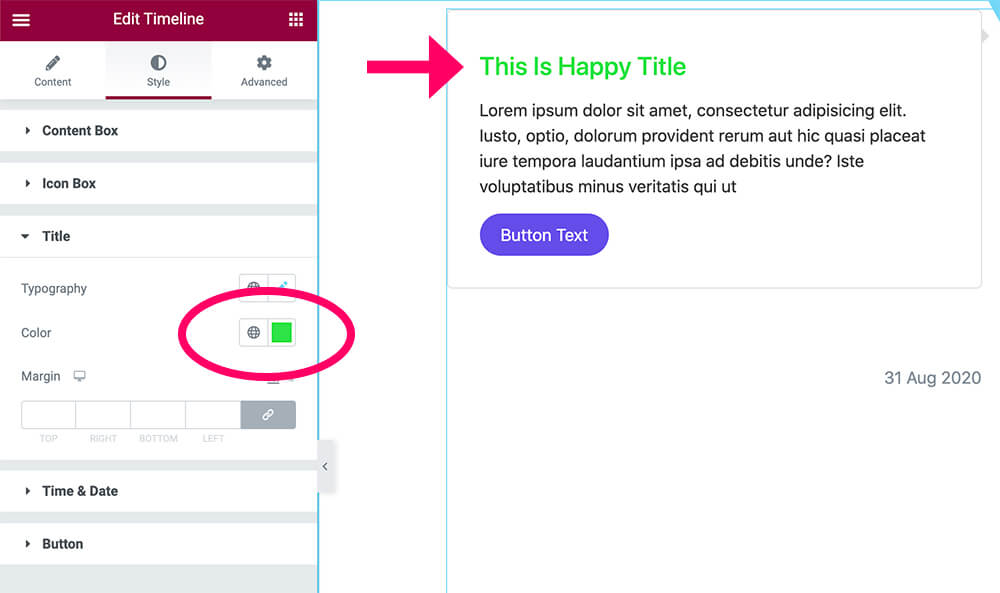
When you are done building the timeline structure, move on to the style tab to change the colors of the elements to match your website and brand.
Inside the Style tab, you can customize any part of the widget like the content box, icon box, title, time & date, and button.
For example, if we want to change the content title color, we will expand the Title tab and choose a different color.
When finished customizing your timeline section, publish and revisit your page to view your new section.
More Elementor timeline widgets
As I said above, the Happy Addons for Elementor plugin is only one out of many plugins that will add widgets to Elementor.
Here is a list of alternative plugins that also have an Elementor timeline widget:
- Ultimate Addons for Elementor
- Essential Addons
- Croco Blocks
- Unlimited Elements
- The Plus Addons
- Piotnet Addons
- Namogo Extras
- Element Pack
- Premium Addons
If you debate which plugin to use, check out our unlimited download plans and download them all for a small fixed price.
Frequently Asked Questions About Creating a Timeline with Elementor
The Happy Addons plugin is our preferred extension because of its sleek and beautiful designs. However, all the plugins mentioned in the list above have great widgets worth checking.
Yes, you can! Happy Addons offer a horizontal timeline widget. Activate the pro version on your website and access it from the Elementor screen.
The timeline content is responsive and will look great on any device. You can make it mobile-friendly with CSS or automatically using the Happy Addons widget.
There are no limitations. You can add unlimited events to your timeline section.
Conclusion
In this article, you learned how to add a timeline section to your website with Elementor.
Let us know below if you used the HTML widget or a plugin (and which one) to achieve it.
Also, make sure to subscribe to our YouTube channel and like our page on Facebook.