Your website’s sidebar is one of the most effective ways to capture customers’ attention.
Businesses strategically use that valued real estate to promote offers or place ads to increase their revenue.
Posting content or an image widget in the sidebar is a wise strategy that can benefit your website differently. Some advantages can improve the engagement rate, while others can keep your visitors longer.
Scrolling the page down will remove the widget from the sight view, and as a result, it won’t use the maximum potential of the widget.
Because profit optimization is one of the most critical aspects of every business, we need to find a way to keep the widget sidebar in view.
This article will show you how to make a sticky widget in WordPress in multiple ways.
Why Make a Sticky Widget
A sticky widget can help your WordPress website immensely in a few ways:
- First, it wins your customer’s attention to the offer you want to promote.
- It always stays on the screen, making it impossible to miss it.
- Place an ad that will always be visible, increasing the chance for users to click on it, which will get you more revenue.
- Clicks will improve the SEO engagement parameter, increasing your rank in search engines.
- A sticky widget that leads to another internal page on your website will decrease your bounce rate. The lower the bounce rate, the better.
All the reasons above, plus many more, are why we make the widget float on our product pages.
Now that you know why your website can also take advantage of a sticky widget, let’s learn how to do it.
In the following few sections, I will show you how to create a sticky sidebar in various ways: using CSS, installing a plugin, or using the Elementor page builder.
Sticky Widget with CSS
Although relatively simple, using the CSS method would be best if you understood the web’s structure layout.
Sticky elements work best with coded themes to support the flexbox design rather than float. However, no one code fits all situations because each theme was coded differently.
Therefore, pasting the code below in your theme’s stylesheet may not work. Instead, try to understand and mimic the showing process for your site.
Our example will demonstrate the process using the GeneratePress theme because it supports the flexbox container.
First, navigate to the Appearance -> Widgets screen, and add the widget (that you want to float) to the bottom of the sidebar.
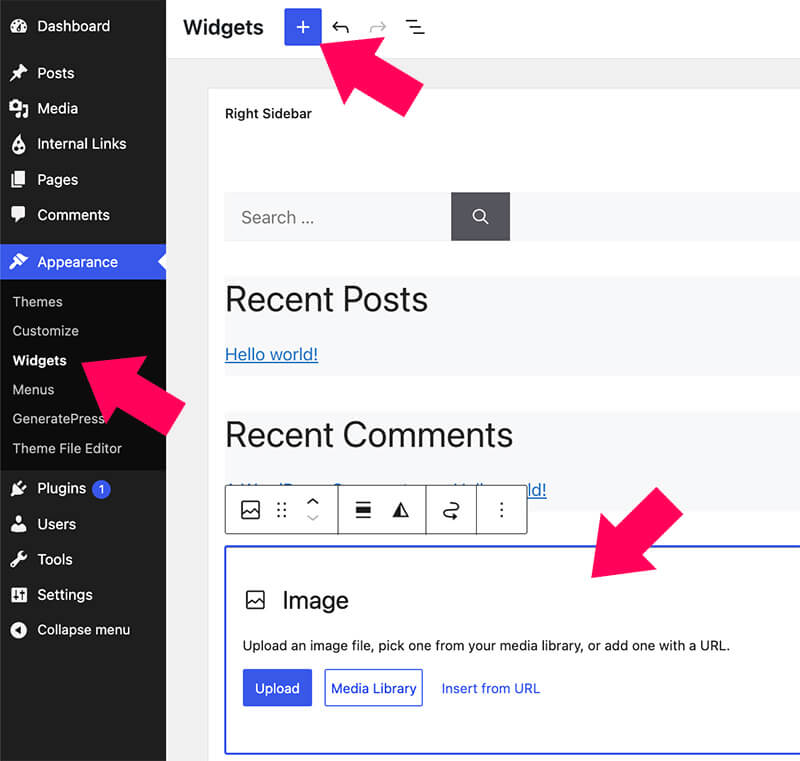
If the floated widget isn’t the last, it will hide the other widgets when scrolling down.
Once added, visit the live page and verify that it was added successfully.
Apply the CSS
For the widget to stick while scrolling down, both the content and the sidebar sections should have the same height.
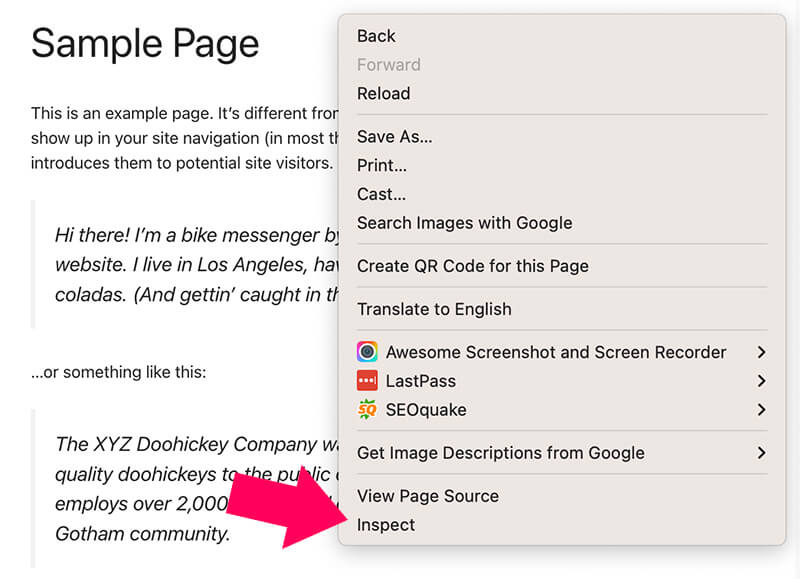
To check if that’s the case, open the inspection tool by right-clicking anywhere on the screen and clicking on inspect.
Then, navigate down the DOM structure, and verify that the sidebar height matches the content height.
If they both have the same height, that’s great. You saved a step. Otherwise, the first CSS code will increase the sidebar height to full.
You can enter CSS inside your child theme’s stylesheet or the customization screen’s Additional CSS tab.
Target the sidebar ID or class and add the height: 100% CSS rule to it.
.sidebar {
height: 100%;
}
Save the changes and verify that the sidebar height was extended to take the entire page’s size.
Then, target the widget (by class or ID) that you would like to stick to the page’s top and add the following code:
.sticky-widget {
position: sticky;
top: 20px;
}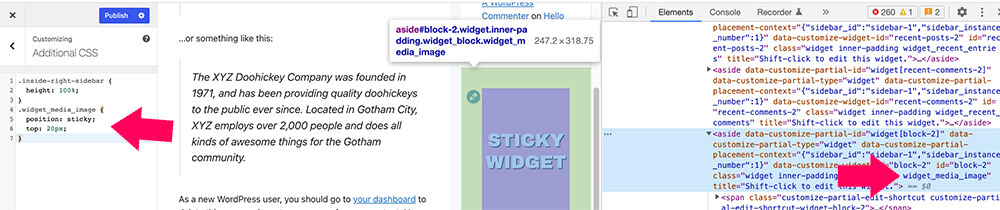
The top value controls the distance of the sticky widget from the top of the screen. Please set it to 0 to position it at the top or increase the number to create some space.
Once applied, visit the page and verify that the widget is floating while scrolling down.

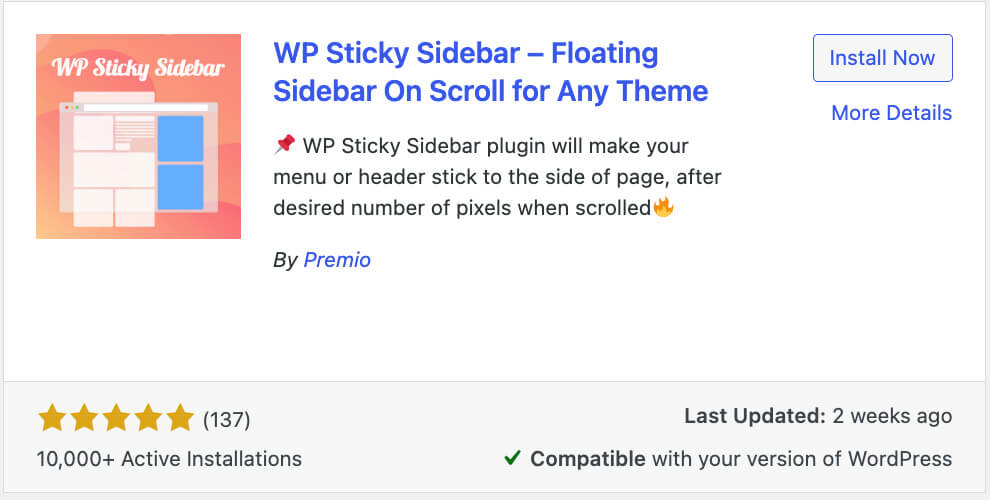
The WP Sticky Sidebar Plugin
The WP Sticky Sidebar plugin will initially do the same thing as the CSS method above.
However, the only difference is that it will work with any theme, whether it supports the flexbox container or the floating layout.
Moreover, it simplifies the CSS process and saves you from writing the rules yourself. Instead, you’ll need to enter a couple of element IDs, and the plugin will do the rest.
First, navigate to the WordPress plugins screen, search for WP Sticky Sidebar and install it on your website.
Once activated, navigate to the plugin’s screen at Settings -> WP Sticky Sidebar.
You’ll need to enter the class or ID of the specific element and the container containing both the sidebar and content.
For this example, we’ll use the OceanWP theme because it was built with a floating layout, and the first CSS method didn’t work.
So, right-click anywhere on the page’s content, and open the inspector tool.
First, we will copy the container’s ID containing both the content and the sidebar. In our example, it’s content-wrap.
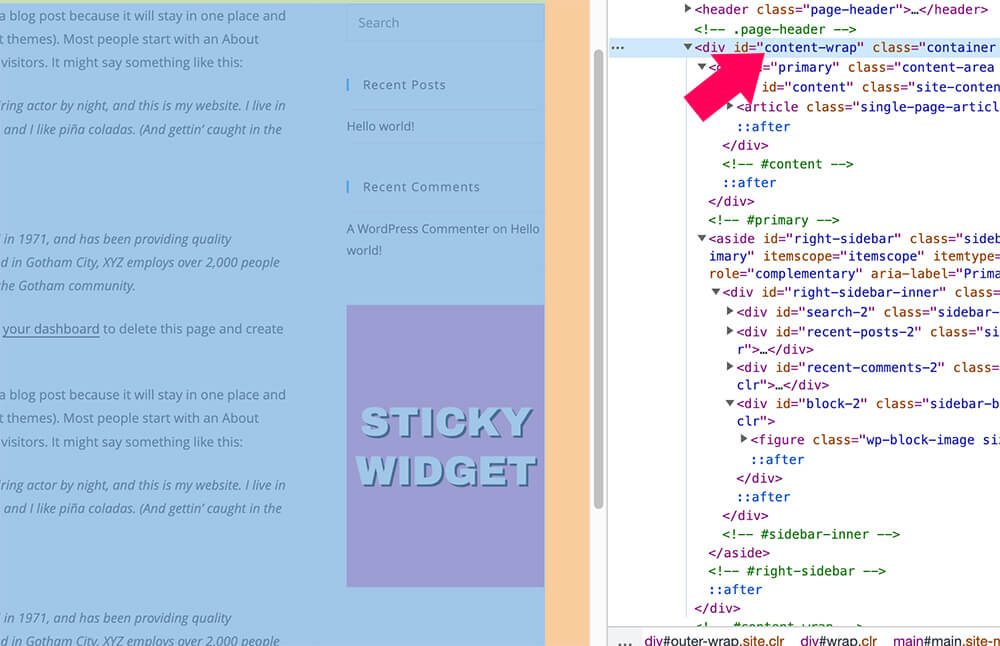
Then, we will copy the widget’s class that we want to set sticky. In our example, it’s widget_media_image.
Once we have both IDs, we will go back to the WP Sticky Sidebar plugin’s screen and paste them into their proper location.
You can also increase the top margin value to a higher number to add space between the screen’s top and the widget.

Please save the changes when done, and refresh the page to verify that the widget is now sticky.
Sticky Widget with Elementor
If you’re one of the many users of Elementor, you’re in luck because you can make the widget sticky without using another plugin.
The sticky feature is part of the Elementor Pro plugin, which you can get from the official website for $59 or us for only $4.99.
After activating Elementor Pro, open the visual editor and navigate to the Advanced tab of the widget that you’d like to set as sticky.
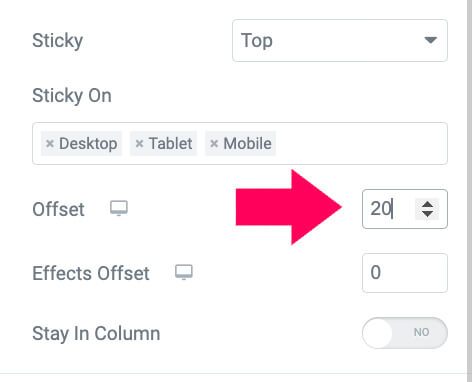
Then, expand the Motion Effects tab and change the Sticky drop-down list to the Top.
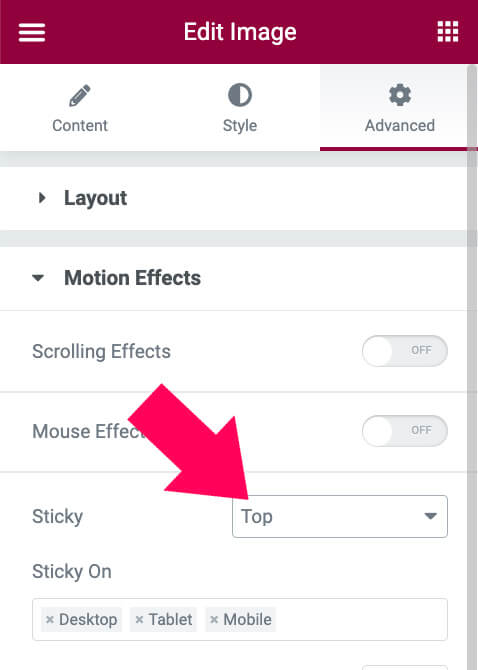
The widget will float immediately after changing the settings and stick to the top of the screen on all devices.
You can also dictate which devices you’d like to enable the sticky widget by removing the unwanted devices from the list.
In addition, you can also set an Offset number to create space between the page’s top and the widget.
Once finished, save the changes and visit the page to ensure it works as expected.
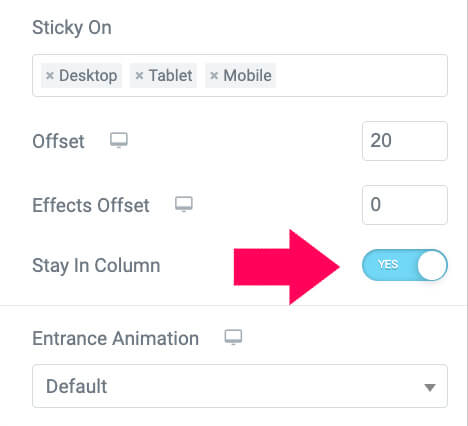
Sometimes, the widget won’t stay within the column’s boundaries and will hide some parts of the footer.
To fix it, enable the Stay In Column toggle button to keep the widget position relative to its sidebar and stay inside it.
Finally, save the changes and test it once again to verify that it’s working well.
Conclusion
This article showed you how to add a sticky widget to a WordPress website in three different ways:
- With CSS rules
- Using a plugin
- Elementor page builder
We also discussed the benefits and pros of the floating widget and why we should add one.
Please leave us a message and tell us which of the methods above you used to achieve this task or if you need us to provide you with the proper CSS rules for your theme.
Also, make sure to subscribe to our YouTube channel and like our page on Facebook.