Email marketing is an extremely efficient strategy that every website must adopt.
With email marketing, you can stay in touch with your site visitors way after they left your website.
Thanks to the fact that Aweber is offering the first 500 subscribers for free, many bloggers are using them to build their email lists.
In this article, you will learn how to integrate Elementor with Aweber to collect leads.
Aweber for WordPress Plugin
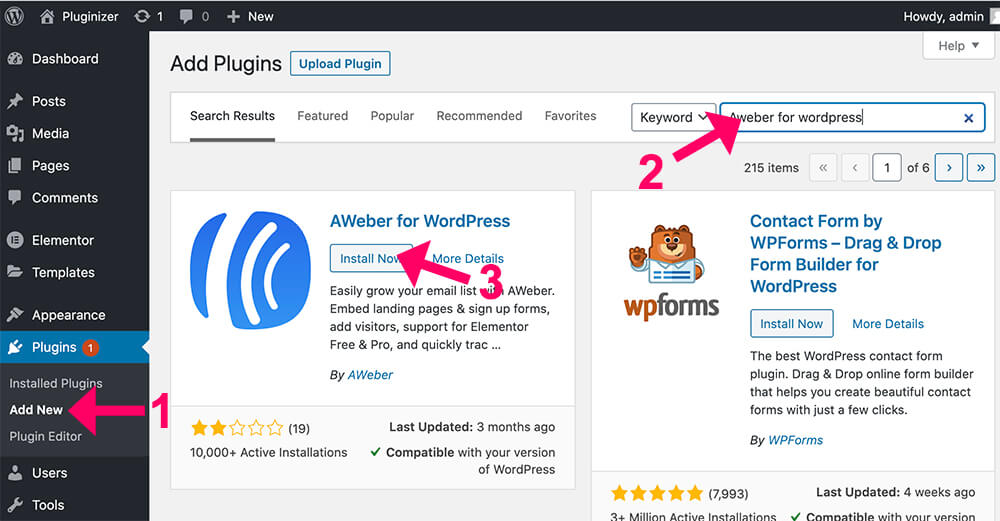
The first thing that we will need to do is to install the Aweber for WordPress plugin.
This plugin will add extra functionality to the popular page builder Elementor.
The Aweber for WordPress plugin will add an extra widget and will let us choose Aweber as the Action After Submit option from the form widget.
Navigate to Plugins -> Add New, search, install, and activate the Aweber for WordPress plugin.
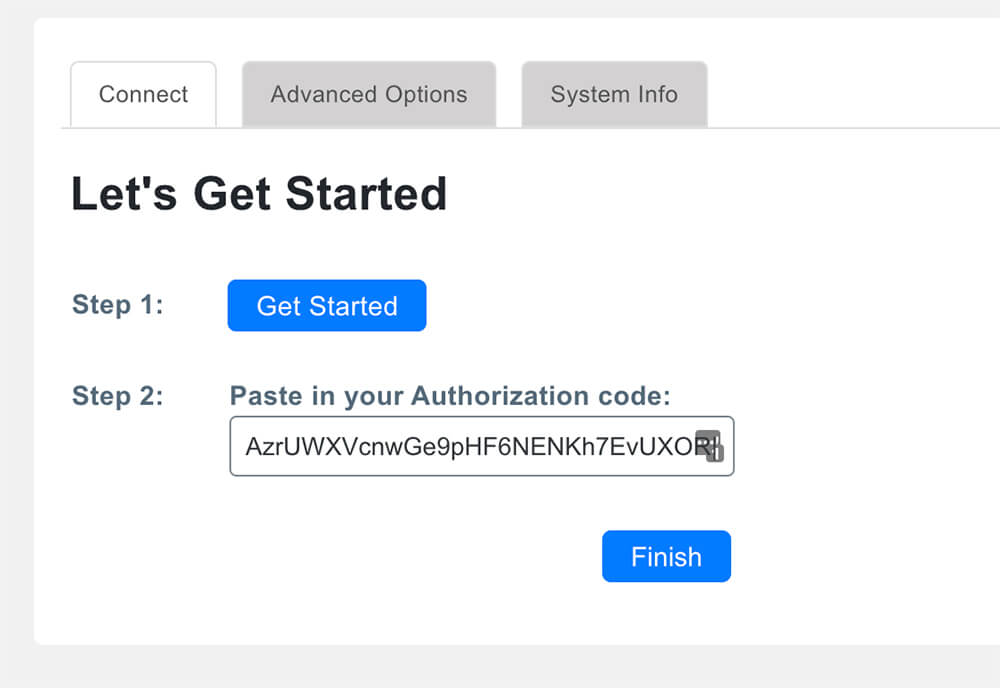
Once activated, navigate to the new Aweber tab from the left sidebar and click on Get Started.
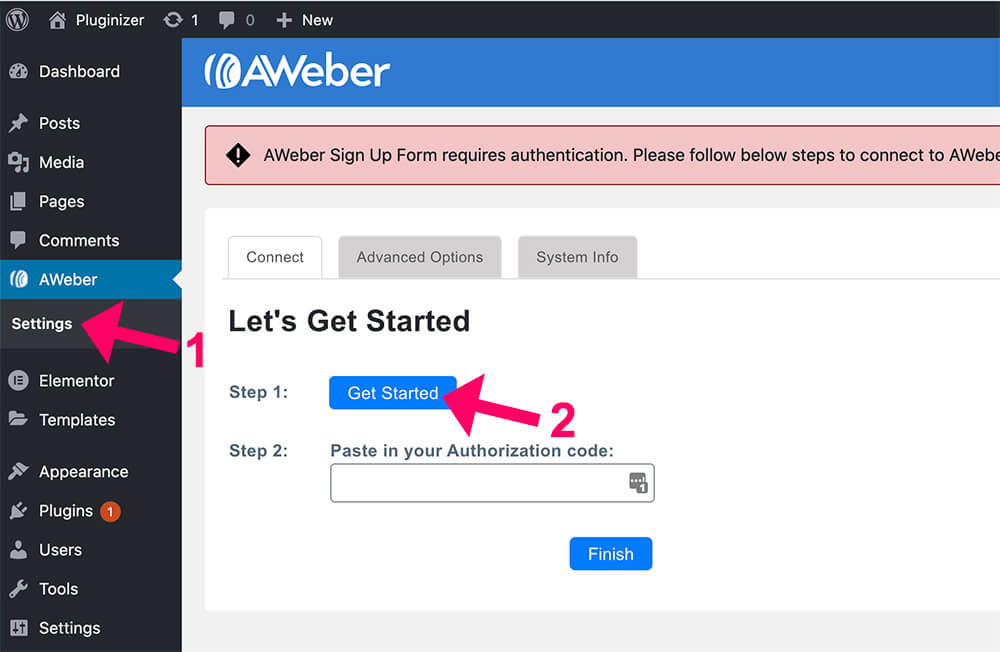
A new tab will ask you to login into your Aweber account. If you don’t have an Aweber account yet, click here and create one with the first 500 subscribers for free.
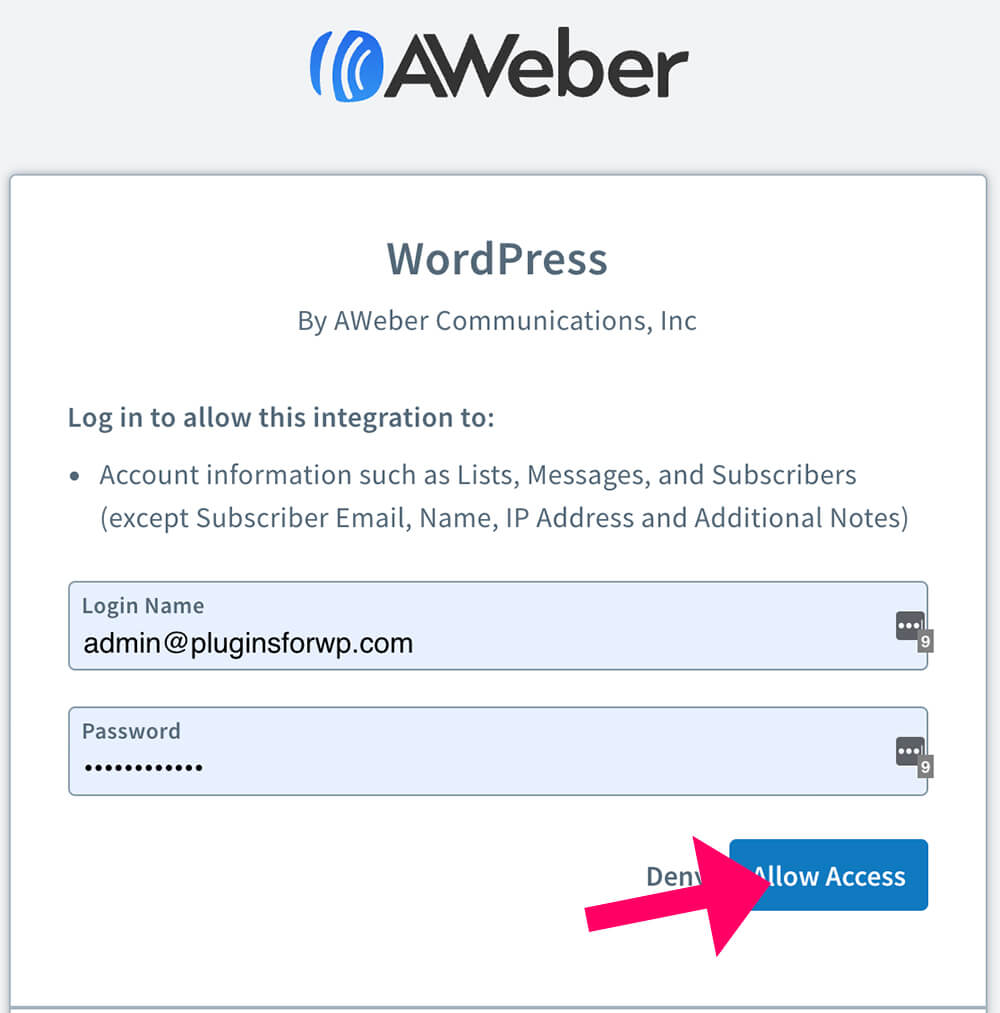
After entering your credentials, click on Allow Access and copy the verification code.
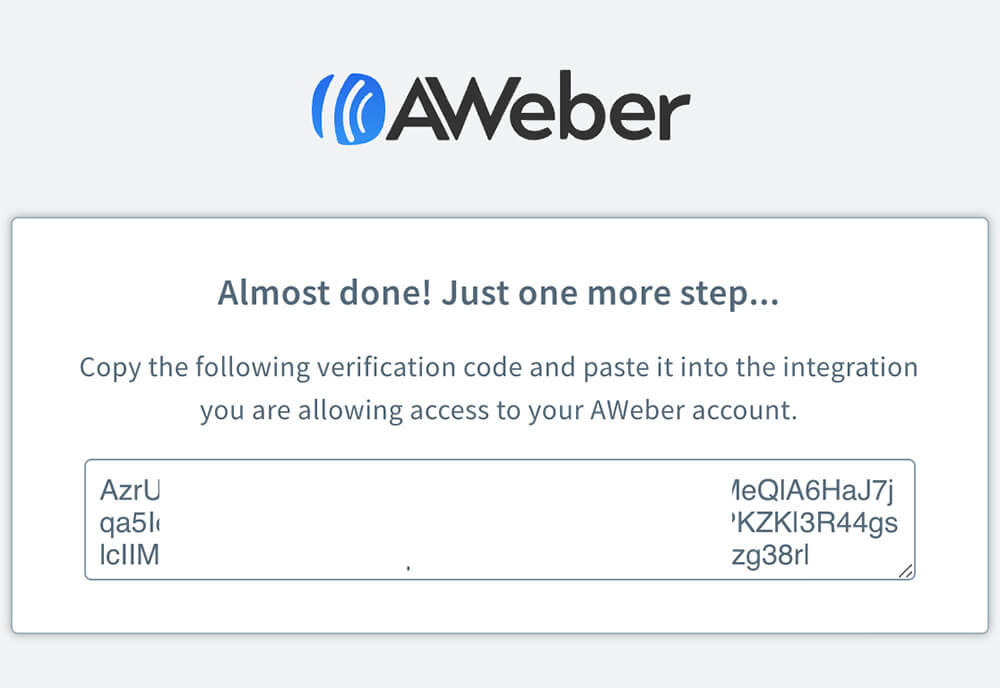
Go back to your WordPress dashboard, paste the verification code in the step 2 field, and click finish.
After integrating Aweber and WordPress, you will be taken to the Advanced Options tab. There you can decide if to add visitors who left comments to your email marketing and to which list.
Make sure to click on the Save button if you changed any of the settings on that page.

Now we can move forward and add an email capture form to our website in two different ways.
The first way is to use the Elementor Aweber widget and the second way is by using the Elementor Pro form widget.
Elementor Aweber Widget
To use the new Aweber widget for Elementor, add the Aweber widget to the desired section of the page.
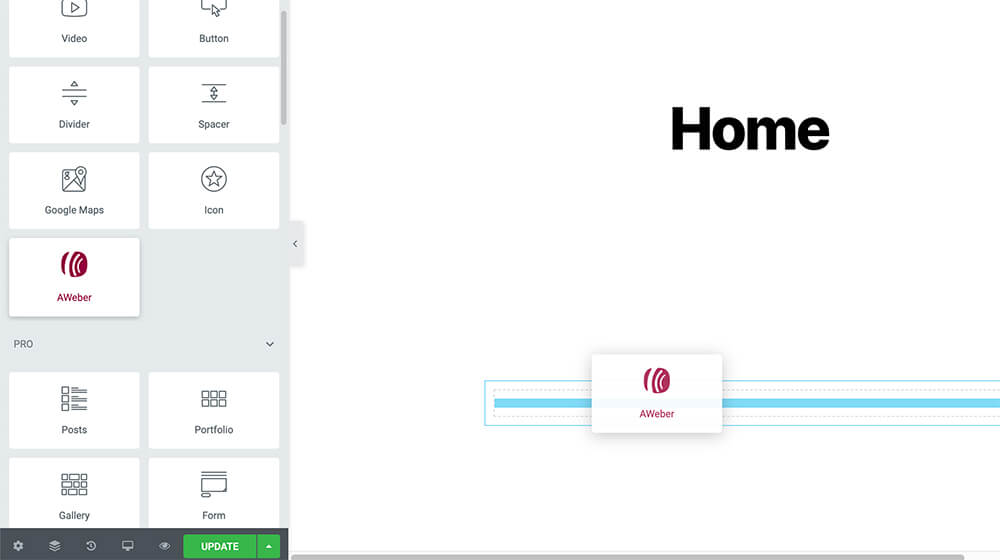
Under the Content tab on the left, chose the email list and the signup form from the drop-down menu.
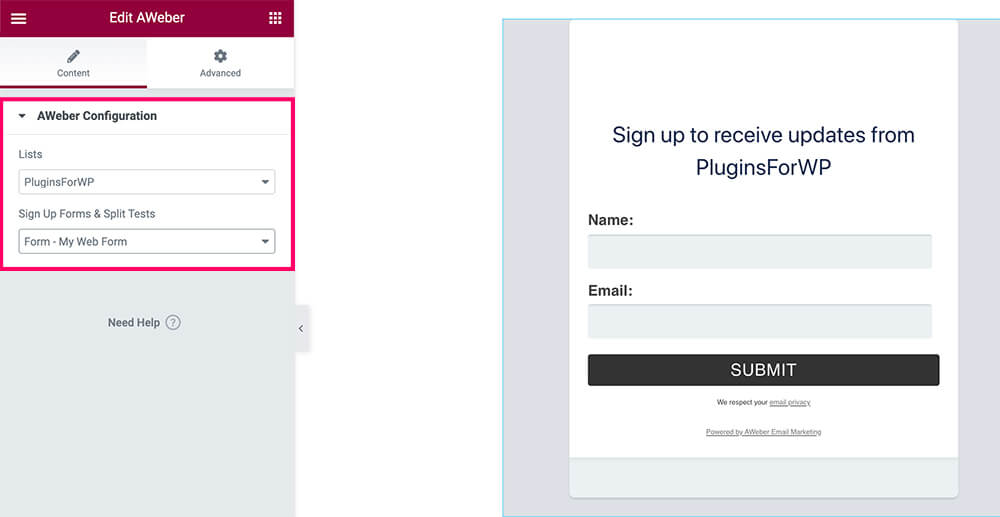
If you didn’t create any forms yet, use the default called My Web Form that includes name, email, and submit button.
If you like the default form, keep it. Otherwise, create a new one with custom colors and fields by login into your Aweber account, navigate to the Sign Up Forms tab and create it from there.
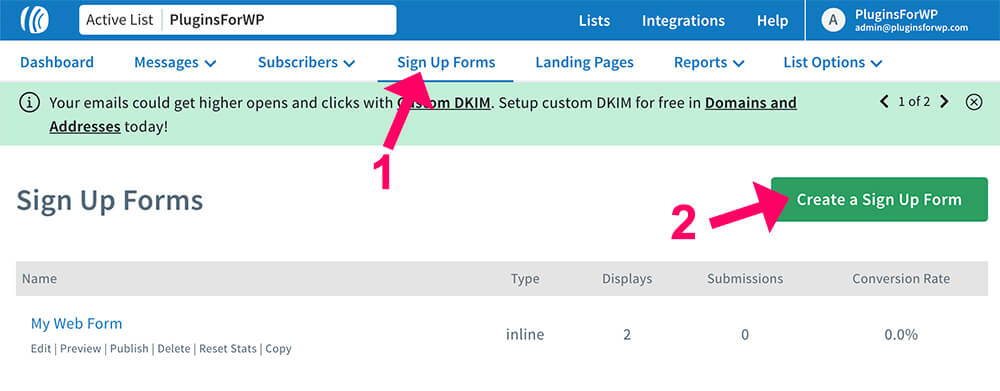
After creating the form you will be able to choose it from the drop-down list of the Aweber widget.
But, if you are using Elementor Pro, use the default form widget of the plugin and integrate it with Aweber.
Integrate Elementor Form Widget with Aweber
Using this way, we’ll use the Elementor Pro form widget to create and customize the form and connect it to Aweber.

This is my preferred way because we can design the form with the Elementor interface that we all know and love.
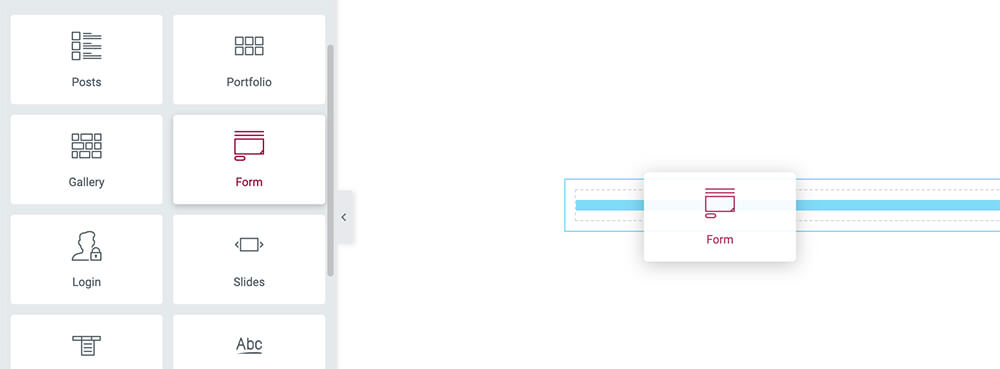
First, drag the form widget to the desired section of the page.
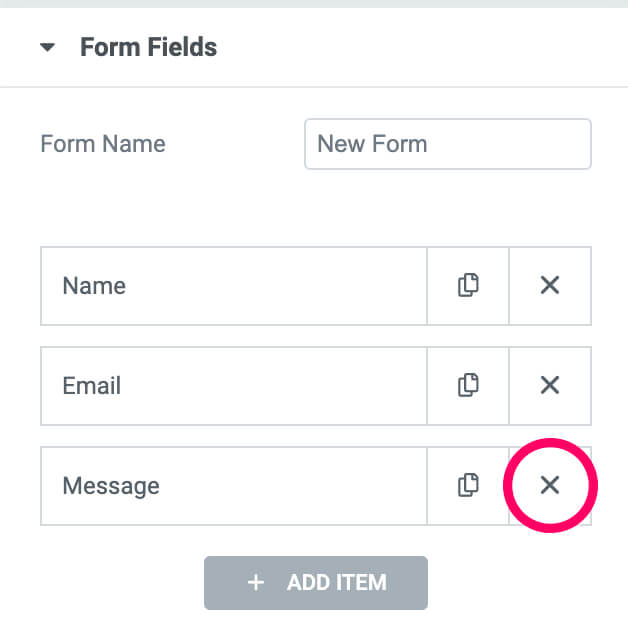
The default form contains three fields: name, email, and message.
Because we are creating a lead capture form, the only mandatory field is the email field.
The name field is recommended for personalization messages but not required.
We don’t need the message field at all and thus you should delete it.
After setting up the form fields, open the Action After Submit tab and delete all the tags except the Aweber one.
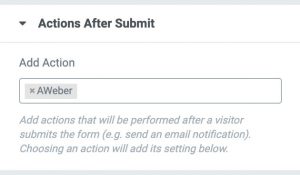
After adding Aweber, a new Aweber tab will be added below the Action After Submit tab, click on it.
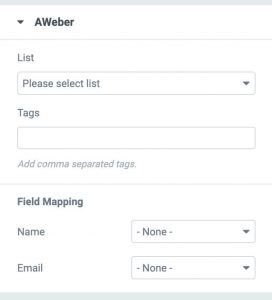
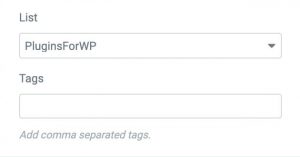
Chose to which list you would like to add the subscribers to and add a custom tag if you desired.
If this form is displaying on the purchase confirmation page, add a ‘customer’ tag to subscribers who will fill this form.
Anyone who subscribed using that form will be tag as a ‘customer’, unlike visitors that subscribed using a form on a different page.
That way you will be able to market to the different groups, different promotions, and offers.
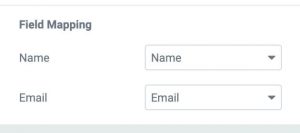
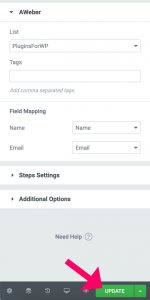
Under the field mapping option, match the form fields with the required fields by Aweber.
In our example, the name field will populate the name option of Aweber and the form email field will populate the email field.
When done setting up the fields and customizing the form, make sure to click on the Update button.
Testing the Forms
Whether you chose the Aweber widget or the Elementor form widget to create an email capture form, make sure they are working.
Open up your website from an incognito window and submit the form with your name and email address.
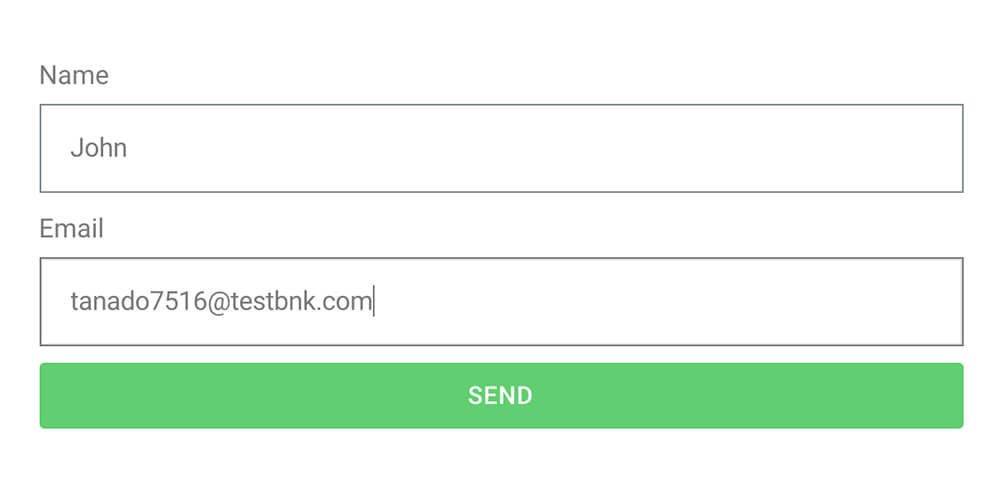
After submitting, you should get the confirm your subscription messages in your inbox.
After clicking on the confirm subscription button, you will be added to the chosen list.
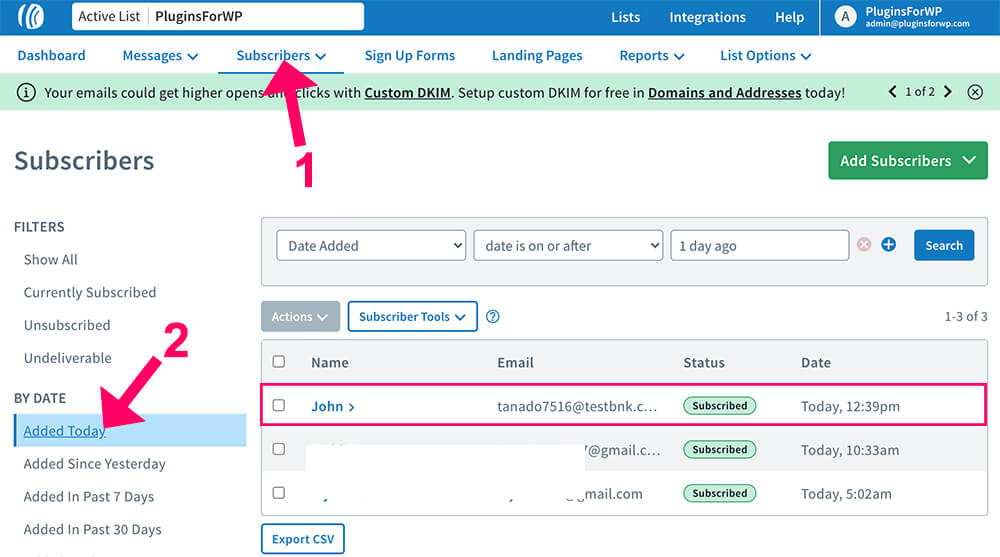
To see the new subscriber in Aweber, navigate to the Subscribers tab and into the Added Today link on the left.
There you will see all the users that subscribed to your list.
Conclusion
In this article, you learned how to connect Elementor with Aweber to collect the email addresses of your site visitors.
If you have any questions, please let us know by leaving a comment down below.
Also, make sure to subscribe to our YouTube channel and like our page on Facebook.