I’m sure you heard before that one image is worth a thousand words.
That is correct. A beautiful photo can deliver the right message better than just plain text.
This article will show you how to add a header image in WordPress.
Why Adding an Image to the Header
In most cases, there are two main reasons to set a header image (or a hero section image):
- The first reason is to grab the visitors’ attention.
- The second reason is to encourage them to act.
A good image can differentiate between a low rate converting website and a good one.
Take a look at the SnowboardAddiction website, for example. The hero section is just a big image with a call to action button at the bottom.

When you land on their page, you know exactly what to click on, there is a prominent call to action button, and you better jump into it before it’s over.
Now that you know why images are crucial for your website, I would like to show you where to find them.
Images for WordPress Header
To use any image for any part of your website, the image MUST be royalty-free and not copywriter protected.
Royalty-free images mean that you have or buy the rights to use the photos.
Searching for the right image and finding it on Google images does not give you the right to use it. Using the pictures without proper permission exposes yourself to getting sued by their owner, which should be avoided.
However, it would help if you didn’t lose hope. Many royalty-free images websites will let you download beautiful high-resolution quality images for totally free or for a small fee.
Royalty-free images (free)
Here is an excellent list of websites where you can download images for your WordPress website.
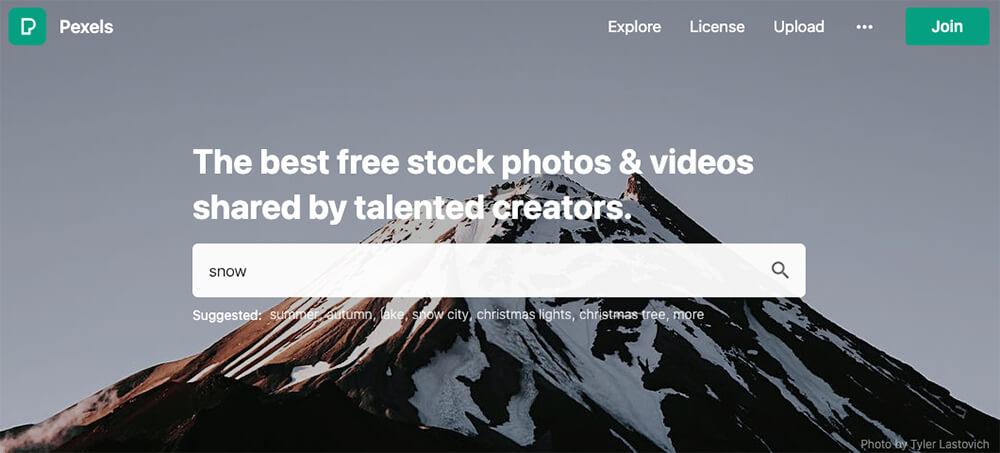
To download the header’s image. Navigate to the Pexels website and search for your desired image. In our example, I’ll look for snow.
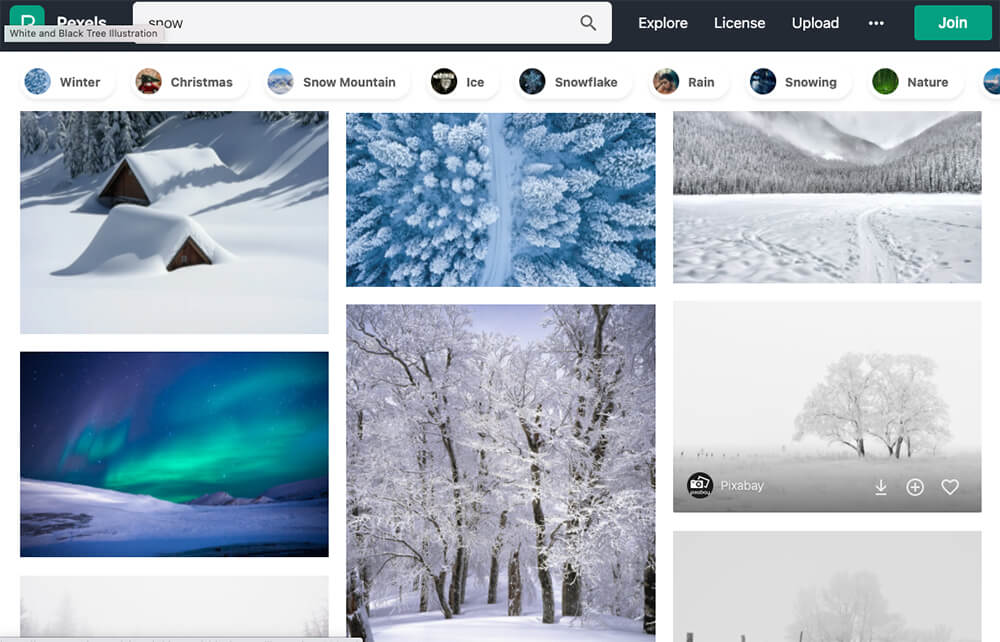
Once searched, you’ll have many photos to choose from related to the subject. Navigate between them all and enter the image you would like to display on your website.
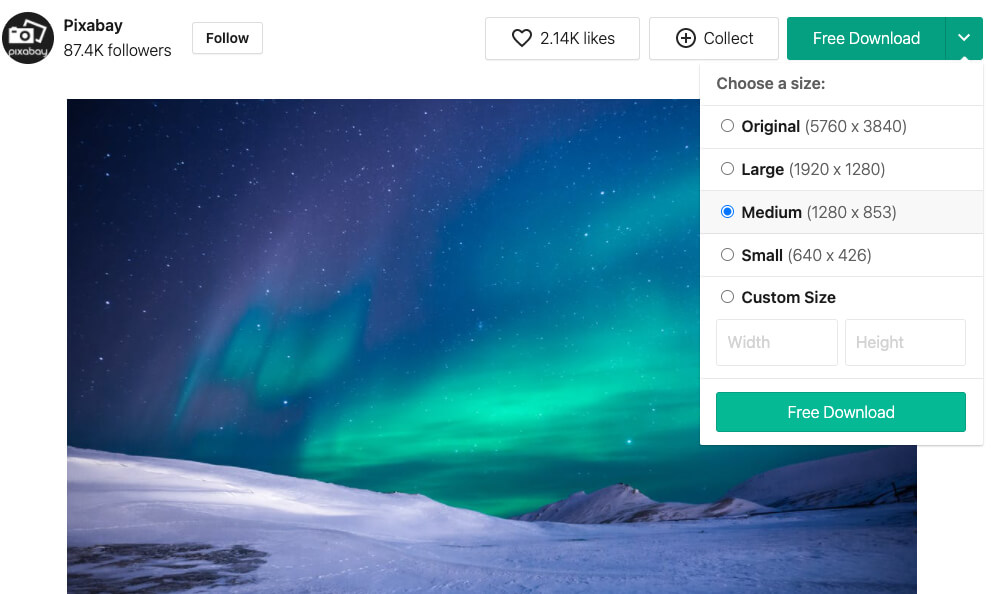
Last, click on the arrow next to the download button to choose the correct dimension.
Please note that any size larger than medium will use many sources and slow down your website’s loading speed. Therefore, the recommended size for a header is medium.
If you can’t find the right image and look for more options, check the other websites listed below.
Royalty-free images (paid)
Here is an excellent list of websites where you can download images for your WordPress website for a small fee.
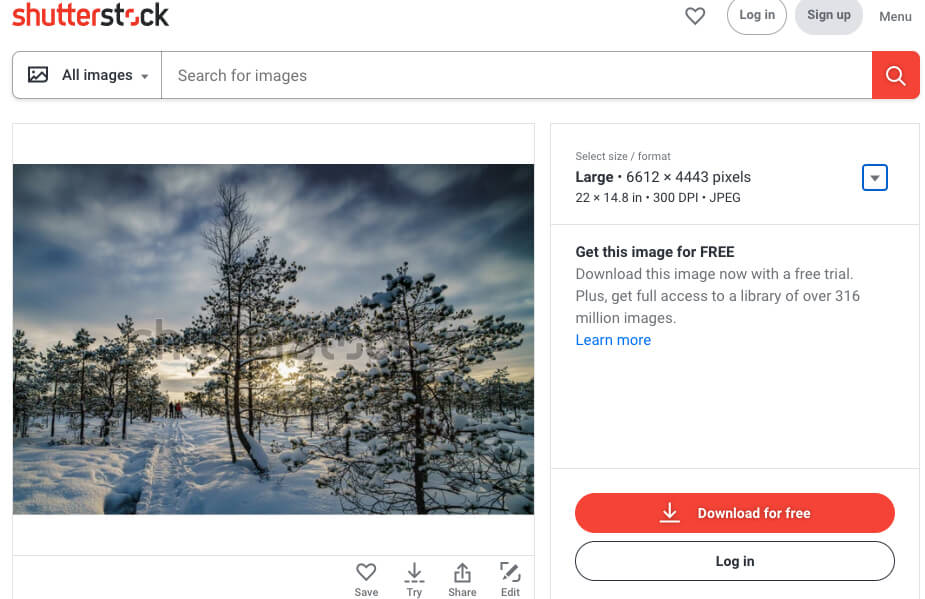
Downloading images from paid websites is a similar process to the one above.
Please search for your desired image, pay, and download it to your computer.
Shutterstock is running a great promotion now where you can get ten images for totally free.
Once you have downloaded the right image to your website’s header, move forward and add it to its header.
Add an Image to Header in WordPress
After we downloaded the right image for our website, it’s a good time to upload it to our WordPress website and add it to the header.
In this section, I’ll show you how to add the image to the header using a page builder like Elementor and also straight into the header.php file.
Method #1: Add an image using a page builder
You would be in luck if you built your website with a page builder such as Elementor.
Elementor or Divi are both super easy to use, and they prevent you from dealing with core files.
Add images in Elementor
If you are using Elementor as your page builder, follow the steps below.
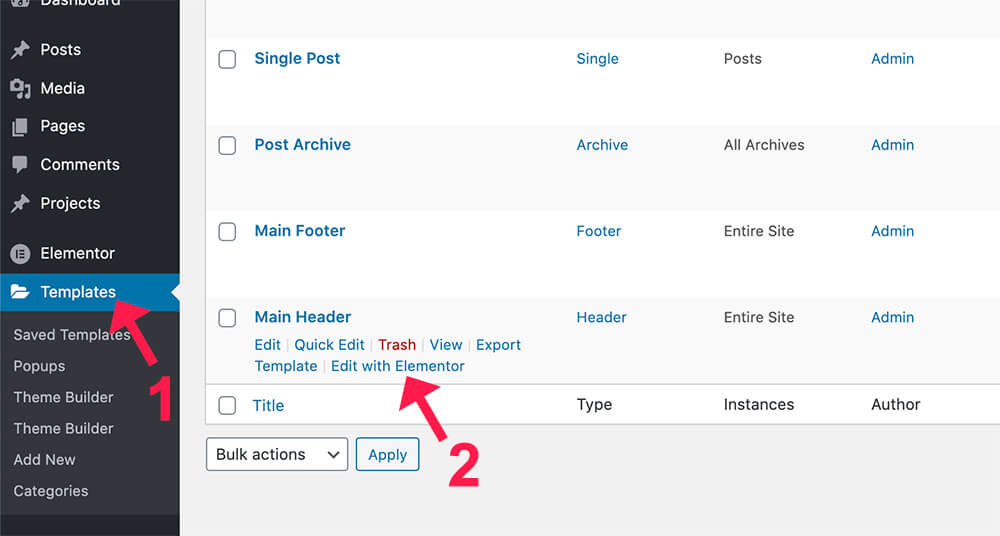
Navigate to your header template under the Templates tab and click on Edit With Elementor.

Inside the editor screen, drag the image widget to the desired location and upload the royalty-free image you just downloaded earlier.
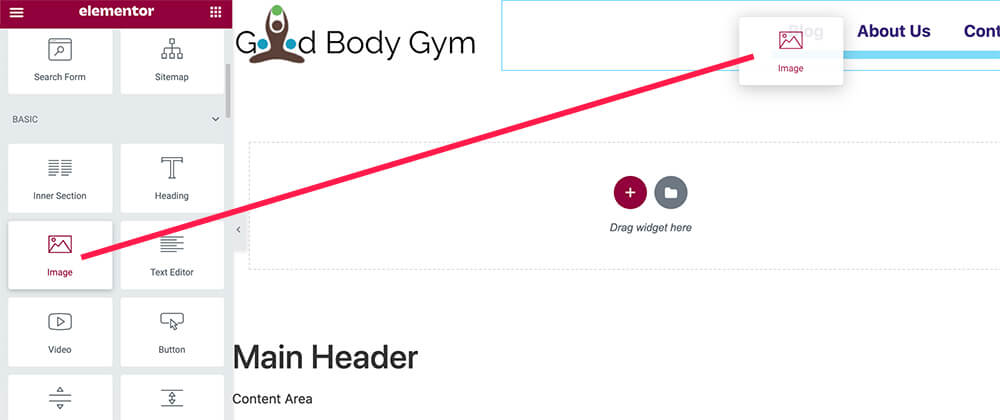
After selecting the image, make sure to style the widget as you wish and click publish when you have done.
Add images in Divi
To add an image to a header with Divi, follow the steps below.
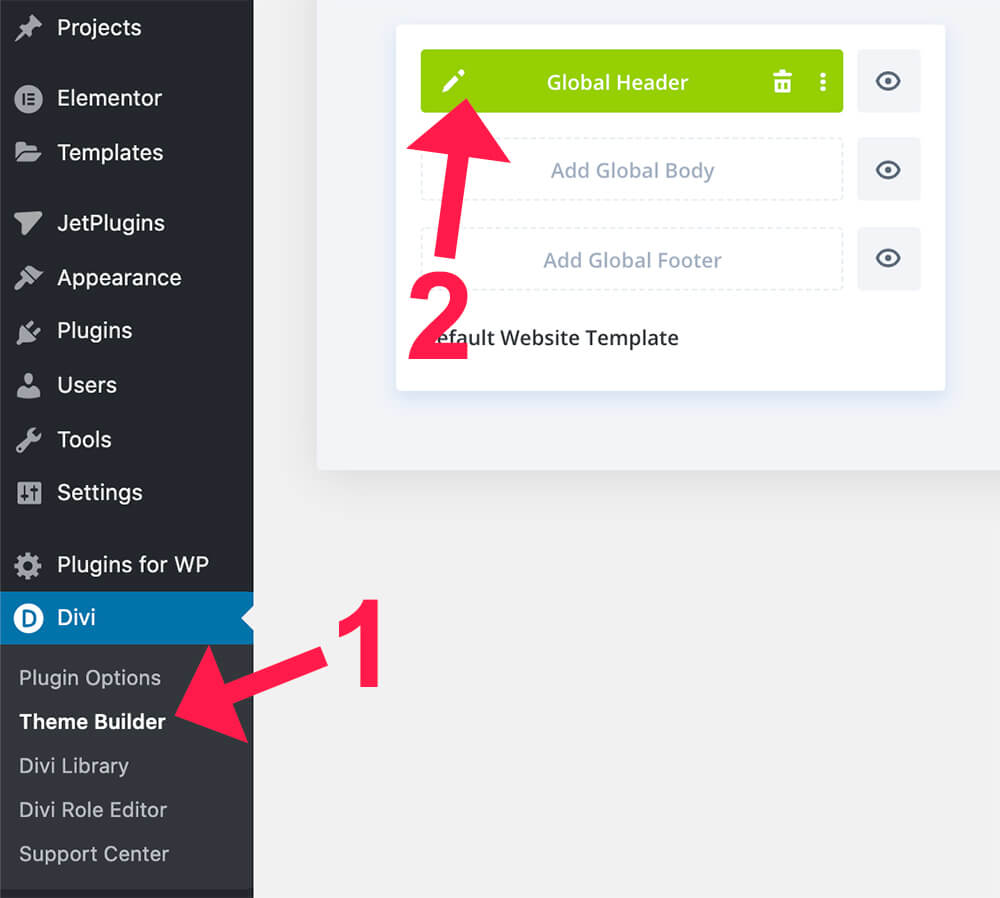
Edit your header template by navigating to Divi -> Theme Builder -> Global header.
Then, add an image widget and select your desired image.
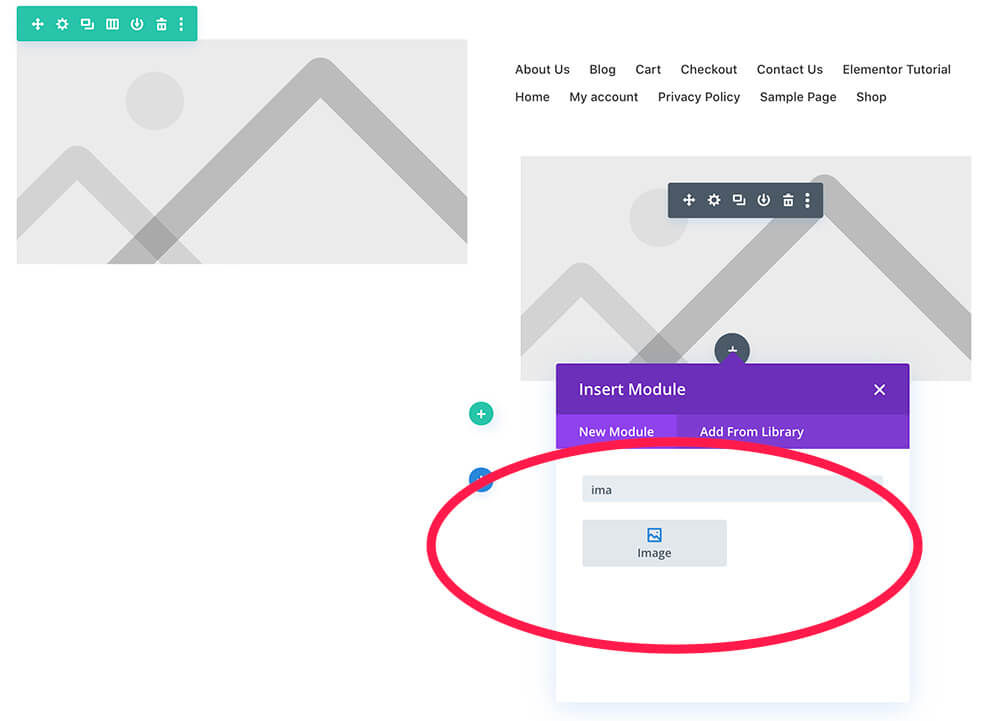
Make sure to style the widget and click save when done.
Method #2: Add an image to the Header.php file
This section will show you how to add a photo to your header using the header.php file.
I highly recommend you backup your website before modifying the files and applying the changes to the child theme.
From your WordPress dashboard, navigate to Appearance -> Theme Editor and click on the header.php file from the list on the right.
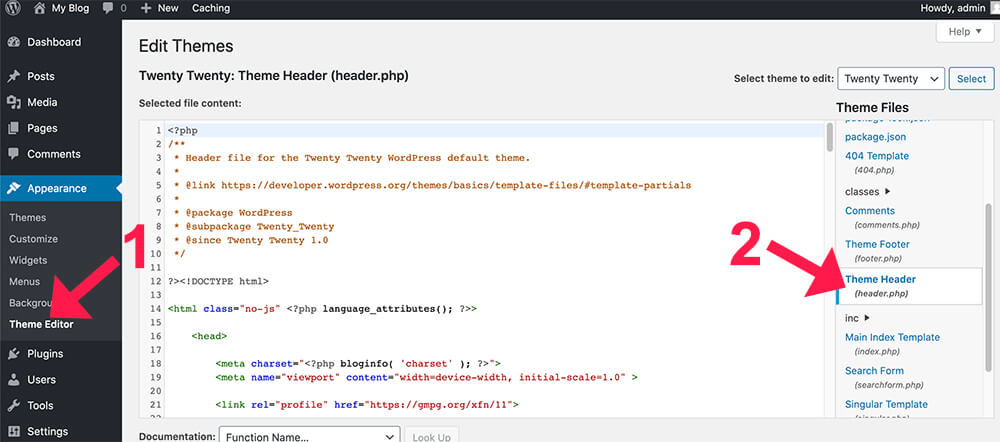
You’ll need to decide on the location where you would like to display the image.
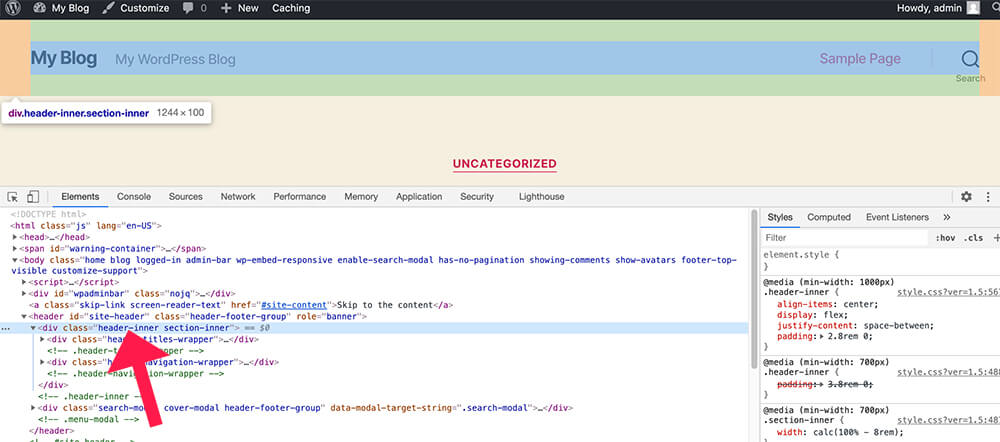
Match the HTML element class of the DOM to the one inside the PHP file.
For example, if you would like to add an image just before the inner section of the header, inspect the DOM element, and find the desired class.
In the photo below, we would like to add an image just before the header-inner inner section.
After finding a suitable class, we will go back and look for it in the header.php file and paste the code below:
<img src="image-url-goes-here">Make sure to replace the ‘image-url-goes-here’ text with the actual URL of the image.
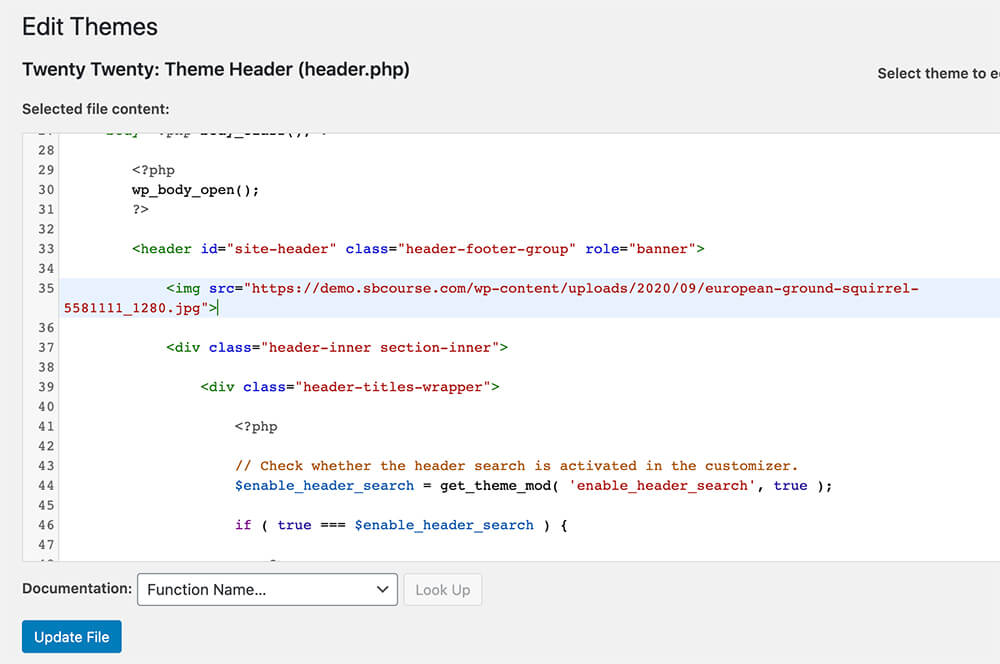
Then, save the changes and revisit your website to ensure the image is where you intended it to be.
Method #3: Add an image with the CSS rule
Often we would like to add a background image to a section and not count it as a stand-alone element.
We can add a background image to any element or section as soon as we know the CSS class of the component.
The first step is to inspect the desired element and find its class.
Right-click on any element and choose Inspect.
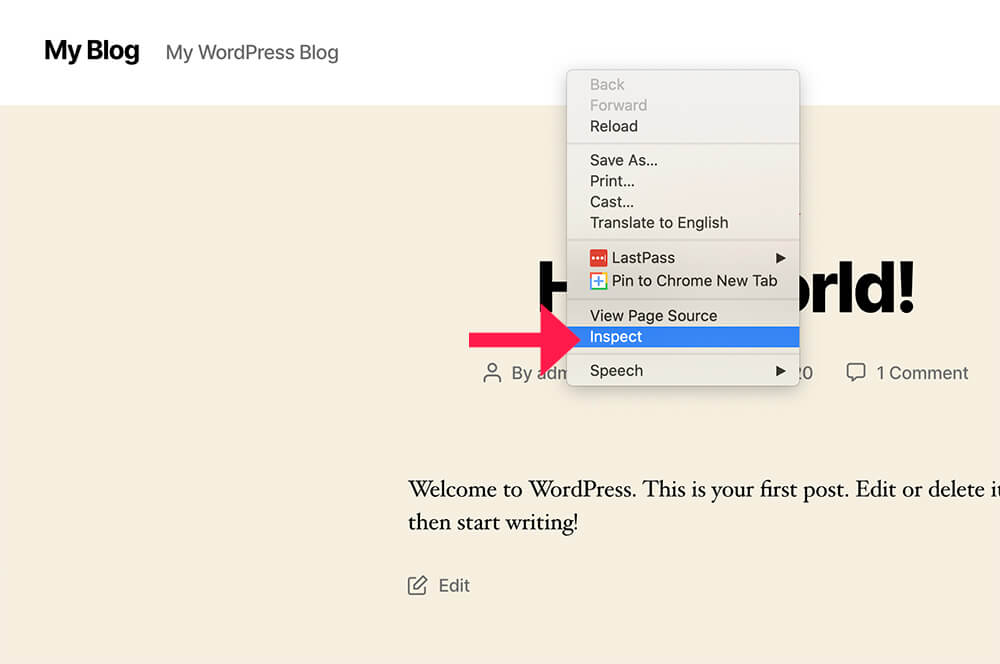
Look for the element class and write it down or copy it to the clipboard. We will need it in a second.
Then, click on Customize from the Admin menu bar.
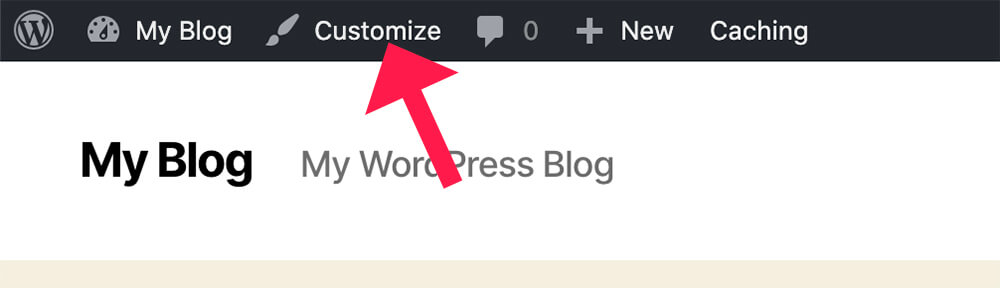
Then, navigate to the Custom CSS option.
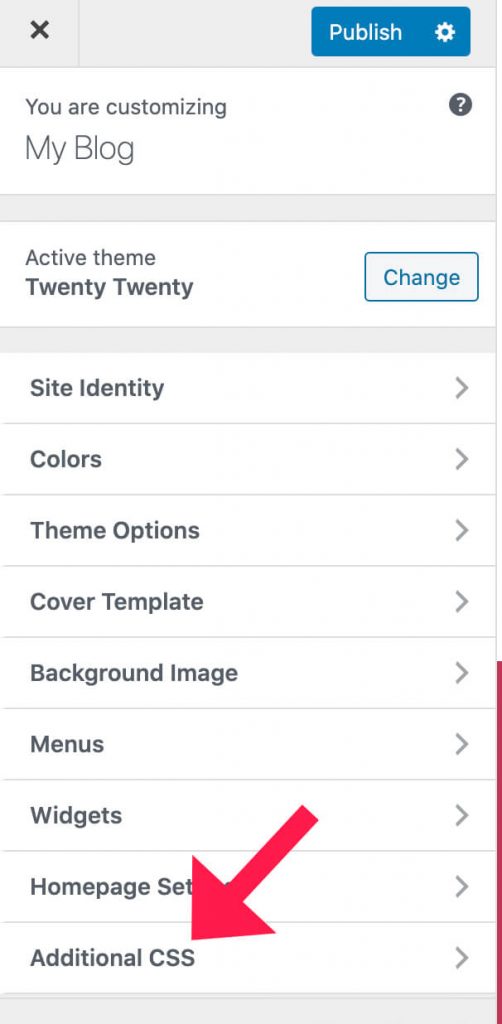
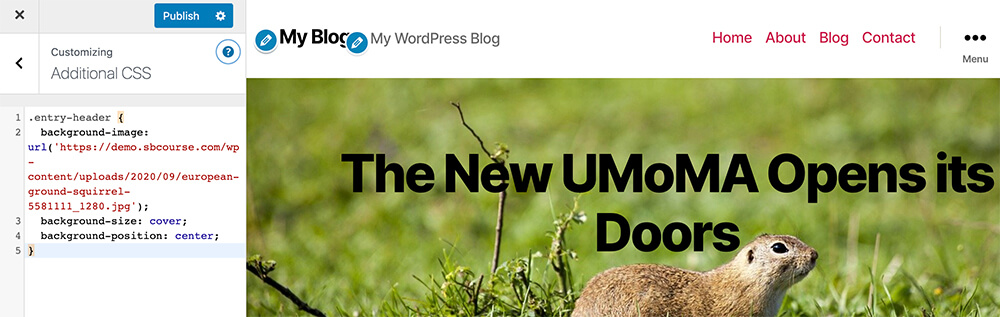
Here, you will need to paste the code below inside the Custom CSS screen:
.class-goes-here {
	background-image: url('image-url');
	background-size: cover;
	background-position: center;
}
Make sure to replace the class-goes-here with the actual class of the element and the ‘image-url’ with the exact URL of the image.
The final result should look like that:
Once adjusting the code, click publish and revisit your website to ensure it looks as expected.
Conclusion
In this article, you learned how to add an image to your website’s header in three different ways.
Leave us a comment and know which method you used to achieve this task.
Also, make sure to subscribe to our YouTube channel and like our page on Facebook.