The WooCommerce button color is inheriting the CSS of the currently active theme on your website.
Changing the WordPress theme will change the color, but there are better solutions to achieve it.
In this article, you’ll learn how to change the WooCommerce button color.
Change WooCommerce Button Color
There are a couple of ways to change the button’s color:
- Using CSS.
- Using a plugin.
We will talk in detail about both ways, and let’s start with the first option, by using CSS.
Change button color with CSS
When using this method, we will need to overwrite the default CSS rules of the theme with custom rules.
Step #1: Find the button class name.
First, we will need to find the class of the button that we would like to target.
To do that, navigate to any product page, right-click on the ‘Add To Cart’ button, and click Inspect.
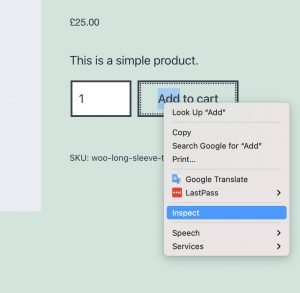
Look for the element class of the button inside the browser console and copy it.
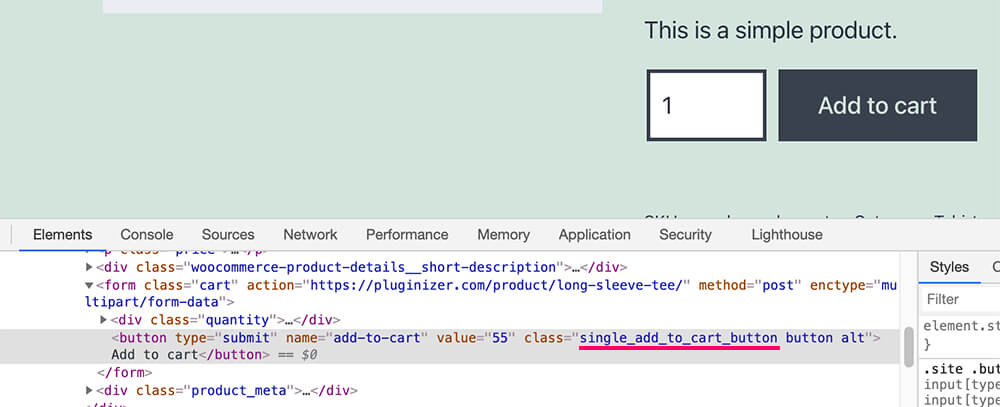
We can see in the photo above that the button class name is single_add_to_cart_button. We will need to use it in a second.
Step #2: Find the color hex code.
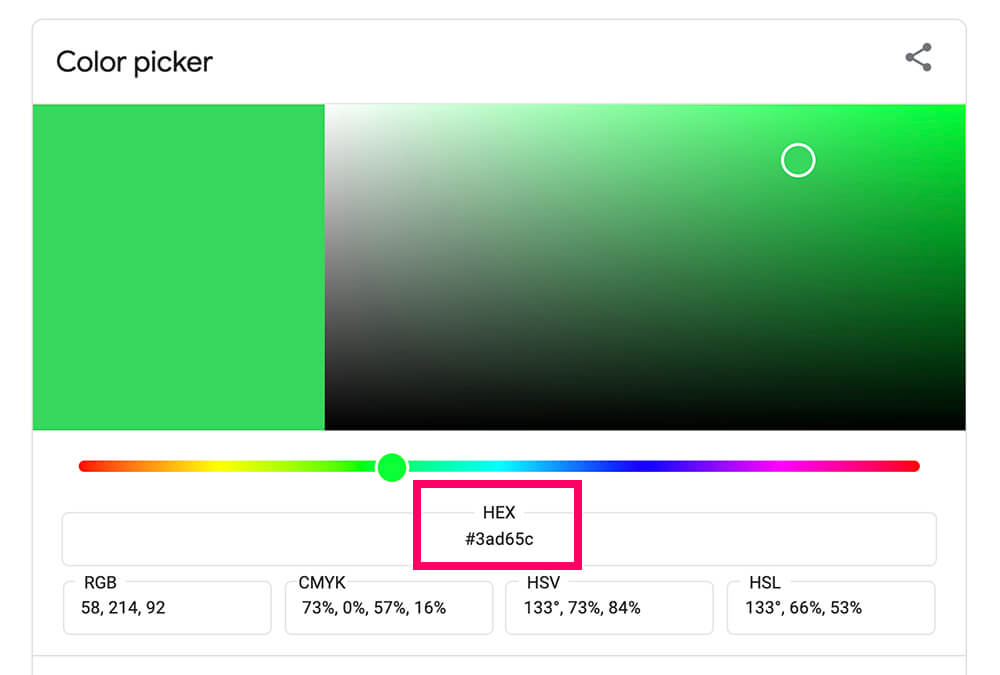
In this step, we will need to find the Hex code of our desired color.
Navigate to Google and search for Color Picker.
Move the picker and the slider, position it on the chosen color, and copy the Hex number.
Now that we have both the button class and the desired color, we can move forward to the last step and apply the new CSS rules.
Step #3: Apply the new CSS rules.
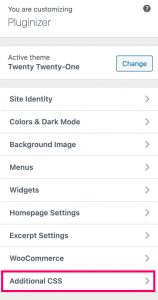
Now, open the Customization screen and click on Additional CSS.
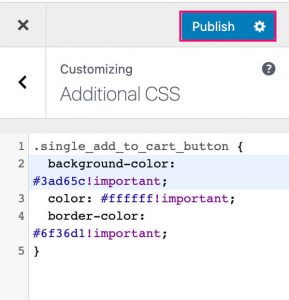
Here, paste the rules below and replace the Color Hex with the actual color’s code.
/* Normal state */
.single_add_to_cart_button {
    background-color: Color Hex!important;
    color: Color Hex!important;
    border-color: Color Hex!important;
}
/* Hover state */
.single_add_to_cart_button:hover {
    background-color: Color Hex!important;
    color: Color Hex!important;
    border-color: Color Hex!important;
}
When done, click on publish and make sure the WooCommerce button color changed successfully.

Please note that you don’t have to use all the CSS lines. For example, if you would only like to change the background color of the normal state and not the text color or the border color, just use the .single_add_to_cart_button{background-color: Color Hex!important;} line instead of them all.
That is my preferred way because it should work with every theme and it’s fairly easy.
If you prefer to use a plugin instead, let’s move forward to the second method.
Change the WooCommerce button’s color with a plugin
In this method, we will use a plugin to change the button’s color.
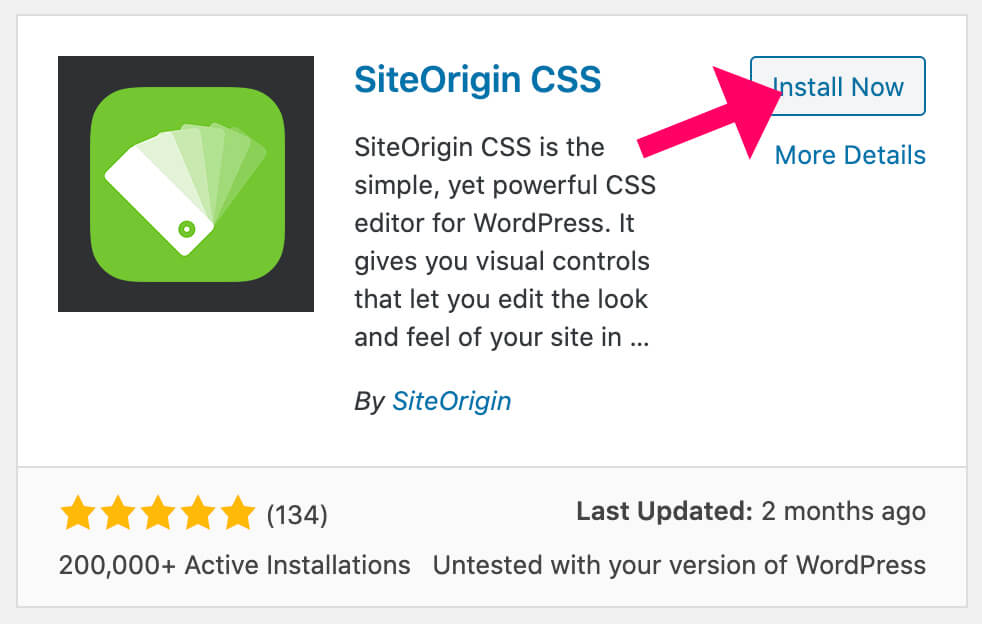
From your WordPress dashboard, navigate to Plugins -> Add New and install the SiteOrigin CSS plugin.
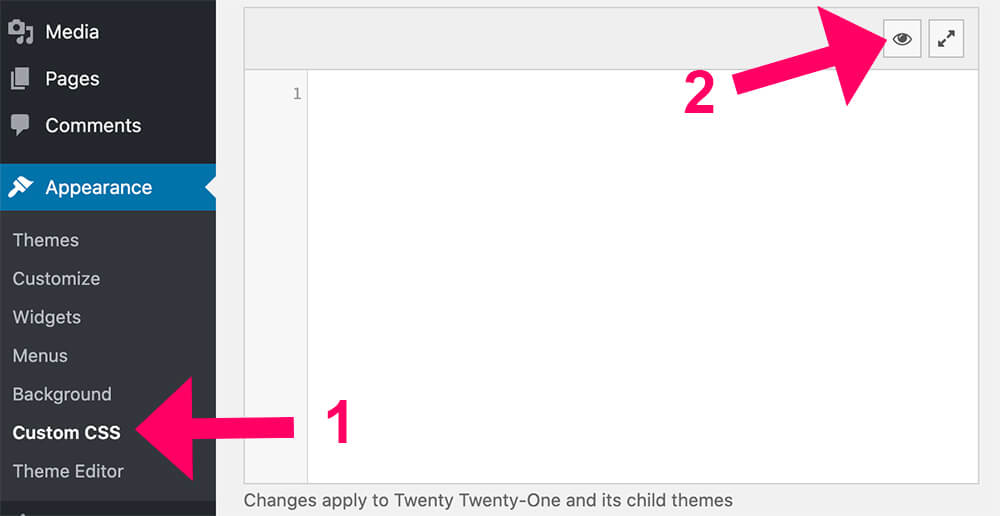
After activation of the plugin, navigate to Appearance -> Custom CSS and click on the eye icon to launch the visual editor.
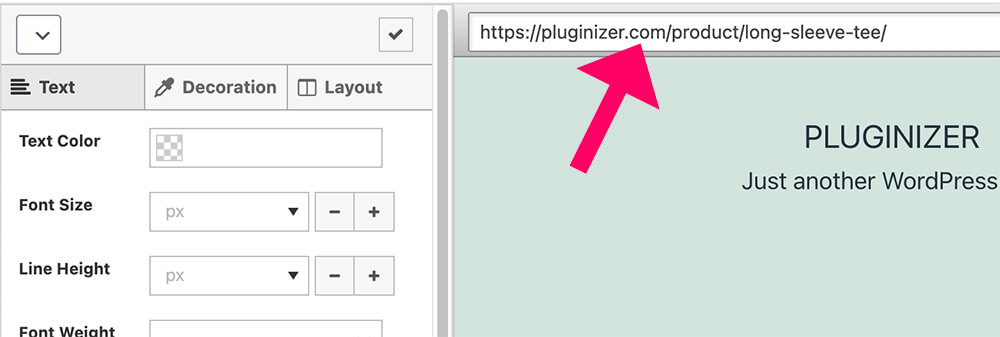
Change the default URL of the visual editor to one of your product pages at the top part of the screen and click enter.
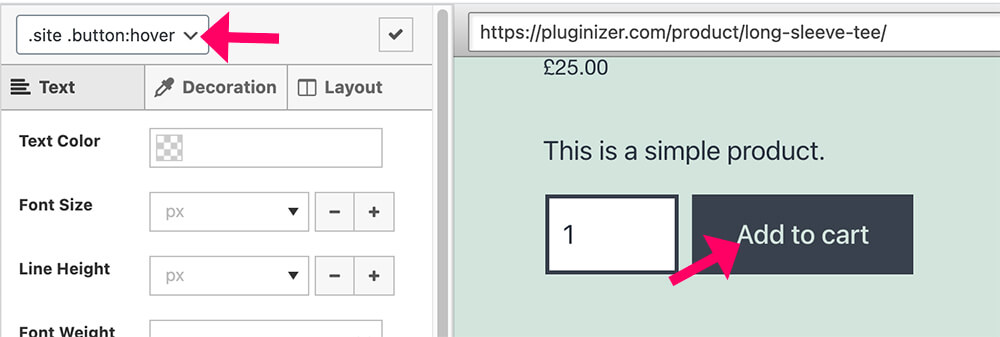
Now, click on the ‘Add To Cart’ button (or any other element), and make sure the selector changed accordingly at the top left corner.
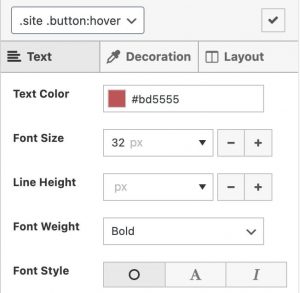
Now you can customize any part of the button like size, color, border and etc.
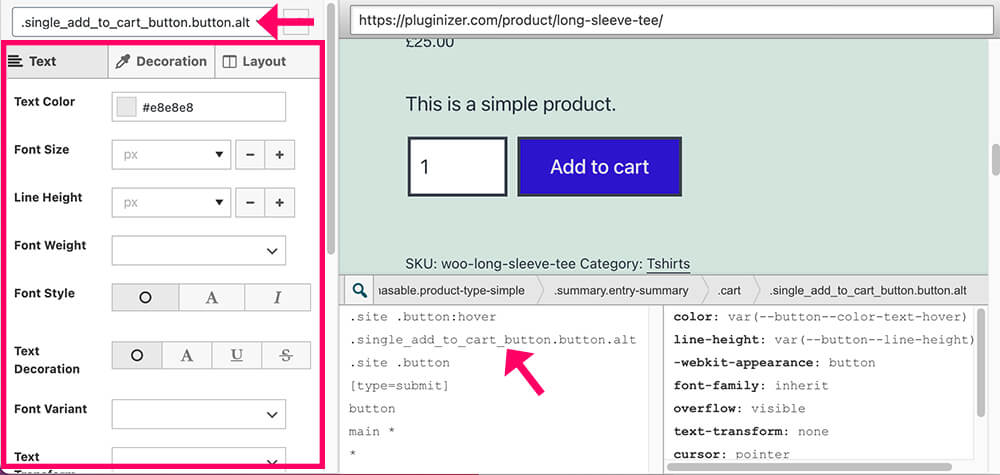
If changing the properties does not affect the element, make sure to choose a different class from the console at the bottom of the screen, try again, and click on the checkmark icon when done.
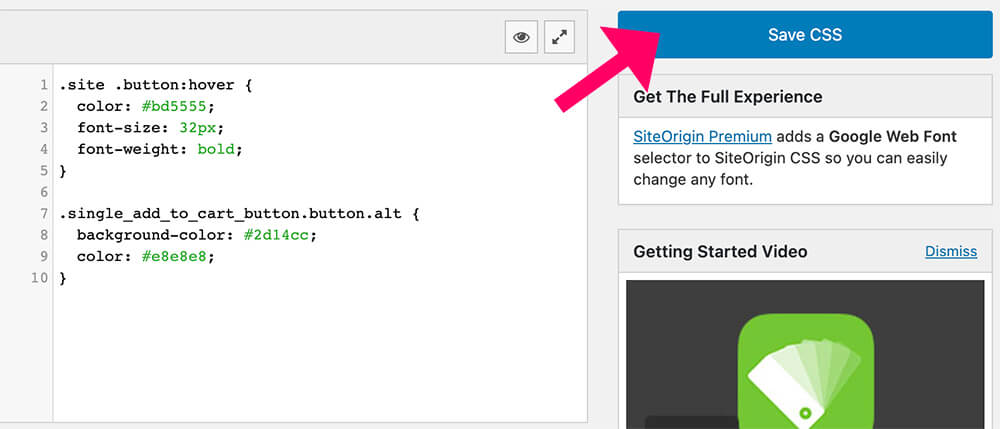
On the last screen, click on the Save CSS button and navigate to any of your product pages to make sure the button’s color changed.
Related Articles
Conclusion
Changing the elements’ color of your website to match your brand is a smart move.
In this article, you learned how to customize the WooCommerce button color in two different ways.
Leave us a comment down below which method you used.
Also, make sure to subscribe to our YouTube channel and like our page on Facebook.