


In WordPress, you have the option to set a featured image for every page, post, or custom post type.
The featured image will represent the page or post in various places like Facebook shares or search result engines.
This article will teach you everything you need to know about WordPress featured images. You’ll learn how to set them up, resize them, and why you should.
Why Use Featured Images
Using a featured image will benefit your pages, posts, or products immensely.
A good featured image will attract potential readers to prefer reading your article over your competitors.
For example, out of many books that you’re interested in, you’ll most likely choose the one with the cover that will attract your attention.
It is a fact. A good cover image will improve book visibility by 50%, and it’s also true when talking about the article we choose to read online.
You see, the post featured image is like the book’s cover. It sets the article’s tone and can be the difference between spending more time on your website or moving to a different one.
The featured image can attract your website visitors to enter a blog post or a product page and spend more time on your website.
Visitors who enjoy your content will revisit you in the future and most likely will convert to customers.
When to Use Featured Image
Here are some of the many places where the WordPress featured image will be used and displayed:
- When setting up a featured image for a post. It will be shown on the posts archive page along with a short description and a ‘read more’ button.
- Store archive pages when displaying various products in a grid or list view.
- When adding a product to the cart the featured image will be displayed in the cart.
- Sharing a page or blog post on social media channels such as Facebook.
- Google will pick up your featured images and will display them on the images search result page.
- RSS feed.
There are many more scenarios where the featured image will be shown. The ones above are just the tip of the iceberg, but I think you got it.
Enable Featured Image on Your Website
By default, many themes support featured images as it has become the standard. If your theme does as well, skip this step and move on to the next section.
However, if you don’t see the option to set a featured image while editing your page, post, or custom post type, you’ll have to add the option manually.
To do that, we will need to add a custom function to the functions.php file of your child theme or create a website custom plugin.
Navigate to Appearance -> File Editor and look for the functions.php file from the list on the right.
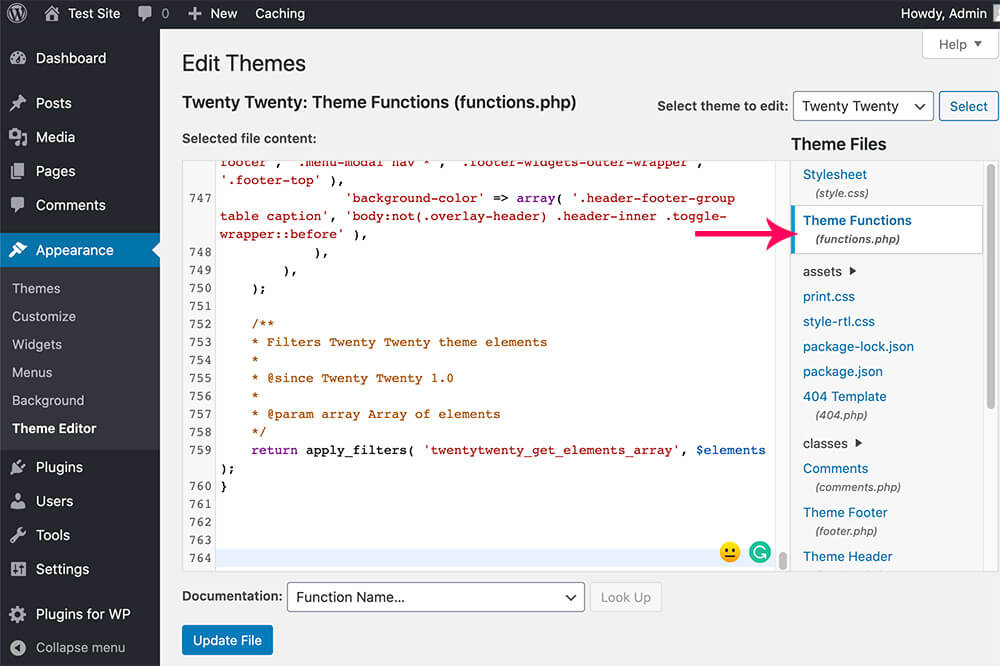
Scroll to the bottom of the file and paste this function:
<?php add_theme_support( 'post-thumbnails' ); ?>Great, now you added the option to set a featured image picked up by search engines and social media channels. That will help your SEO a lot.
Later in this article, I’ll show you how to auto display your featured image in your pages and blog posts.
Set Featured Image for Your Pages and Blog Posts
Once the featured image option on our WordPress website is enabled, it’s an excellent time to show you how to set it up.
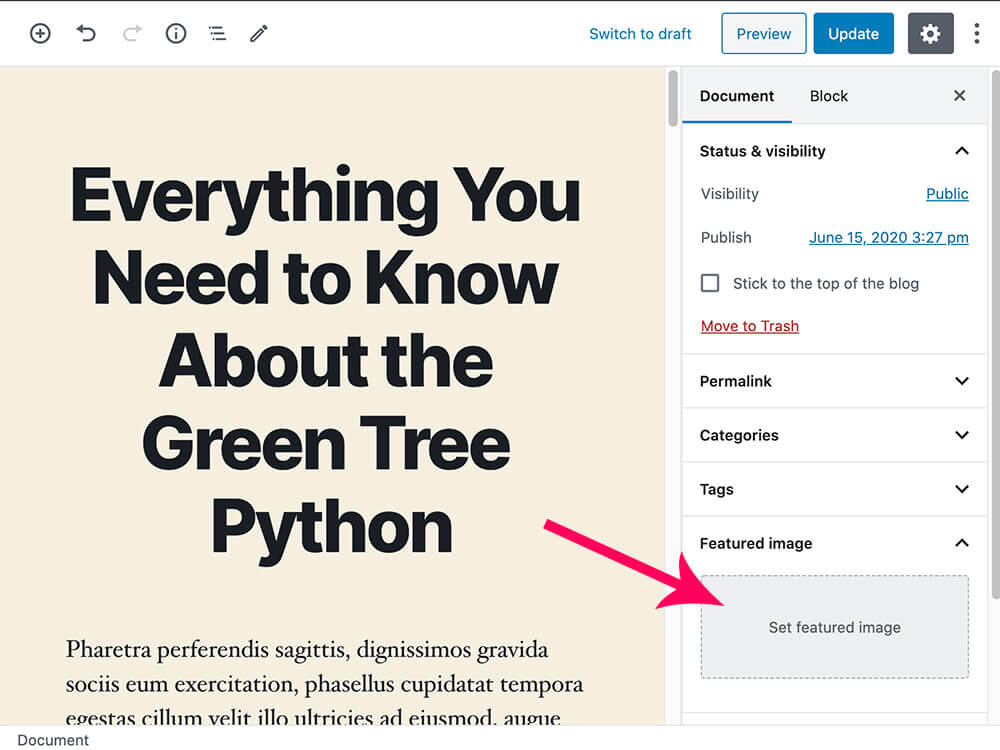
Navigate to any page, post, or product screen and click on the ‘Document‘ tab on the right.
Under the Document tab, you’ll have a few options, and one of them is called ‘Featured image.’
Please choose an image from your media library or upload a new image from your computer.
Tip: when setting up a featured image for a blog post, upload the image to the specific post using the edit screen instead of the media library. That way, when Google displays the picture, it will link back to the post itself and not to the image file.
Once uploading and choosing the image, click ‘Update.’
Great job. With that small step, you improved your page immensely. Now go ahead and upload a featured image to all the other blog posts and your most important pages.
WordPress Featured Image Sizes
Unlike Facebook cover images or YouTube featured images for a video, you’re the only one who controls your website look and design.
Thus, no one size will fit all websites perfectly. However, a recommended size will look excellent for most websites.
The recommended WordPress featured image size is 1200 x 628 pixels. A rectangle shape will look good in most screen sizes, and we would like to keep a ratio of about 2 to 1 between width and height.
Because most content width does not expand over 1200 pixels, there is no reason to create a larger image. A large image can slow down the website’s loading time.
Whichever size you choose, please make it consistent between all the featured images across your website.
How to Change the Featured Image Size
When uploading a photo to WordPress, it’s automatically creating three more sizes in addition to the original size of the image.
The three extra sizes are:
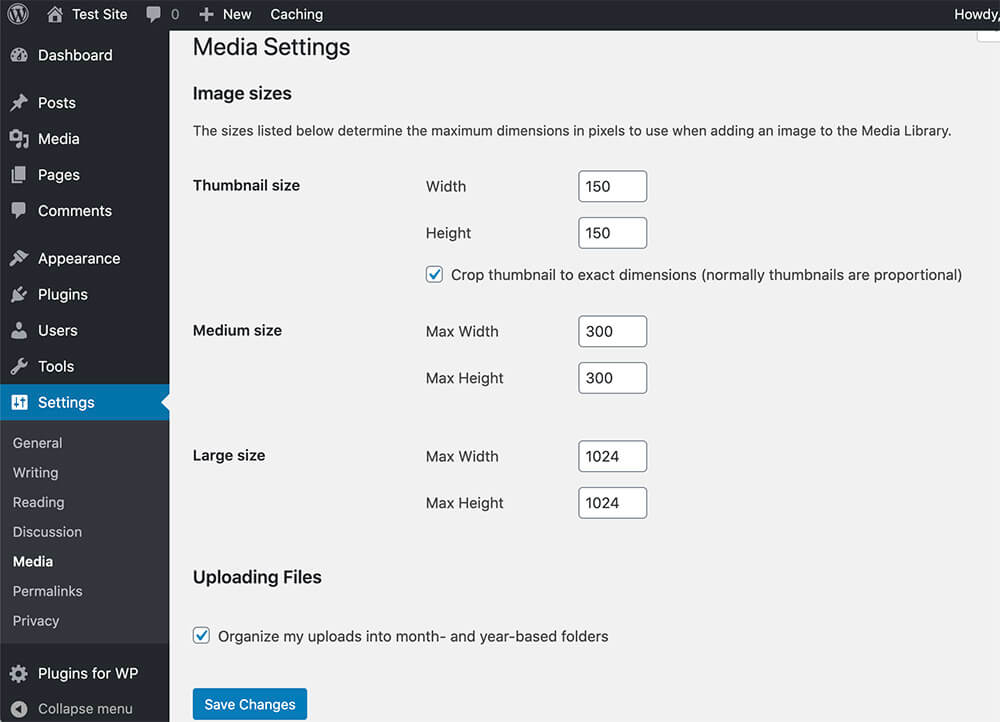
- Thumbnail (150 x 150 pixels).
- Medium size (300 x 300 pixels).
- Large size (1024 x 1024 pixels).
Different plugins and share buttons use the extra sizes to display the images on your sidebar or various social platforms.
Scroll below this post and see the ‘You may also like’ section with three images to different blog posts.
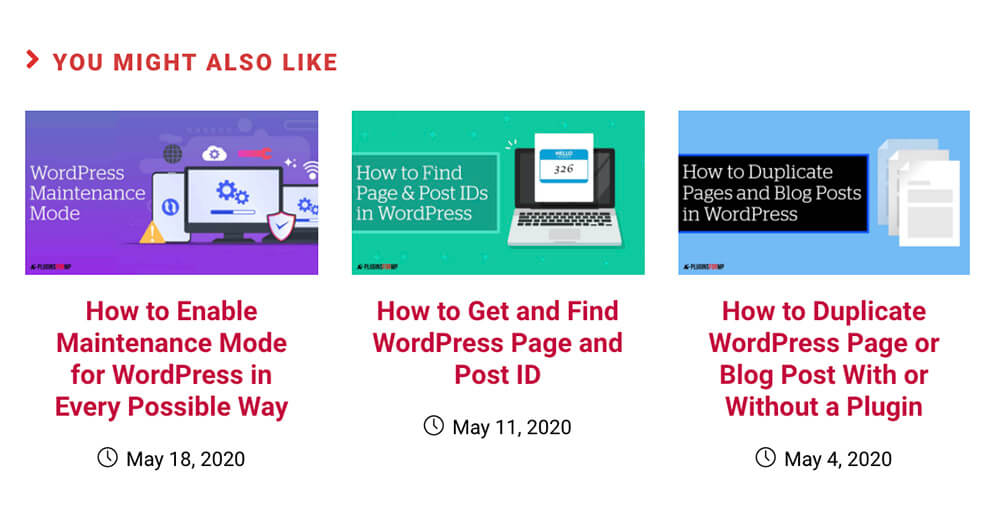
The sizes of the images in that section are way smaller than the original sizes of the pictures that were uploaded initially.
When there is no need for WordPress to use the full-size image, it can use one of the other created versions such as the thumbnail or the medium size.

WordPress is an intelligent content management system that efficiently maintains its resources by serving us the correct size.
If you would like to change the different sizes of the thumbnail, medium, or large options, do it from the Media option under the Settings tab.
There you can change the settings of any of the options above. Just remember to save the page after you are done changing the numbers.
Create the Perfect Featured Image
There are many websites where you can download royalty-free images to use on your website. You can see the complete list in our how-to add a header image article.
Because the featured image is essential to attract visitors, a simple idea is a mistake, and we should aim for a great featured image.
Today is straightforward to make stunning featured images like professional graphic designers when using the right tools.
This is how I create the thumbnails for our blog posts, and you should do the same.
Choose the right template
Open Snappa and create your free account.
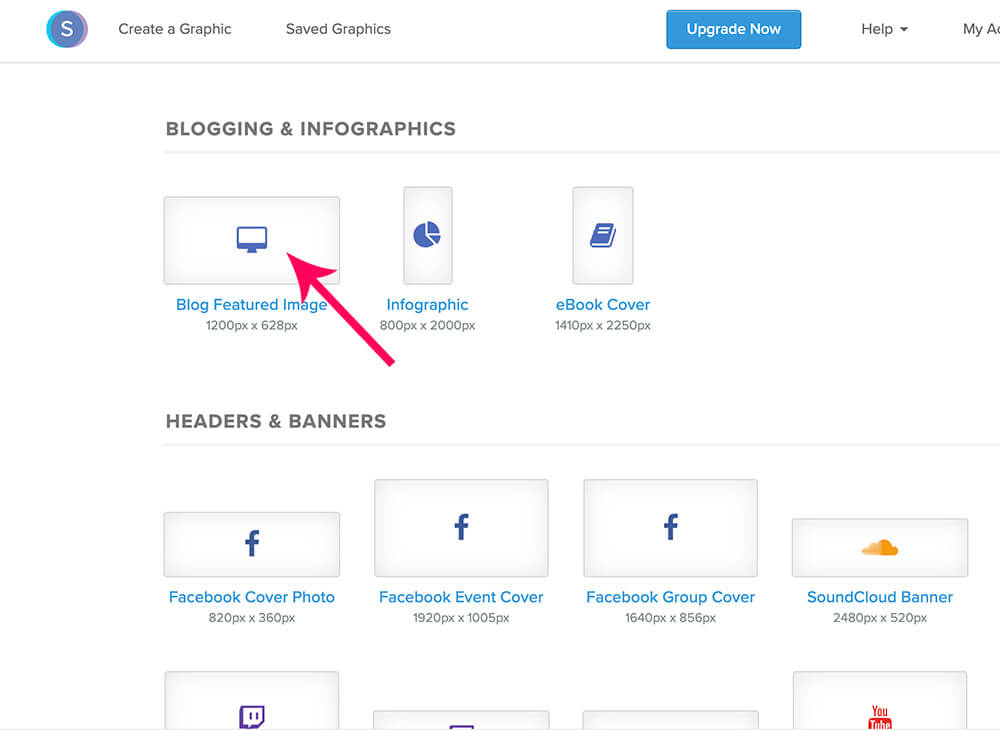
Scroll down and choose the Blog Featured Image option inside your dashboard under Blogging and Infographics.
Then, you’ll have many templates to choose from with various designs. Take your time and select the design you like the most to fit your brand.
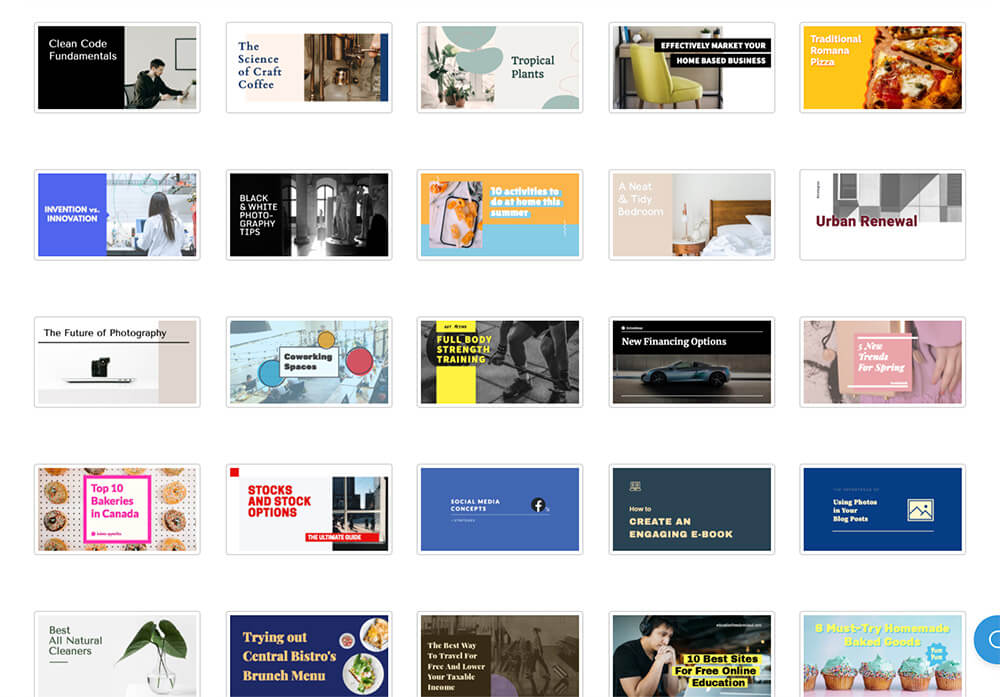
Don’t worry about the text or the colors. We can change them easily with a click of a button.
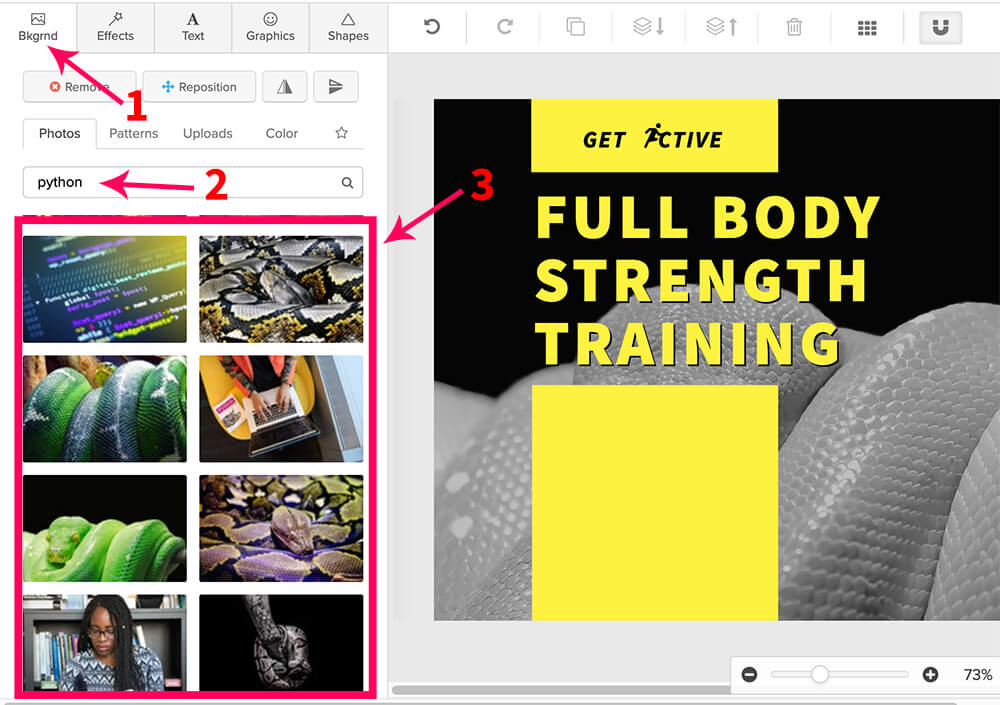
Click on the Background icon from inside the editor screen and search their image library. If you already have a photo, feel free to upload and use it instead.
Edit the image
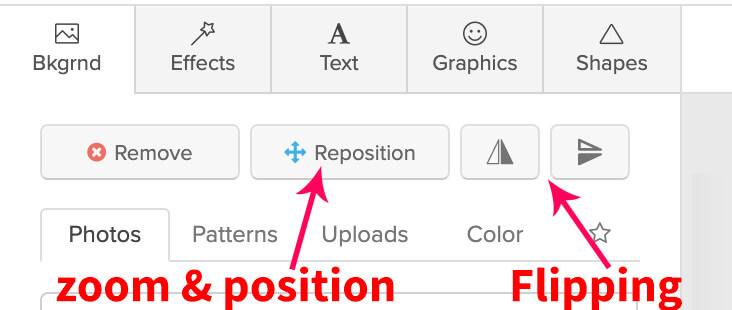
After finding the right image, you can flip vertically or horizontally and zoom in or out to fit the canvas better.
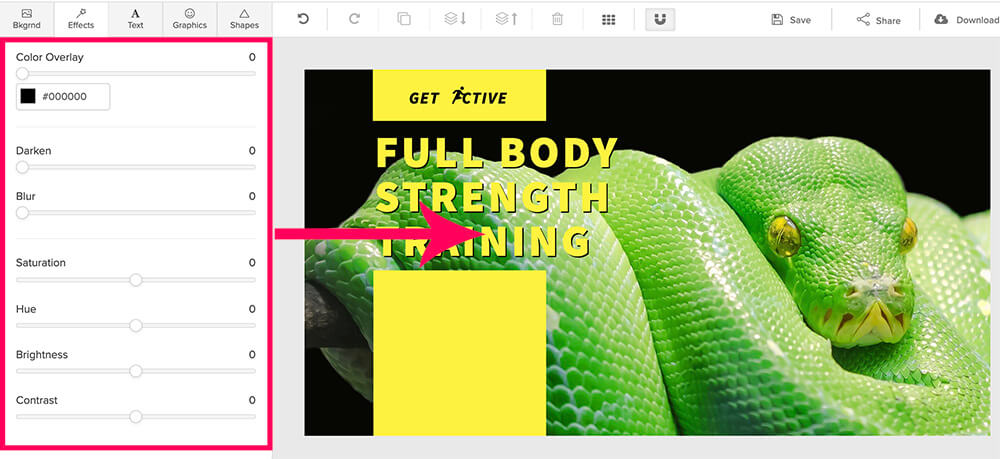
If you see a grey overlay, fix it inside the Effects tab. Just adjust the color overlay and the saturation options.
If you want the background to appear without any effects, set all values to 0.
Great, it starts to look good.
All we have left to do is change the text and the colors and save the image.
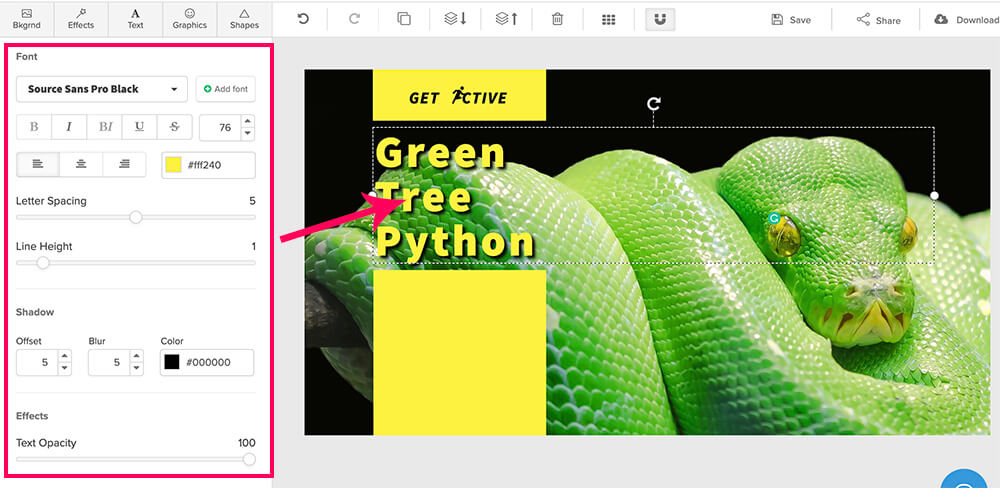
Highlight the text you would like to change and enter yours instead. You can also change anything related to the text, such as the font, color, size, etc.
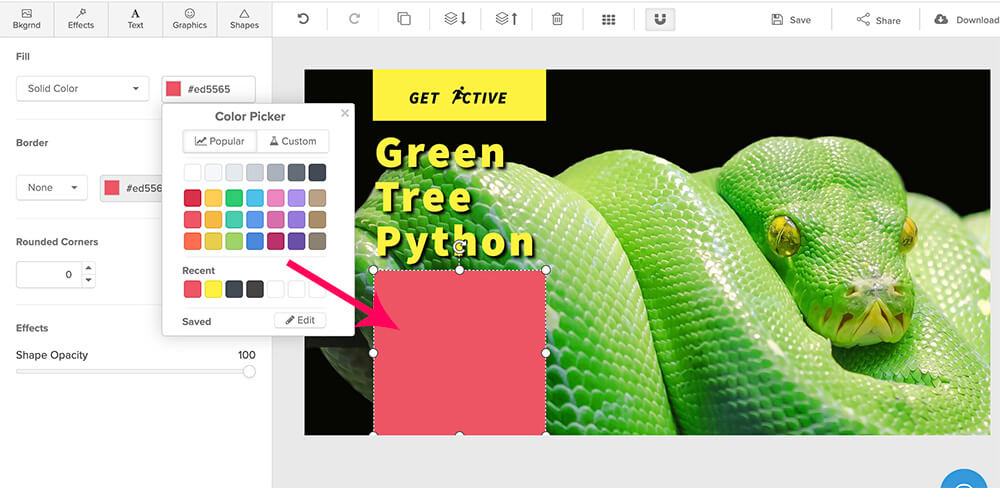
Next, we need to change the color of the rectangle shapes to any other color.
Click on the shape and then choose your desired color.
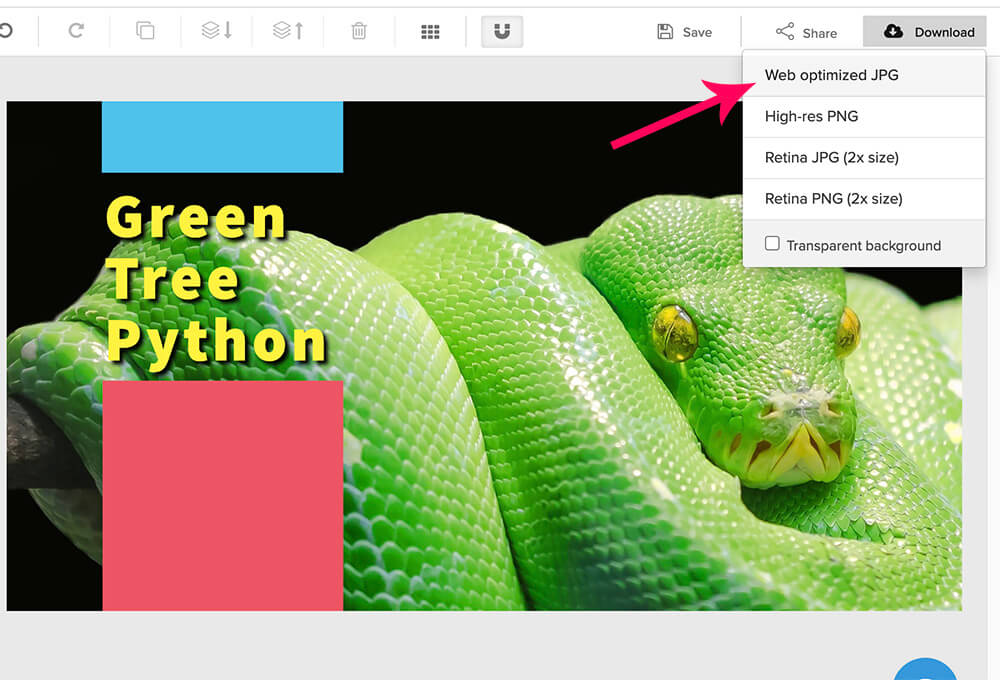
Save the image
Perfect, the final result looks fantastic. All we have left to do is download the image and set it as the featured image to our blog post.
How to Display the Featured Image
Images don’t worth much when hidden, and so does the featured image.
Although most themes will show the featured image at the top of the blog post, that may not be the case with your theme.
Therefore, it will be helpful to learn how to display your featured image in your template files and blog posts.
Inside a template
To display WordPress featured image inside template files, use the code below:
<?php the_post_thumbnail(); ?>It is recommended to use the code above inside the WordPress loop.
Let’s take the default Twenty-Twenty theme, for example. It displays the featured image at the top of every post. In addition, we would also like to add it to the bottom of the blog post as well.
To do that, edit the content.php file, which is the template that generates each of the blog posts.
Navigate to Appearance -> Theme Editor and look for the content.php file under the template-parts folder on the right side.
Choose where to display the featured image inside the file and paste the code above.
To display the featured image at the bottom of the article, paste the code above before the closing entry-content div.
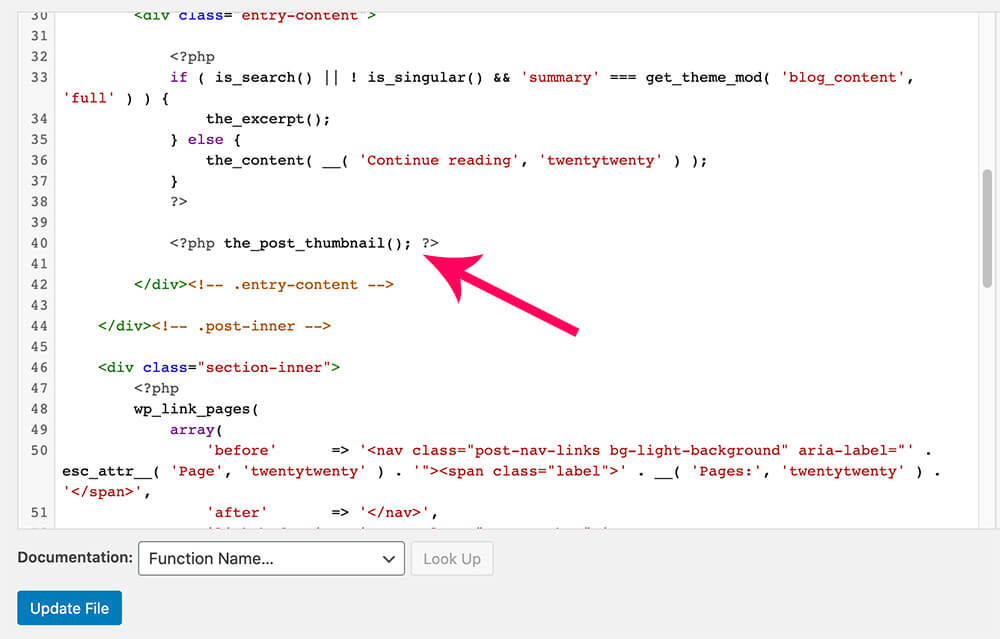
Once saved the changes, the post will show the featured image at the bottom as expected.
The example above is only one out of many. WordPress lets you place your featured image anywhere you desire inside page templates or using functions.
Use a function
Use the function below to display the featured image under the title of a blog post without modifying the template file. Make sure to paste it at the bottom of the functions.php file of your child’s theme:
<?php

// Add featured image under post title
add_filter('the_title', 'pfwp_add_featured_image_under_title');
function pfwp_add_featured_image_under_title($title) {
  if(is_singular( 'post' )){
    $title .= the_post_thumbnail();
  };
	return $title;
}

?>
Once you have saved the file, visit the relevant page and verify that you see the featured image.
Conclusion
In this article, we talked about WordPress featured images in great detail. We learned what they are and how they can benefit your website.
We recommend you go through all of your blog posts and most important pages and set one for each. It will help you in many ways from an SEO perspective to reduce bounce rate and increase page view duration time.
Leave us a comment below if you have any questions about the subject.
Also, make sure to subscribe to our YouTube channel and like our page on Facebook.
