Dividers are a great way to separate different sections or elements on a page.
While we can use the divider widget of Elementor to create a horizontal divider, we’ll need to add an extra step to make it vertical.
In this article, you’ll learn how to add a vertical divider with Elementor.
Horizontal Vs. Vertical
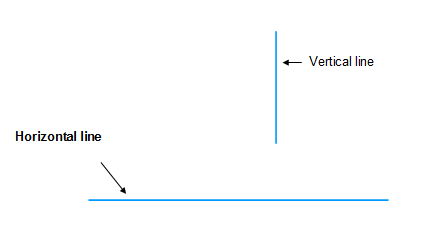
A horizontal divider is a line displayed between sections positioned under one another.
A vertical divider will be displayed as a separator between sections next to another.
Elementor’s default divider widget only allows us to divide between the sections horizontally. However, we can still create a vertical divider, and I’ll show you exactly how in this tutorial.
How to Create a Vertical Divider with Elementor
Firstly, I will show you two methods of creating the vertical divider with custom CSS and designing tricks. In a second way, we will use a plugin to make the whole process way more accessible.
First, let’s create the vertical divider without any plugins.
Vertical Divider without a Plugin
Method #1 – CSS Rotation
This method will use the CSS rotate rule to spin the divider 90 degrees.
First, drag the Elementor divider widget to the middle column and set its width.
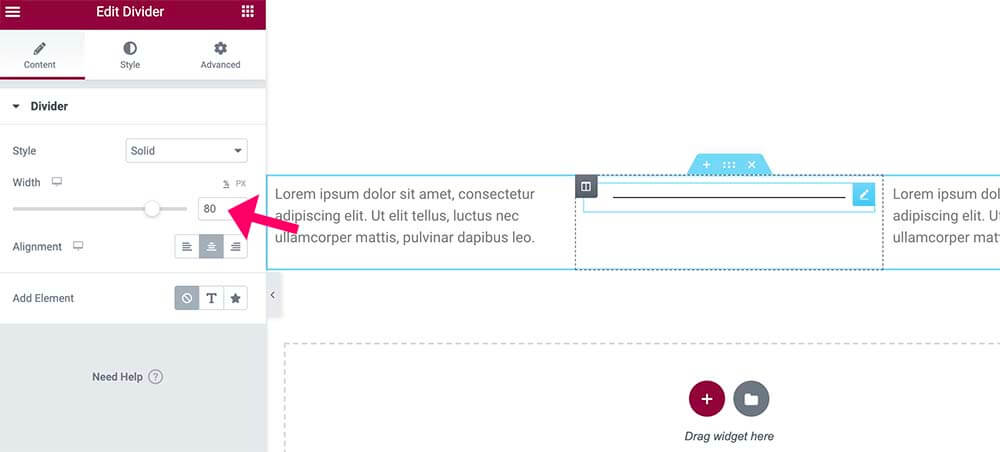
Next, navigate the Advanced tab and enter the word vertical inside the CSS class box. That way, we can target this specific divider only and not all the other dividers.
Last, paste this CSS rule inside the Additional CSS box of the Customization screen.
.vertical {
transform: rotate(90deg);
}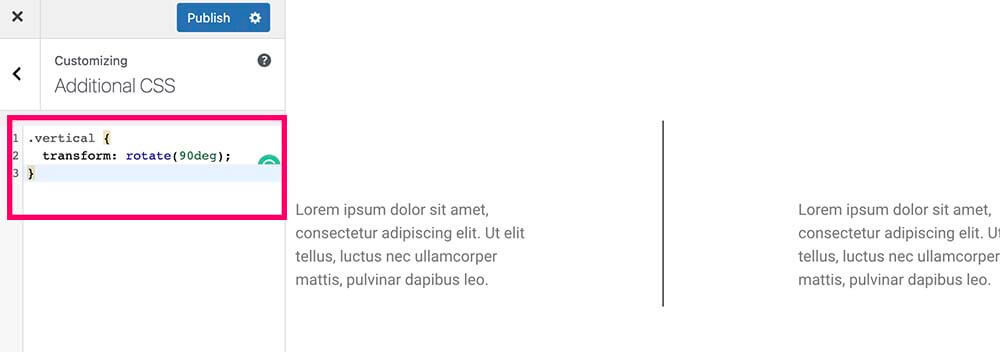
This CSS rule will flip the divider from its horizontal to a vertical position. Once saved, feel free to adjust the width of the divider by sliding the weight option left or right.
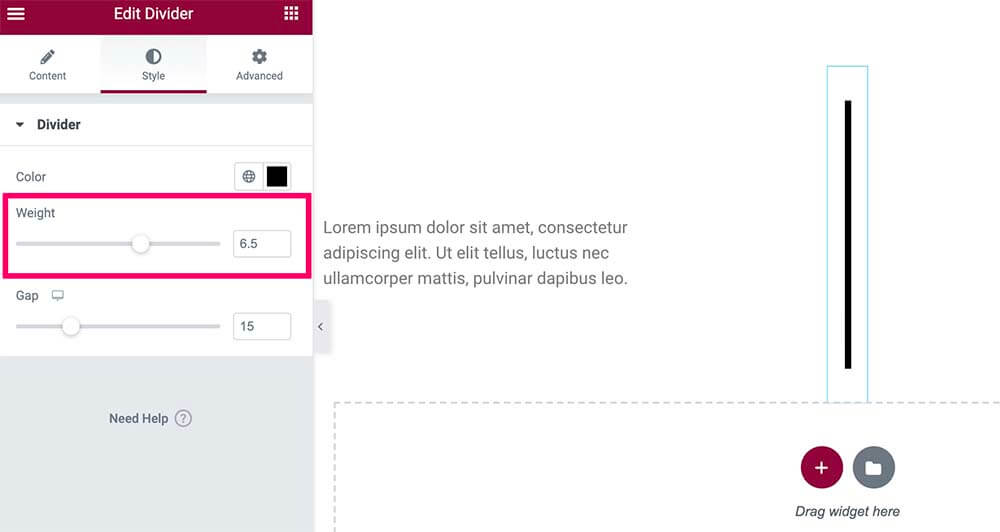
That is my preferred way because it’s straightforward with minimal customization.
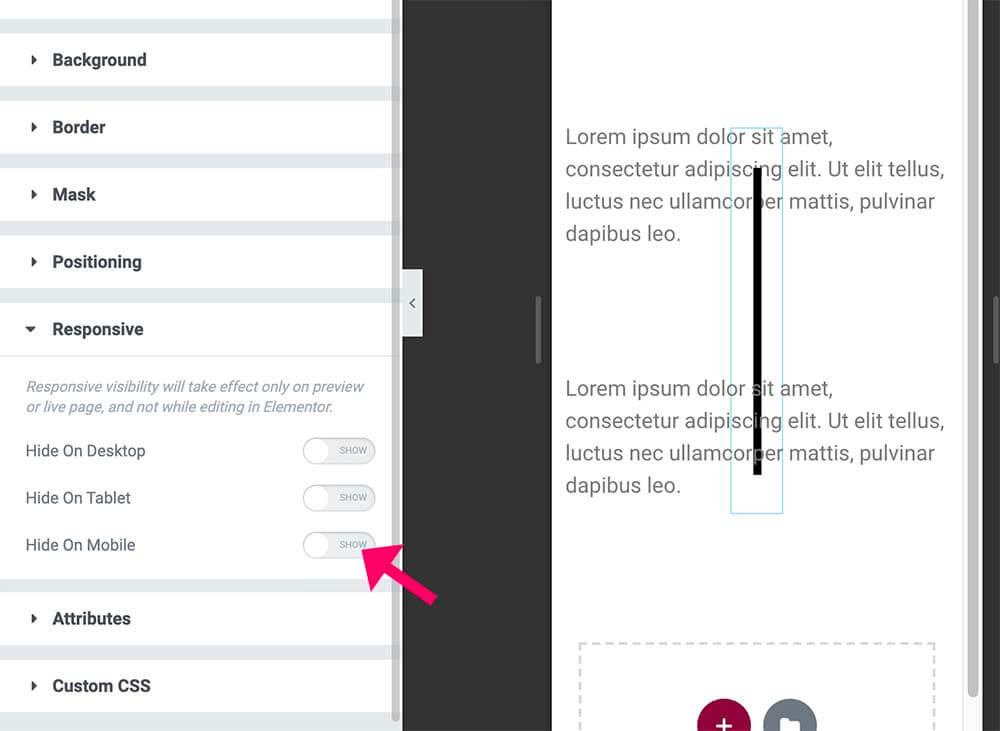
This method will only work if the columns are next to each other, like in a desktop view. It will not look good in a mobile view, so you should hide it.
Try the second method if the above process doesn’t work for you.
Method #2 – Spacer Widget
This is also an excellent method to create a vertical divider, but it requires some extra steps.
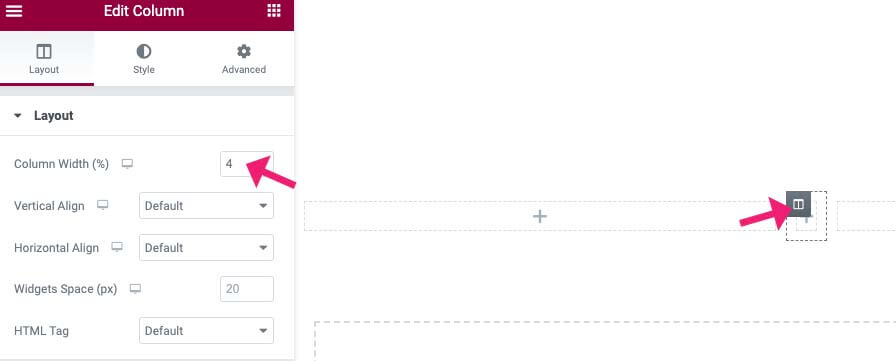
First, change the width of the dividing column to the minimum allowed number, 4. If you have three columns, the other two sections will be 48% each.
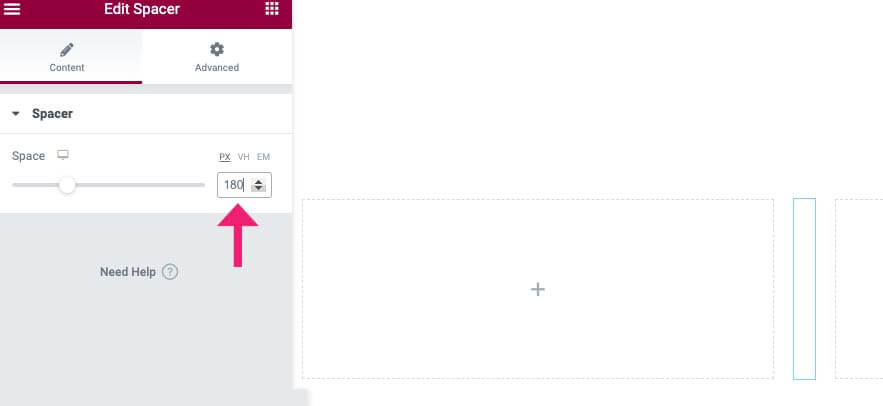
Drag the spacer element to the narrow column and set its height under the controls tab.

Navigate to the Advanced tab of the spacer widget and set a background color.
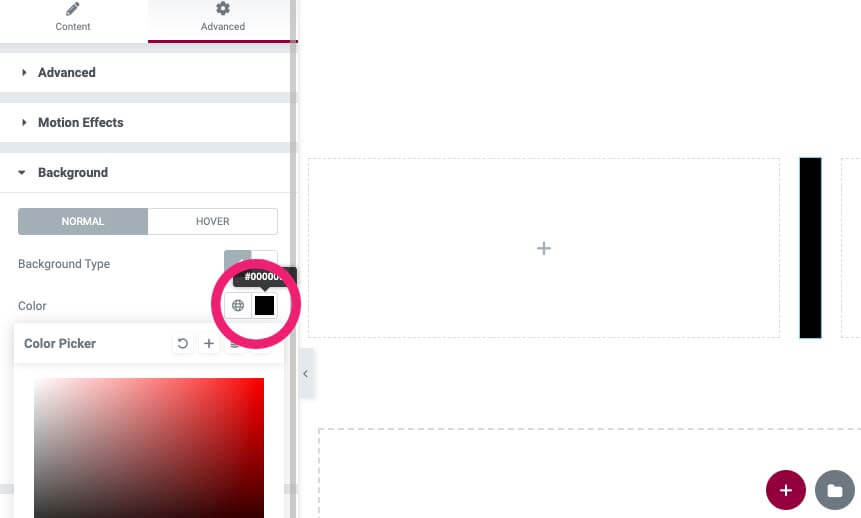
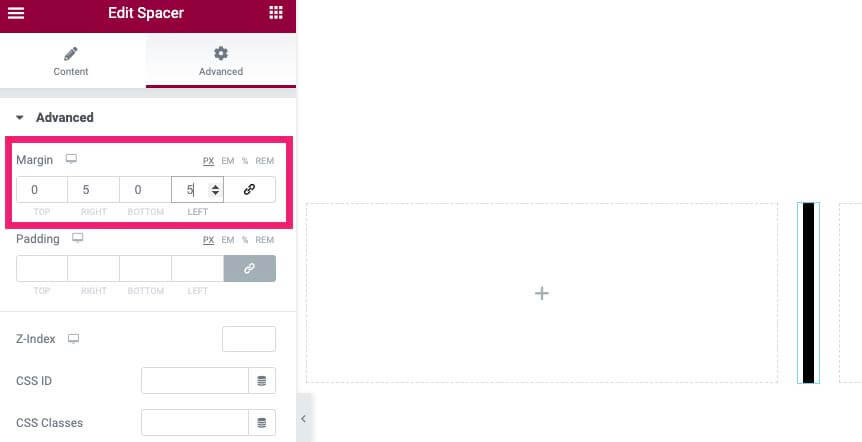
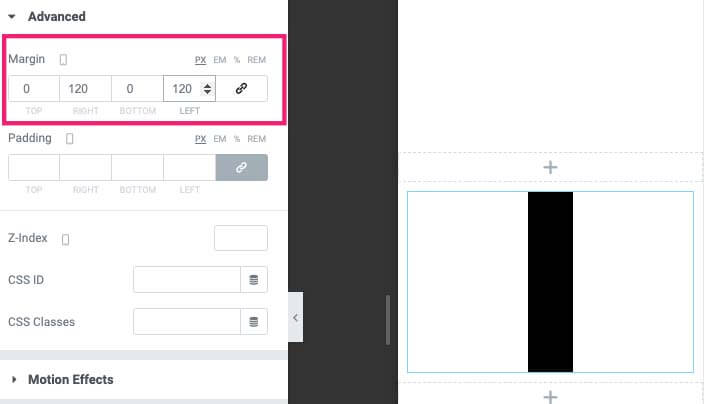
While still in the advanced tab, unlink between the margin properties and set an equal margin distance for left and right. The margin size is based on the desired width of the divider.
Save the changes and modify them for mobile and responsive viewports.
Setting the divider width by its margin makes it very easy to adjust to any screen size.
If you’re looking for an easier way to create a vertical divider than both methods shown above, you would like the next option.
Vertical Divider with a Plugin
That is the easiest way to add a vertical separator with Elementor because it does not require any CSS. Also, when using a plugin, we can easily control any element aspect, such as height, color, and type.
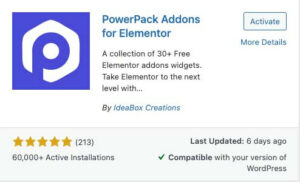
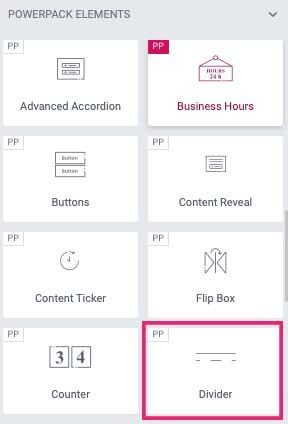
From your WordPress dashboard, navigate to Plugins -> Add New and install the PowerPack Addons For Elementor plugin.
Once activated, navigate to your desired page and click on the edit with Elementor button. Then, scroll down the elements sidebar to view all the new PowerPack widgets.
Look for the new divider widget and drag it to your desired location.
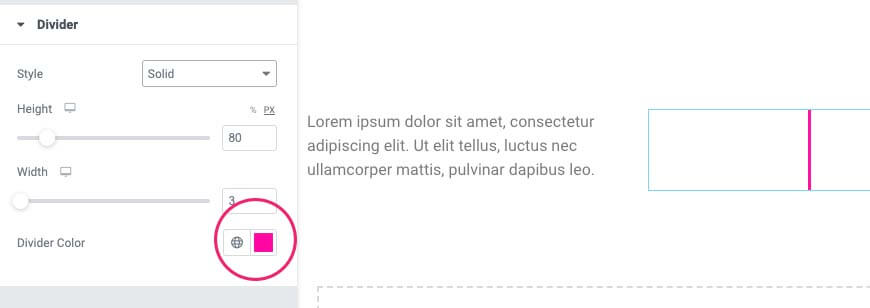
Finally, under the content tab, change the direction option to vertical.

If you want a solid divider instead of a dashed one, move over to the Style tab and change it to solid.
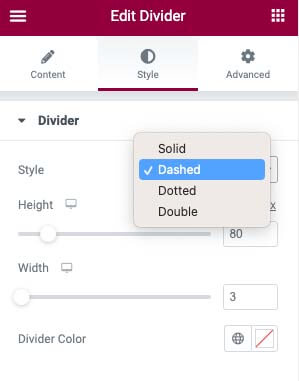
You can also change the divider color from its default color to any other one, just like you can do with any other element.
When finished, click on update and visit your page to ensure everything is working correctly.
The pro version of PowerPack comes with many more amazing widgets. If you’re interested in getting the pro version of the plugin, you can do so from the official website for a total price or from us for only $4.99.
Alternative Elementor Extensions
The PowerPack plugin above is one of many plugins that can add a rich library of widgets to the core Elementor plugin.
Here is a list of similar plugins with unique widgets that you may want to check out:
- Ultimate Addons for Elementor
- Essential Addons
- Croco Blocks
- Unlimited Elements
- The Plus Addons
- Piotnet Addons
- Namogo Extras
- Element Pack
- Premium Addons
If you debate which plugin to use, check out our unlimited download plans and download them all for a small fixed price.
Conclusion
This article showed you how to make a vertical divider with Elementor in a few different ways.
Let us know below which one of the methods you used for this task.
Also, make sure to subscribe to our YouTube channel and like our page on Facebook.