Out of stock products are one of the biggest reasons for revenue loss of any business.
The customers have already made up their minds to purchase your item, but being out of stock prevents them from completing the checkout.
Although you lost the sale, you can still recover the deal and bring back your customers when adding the back to stock notification feature.
This article will show you how to add a back in stock notification to your WooCommerce store to retrieve customers and increase revenue.
Why Enable Back in Stock Notifications
There is a lot of thinking into the human psychology of convincing customers to purchase your products.
When building a WooCommerce store, you’ll need to consider the sale pitch, product description, images, design, and more.
Assuming you bypassed all the challenges and managed to convince your customers to purchase, it will be a waste to lose the sale just because the product is out of stock.
In a case like that, potential buyers who have already decided to buy the item will need to let it go or even visit your competitors to buy it from them.
A back-in-stock notification will help your business to recover some of the customers and bring them back to your website.
Although you won’t be able to recover them all, any returning customer that converted thanks to the back to stock notification is justifying your business to enable this feature.
What the Back in Stock Plugin Does
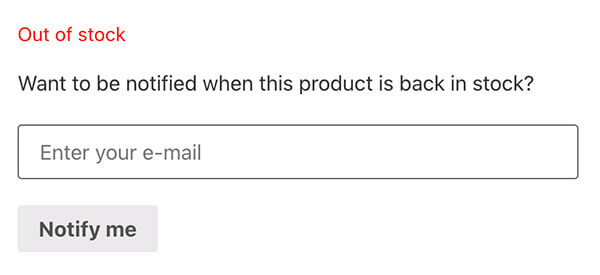
The back in stock plugin will add a signup form to the product’s page instead of the add to cart button.
Customers will then be able to submit their email addresses and get a notification once the item got restocked.
You can customize the notification message to include a direct link to the product page or even redirect to checkout. That will save valuable time for your customers and shorten the process of completing the order.
A back in stock plugin keeps the guessing game out of the equation. Customers interested in your products will no longer need to return to your store to find out that their desired product is still out of stock. That will save them time and frustration.
In addition, back in stock notifier will remind them that they were once interested in the product and will spark their interest if they forgot.
Moreover, another great advantage of this plugin is the ability to increase your WooCommerce mailing list and capture more leads.
Once you collect your customers’ emails, you can keep promoting additional products that can be relevant to them. A strategy like that will increase your returning customers’ rate, eventually leading to a sustainable income.
Now that we know how important it is to add a back in stock notifications let’s move on to the next section and learn how to do it.
Back in Stock Notification Plugin for WooCommerce
A plugin is the easiest way to add the notification feature to inform customers that a product is back in stock.
In this tutorial, we will use the back in stock notification plugin for WooCommerce.
You can get it for the total price of $49 from the official website or the same plugin from us for only $4.99 (included in the unlimited downloads package).
Once downloaded, navigate to Plugins -> Add New -> Upload Plugin, and select the back in stock notifications plugin.

After activating the plugin, navigate to its settings screen under WooCommerce -> General -> Stock notifications.
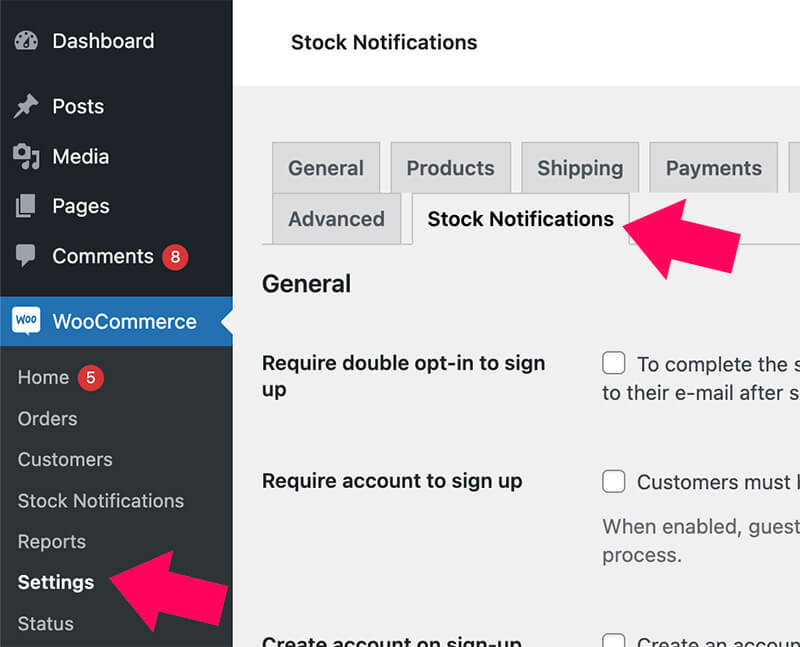
There are some options that we should talk about and get familiar with.
Stock notification plugin’s settings
The back in stock plugin is default predefined and ready to work after activation. However, you can modify some settings to fit your online store needs.
Out of the box, the notifier plugin will add a text field to any product’s page that is out of stock. The client will then need to submit the email address to which he would like to be notified.
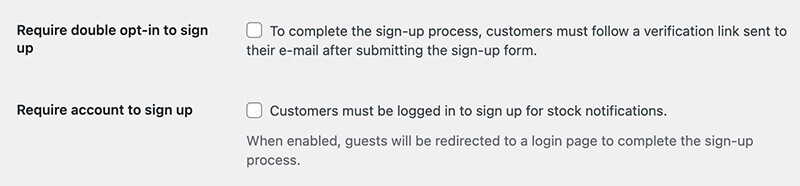
One of the settings you can change is the option to require double opt-in to sign up. That will force the customers to follow a verification link sent to their email after submitting the form.
The require an account to sign up option will only allow registered users to join the waitlist. My recommendation is to leave this option unchecked and allow all visitors the chance to receive notifications.
The minimum stock quantity option will enable you to set the quantity required to trigger the notifications when restocking.

Under the signup form text, enter the content that you would like to display above the signup form, or keep it as is.
You can also modify the text to appear for members who have already signed up for the waitlist.

The last option on the settings page will add the notification signup form to the sold-out products on the archive page.
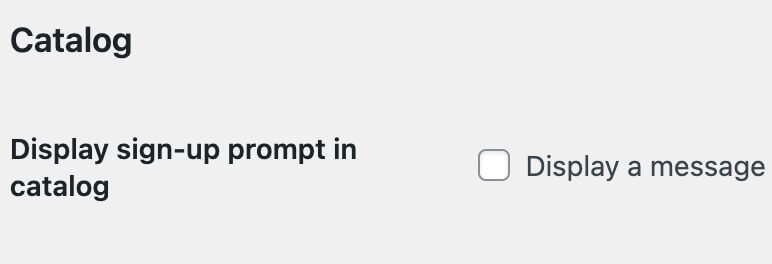
It’s unchecked by default because it’s better to encourage visitors to enter the product page and get relevant information about the item.
Letting them engage with the first part of the purchase funnel will improve your conversion rate. Therefore, I recommend you leave it that way.
Once you have finished modifying the plugin’s settings, save the changes and move on to test the form and ensure its functionality.
Test the notifications
Visit one of the sold-out products and ensure you can sign up to receive back in stock notifications.
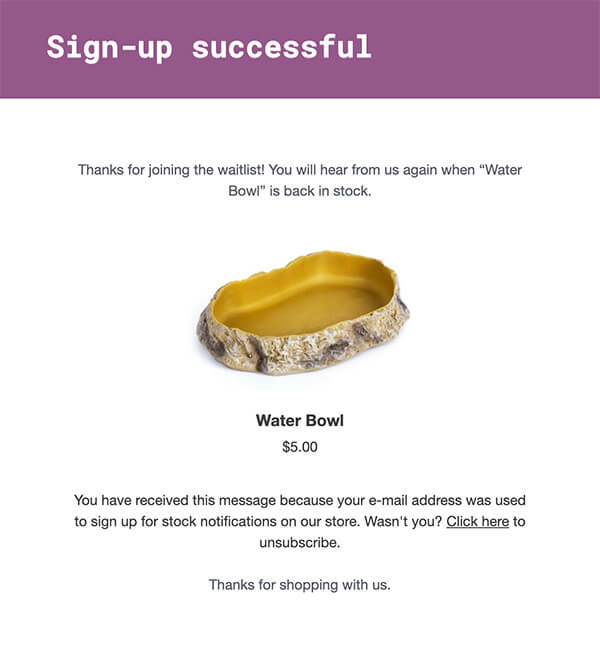
After signing up, the subscribers will receive a confirmation message notifying them that they were successfully added to the waitlist.
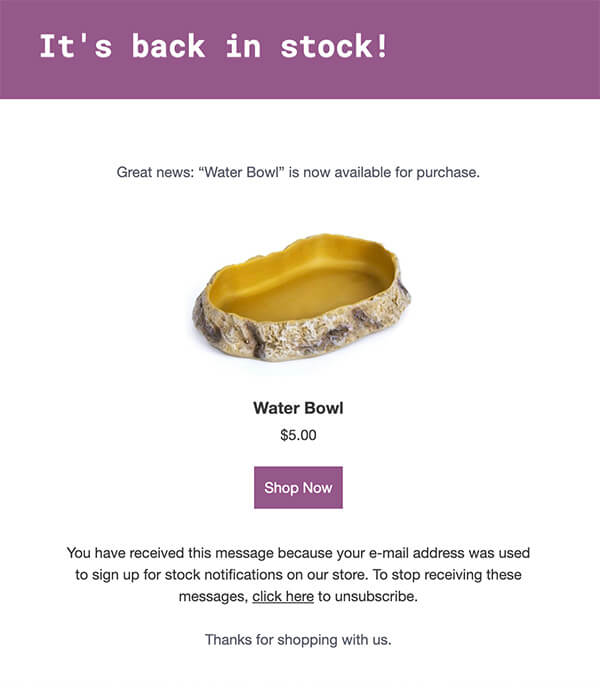
Once restocked, the subscribers will receive another message notifying them that the product is back in stock and ready to be purchased.
Then, they can click the buy now button in the message to visit the product page and add it to the cart to complete the checkout.
That will complete the sale recovery funnel from a visitor who joined the waitlist to purchasing the desired item and becoming a customer.
Stock Notifications Dashboard
The back in stock plugin provides a detailed dashboard that can provide valuable data.
To access the dashboard, navigate to WooCommerce -> Stock Notifications.
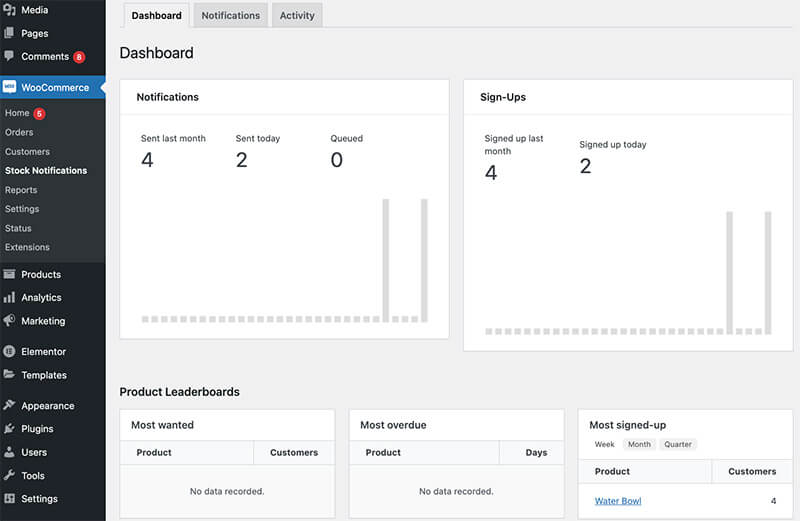
Some of the data the plugin collects include the subscribers’ email addresses and which product they are waiting for to be restocked.
You can then prioritize the most wanted item as the first one to restock. A product with an extensive waiting list should indicate its popularity and be positioned at the top of the list.
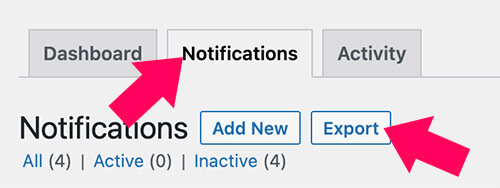
The notifications tab will list all the users who signed up to get the back-in-order notification.
The status column indicates their position on the recovery process. An active status reflects that they are waiting to get the notification, while an inactive status means they have already received it.
As I mentioned earlier, the plugin will help you to add subscribers to your mailing list. You can export the users’ list into a CSV file and upload it to your email marketing tool (such as Aweber).
Please remember to periodically visit the stock notification dashboard to stay up to date with relevant data regarding your products.
Conclusion
This article showed you how to add a back in stock notification plugin to your WooCommerce store.
A plugin like this will help you recover lost sales and stay in touch with potential customers looking to buy your products.
As a result, you’ll expand your business customer base and increase your revenue. Moreover, you can also add them to your email marketing campaigns and send them future offers to maximize conversion rates.
Also, make sure to subscribe to our YouTube channel and like our page on Facebook.