reCaptcha is an anti-spam tool by Google that prevents websites from receiving automatic messages from bots.
Contact Form 7 is one of the most popular form plugins for WordPress used by millions around the world.
In this article, you’ll learn how to integrate reCaptcha with Contact Form 7 on your WordPress website.
What Is reCaptcha
Bots and malicious software uses websites’ forms to send messages or leave comments with abusive content or spam.
Often, the left content will damage your domain score, hurt the visitors’ experience, and decrease the overall quality of your website.
reCaptcha is a free service created by Google to help protect your website against that.
The service adds a test box that is very easy for humans to solve but very hard for bots.
When adding a reCaptcha to a contact form, you minimize the number of spam messages and guarantee a better user experience.
Integrate reCaptcha With Contact Form 7
To integrate between reCaptcha and CF7 you’ll first need to install the plugin, then get the unique keys for your domain name, and finally, connect between the two.
Step #1: Install Contact Form 7
From your WordPress dashboard, navigate to Plugins -> Add New. Then, search and install the Contact Form 7 plugin.
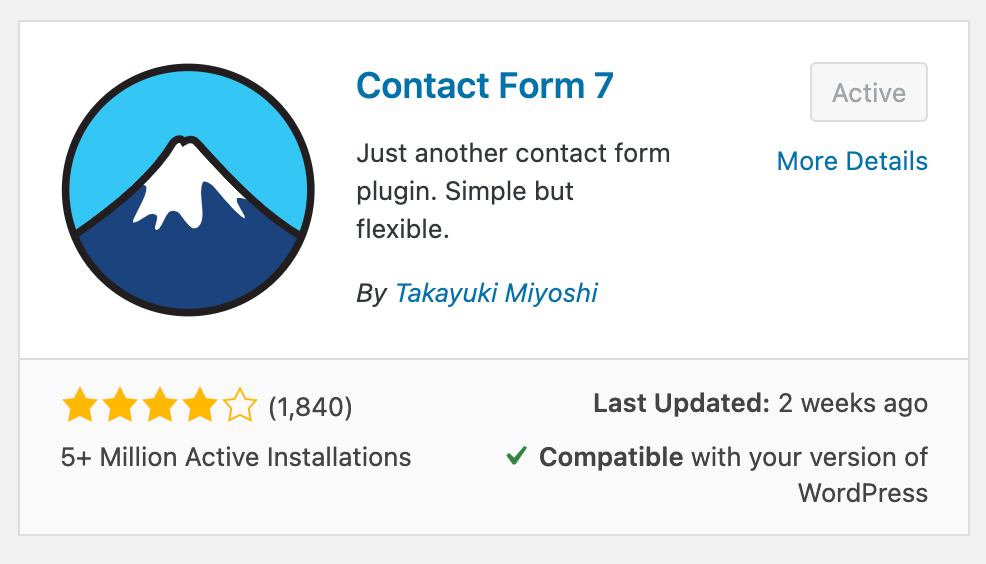
Once you activated the plugin, move forward and get the API keys.
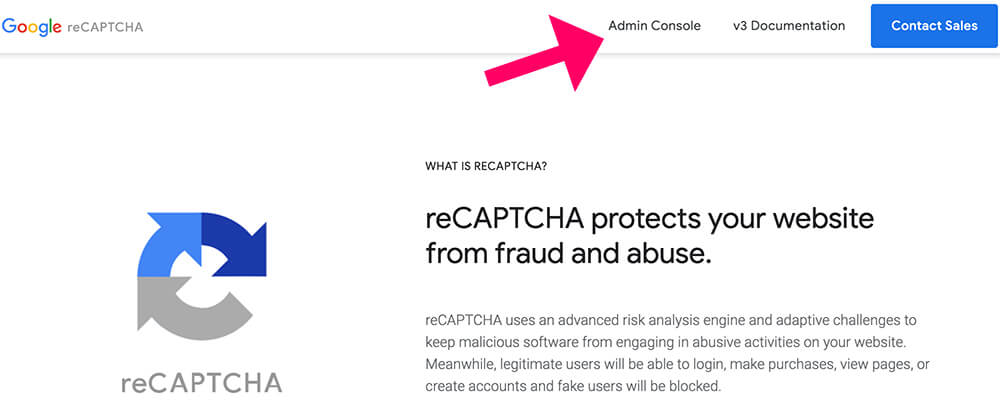
Step #2: Generate reCaptcha keys
To start using this tool, you’ll need to have a Google account and get the API keys for your domain name.
Open the official reCaptcha website and click on the Admin Console.

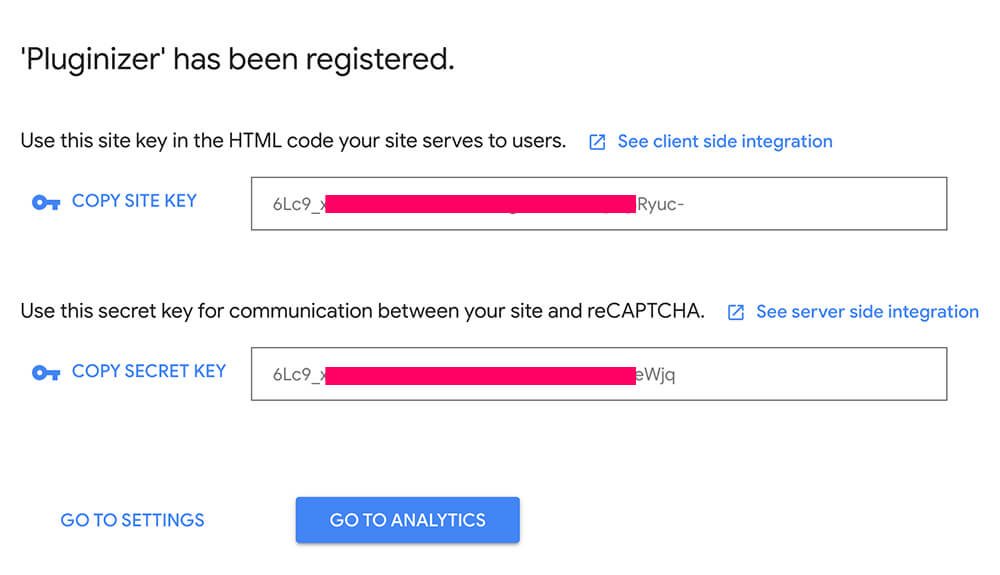
Fill the form with your information such as label, type, domain, and etc, and click submit.
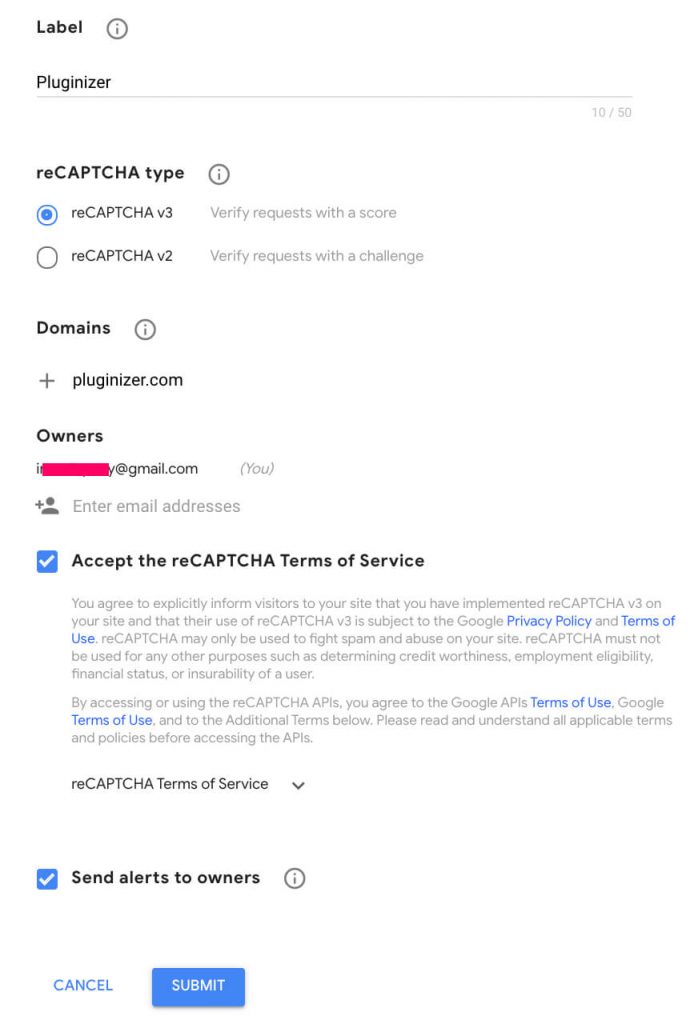
Copy both site and secret keys from the next page.
After getting both keys, we can go back to our WordPress website.
Step #3: Connect the keys
In this step, we will paste the keys inside the CF7 integration screen.
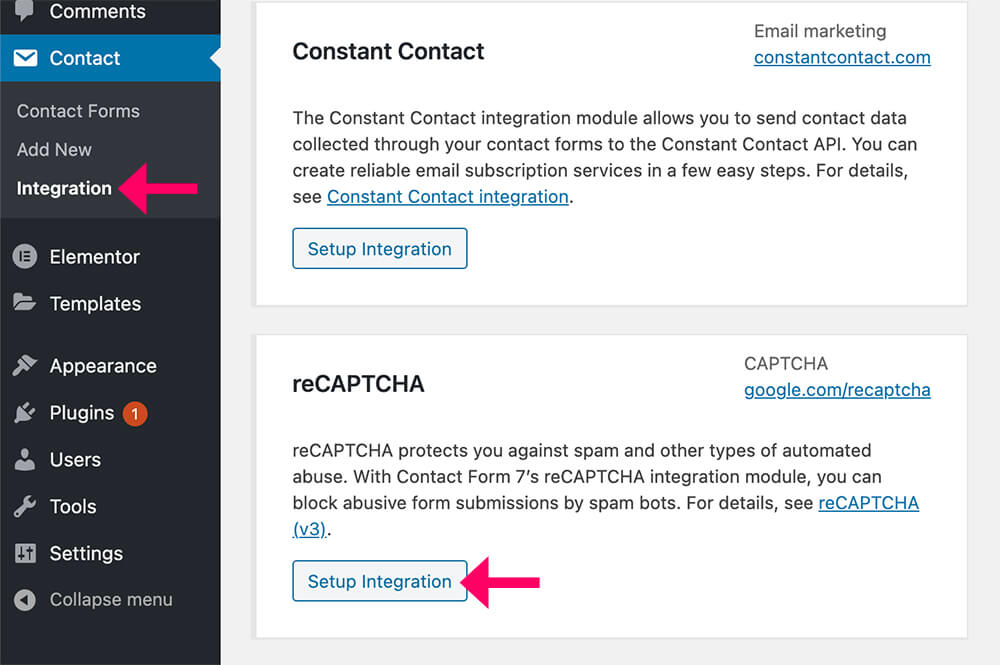
First, navigate to Contact -> Integration.
Then, click on setup integration and enter the keys you generated in the last step.
Once pasted, you will see the message that reCaptcha is active on your site.

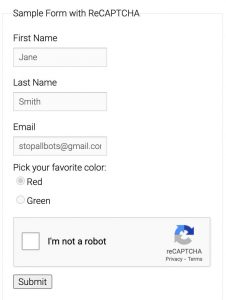
In the last step, we need to verify that we successfully added the reCaptcha box to our website.
Step #4: Test the form
After entering the reCaptcha keys into the Contact Form 7 settings page, we need to verify that it’s working and active on our website.
Thus, visit your website or the page you’re displaying the contact form 7 on and look for the reCaptcha logo at the bottom right corner.

If you see the logo, it means that you connected between the two successfully and your form is now secured.
That’s it, the two are now integrated together and you won’t get any spam messages any longer.
Related Articles
Conclusion
In this article, you learned how to integrate Google reCaptcha with Contact Form 7 to secure your forms.
Leave us a comment and let us know if you have any questions about the process.
Also, make sure to subscribe to our YouTube channel and like our page on Facebook.