

Icons are great to make any website visually prettier and user-friendly.
Menu icons grab users’ attention and can ultimately lead to a longer time spent on your website.
This article will teach you how to create a WordPress menu with icons.
Why Adding Icons to Menus
Websites’ design practices are changing all the time. While the simple design was more popular in the past, today isn’t the case. A unique website requires us to add background images, animations, and icons to differentiate ourselves from others.
Menu with icons are great for making the website prettier and cleaner and saving valuable space. Instead of writing ‘Login/Log Out,’ replace it with a user icon.
Adding icons to the WordPress header is a simple process of 3 steps:
- Install the FontAwesone WordPress plugin.
- Find the desired icon.
- Paste the icon code inside the link text field.
It is also possible to style the icon by adding various classes, but we will get into this bonus section at the end of this tutorial.
Add Icons to Menu in WordPress
There are many great icon libraries that we can use with our WordPress website.
One of the most popular libraries with thousands of icons is called FontAwesome.
In the following few sections, I’ll show you how to add and use the FontAwesome server to add icons easily.
Step #1: FontAwesome Icon Library
FontAwesome is an open-source project with thousands of free icons.
To use FontAwesome, we will first need to load the library into our WordPress website, and we can do it in two ways: download a plugin, or call it using the CDN link.
Install the FontAwesome Plugin
Using the FontAwesome plugin is the more straightforward way and therefore recommended.
From your WordPress dashboard, navigate to Plugins -> Add New and search for FontAwesome plugin.
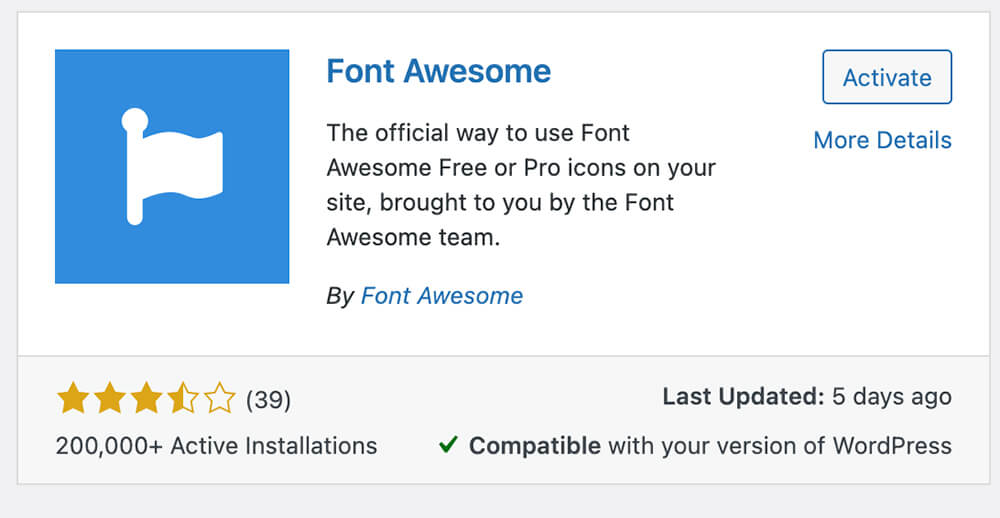
Installing and activating the plugin is the only thing you need to do to start using the icons.
Once installed, skip over to the next section and find the correct icon.
Alternatively, keep reading if you want to use a CDN link instead of a plugin.
Use the CDN Link
If you prefer to include the CDN link instead of using a plugin, navigate to Appearance -> Theme Editor and open the header.php file of the child theme.
Read our how-to create a child theme article if you don’t already use one.
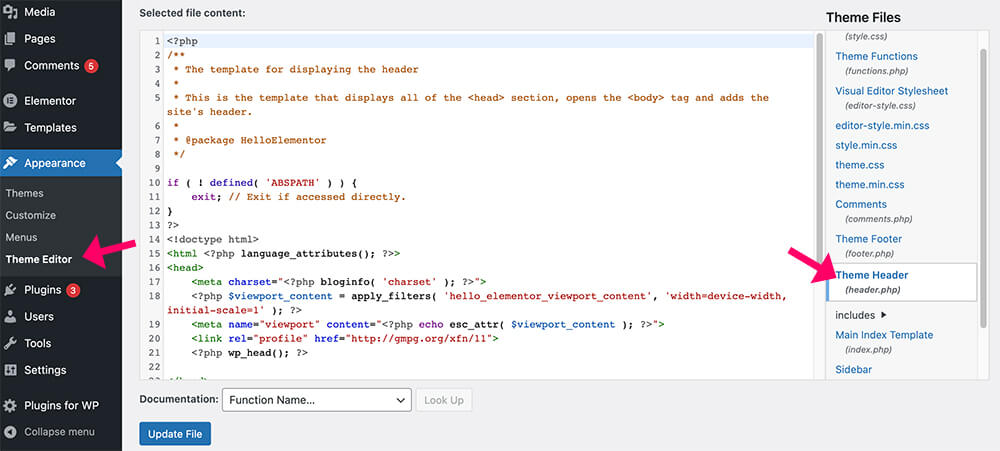
Copy the CDN link from this page and paste it inside the header file before the closing </head> tag.

Once you save the changes, the icons library is now included in your WordPress website.
Step #2: Find the Desired Icon
We finally arrived at the fun section to choose icons between the thousands of available options.

Browse between the available icons, go to the FontAwesome website, or click the plugin link.

Once there, click on the Icons link from the menu to access their library.
Browse between the thousands of available icons and look for the one you would like to use.
The black icons are free to use, but the greyed-out icons require the pro plan. Please search for your desired icon, and once you fount it, click on it.
Inside the icon’s page, click on the HTML markup (<i>) from below the title and copy it to the clipboard.
We will need to use it in the next step inside your WordPress website.
Step #3: Use the Icon in the Menu
From your website’s dashboard, navigate to Appearance -> Menus and expand the link of the item where you would like to add the icon.
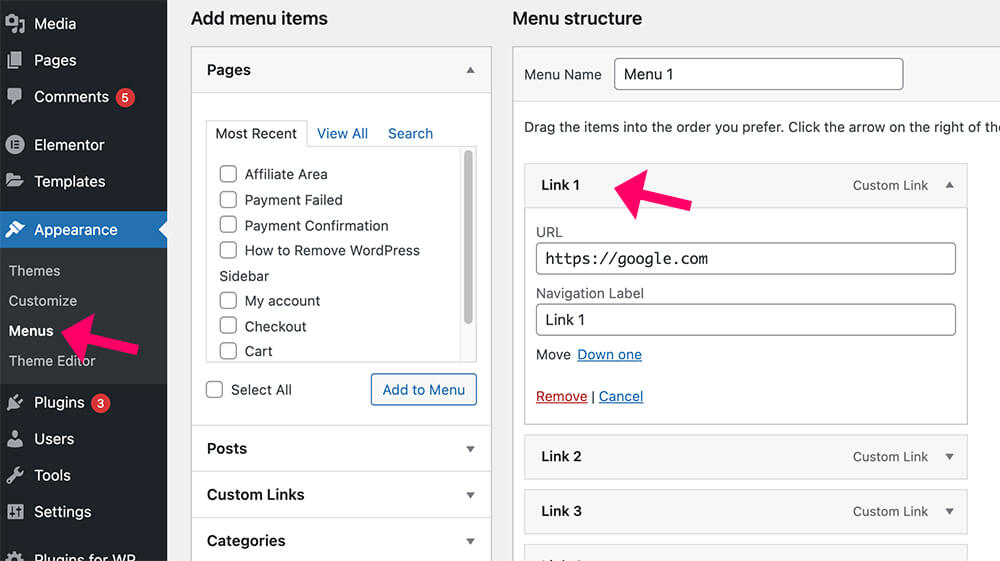
Then, paste the icon’s HTML code inside the Navigation Label in your desired position.
- Icon only – use the HTML markup only without any link text.
- An icon on the left – paste the HTML to the left of the text following with whitespace.
- An icon on the right – add a whitespace after the text and paste the HTML.
Once positioned, save the menu and revisit your website to ensure the icon appears as expected.
The icon will often look good out of the box and will not need extra styling.
However, if it does require final touches like changing the size or color, we can customize it by adding dedicated classes of CSS rules.
Customize the Icon
We can change the icon size by adding an extra class attribute to the <i> element.
Their Sizing Icons guide shows that we can double the logo size by adding the fa-2x class to the element. For example:
<i class="fab fa-angellist fa-2x"></i>This is just one sizing option out of many. Make sure to check their chart to find the additional sizing classes.
If you want to change the icon’s color, you must use a custom CSS rule.
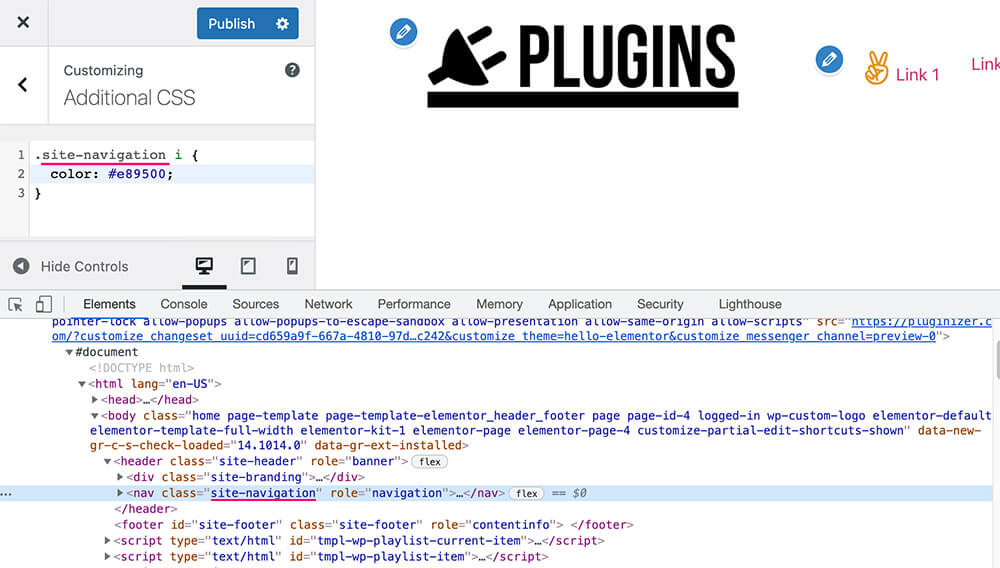
First, click on Customize from the top admin bar and navigate the Additional CSS option.
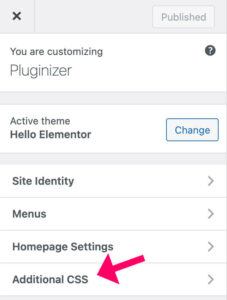
Then, copy the CSS code from below and paste it inside the box. Make sure to replace the MENU-CLASS-HERE and the Hex code with the actual values.
.MENU-CLASS-HERE i {
color: #hex;
}
You can find the menu’s class by clicking inspect on the menu and traveling down the DOM until you get into the element.
To get the exact code of your desired color, read our article on finding color’s hex code.
Conclusion
In this article, you learned how to create a WordPress menu with icons easily.
Please leave us a comment and let us know if you have any questions about the process.
Also, make sure to subscribe to our YouTube channel and like our page on Facebook.
