Although you might know how to use git to manage revisions of your code, you might still be wondering: why would you want to do anything from the command line, let alone manage your WordPress site this way? There are many reasons. It is often faster and easier than using a graphical interface (GUI). The commands are repeatable and scriptable. This means that you can write scripts of commonly used commands or chains of commands and execute them easily later. It can remove a lot of boring busy work from your life.
These commands or scripts can also be shared with others who can benefit and who can introduce their own ideas and improvements. It is also more accurate and exact. When a command runs successfully, you get immediate feedback. You can easily run commands for many WordPress installations without having to log into the graphical admin interface. You can also run many other commands not directly related to WordPress, and combine them in an almost unlimited number of useful ways to achieve what you want.
It is often easier to do even the most basic of computer tasks on the command line. For example, if you want to copy a file from one location to another, you’d run:
cp /path/to/my/file /path/to/my/destination/directory_or_file
That’s it. One command. you don’t have to open up the Finder or Explorer, find the file, open up another window or tab, and drag it over. Just one command in your terminal and you’re done. If there’s an error, it’ll be immediately obvious. Afterwards, you can move on to other tasks.
Installing wp-cli
wp-cli is a command line tool to manage WordPress installations from the command line. To use any command line tools, you first need a terminal program. Terminal.app or iTerm2 on a Mac, any Linux terminal app like Konsole for Linux, or Windows Terminal for Windows are all good starting points.
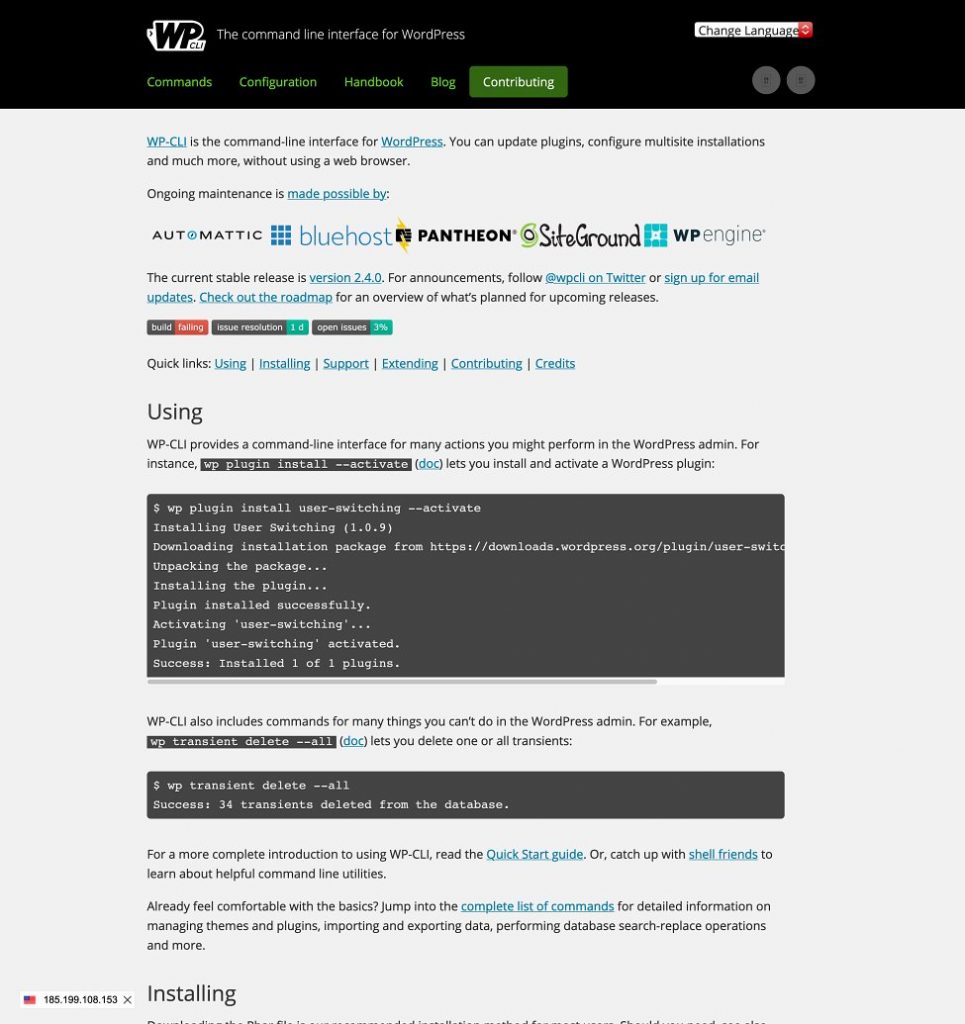
Open up your terminal. Let’s first install wp-cli. Check out the installation instructions at the wp-cli website. You will download a Phar file which is basically a self-contained PHP program that has everything it needs to run, change the permissions to make it executable, and copy it to a system location. If you’re on a Mac with Homebrew, you can also just run:
brew install wp-cli
and Homebrew will take care of the installation for you. I would recommend that for any Mac users.
Now that you’ve installed wp-cli, open up a new terminal window and try running it to make sure it works:
wp
You should see output similar to the below:
NAME

  wp

DESCRIPTION

  Manage WordPress through the command-line.

SYNOPSIS

  wp <command>

SUBCOMMANDS

  cache                 Adds, removes, fetches, and flushes the WP Object Cache object.
  cap                   Adds, removes, and lists capabilities of a user role.
  cli                   Reviews current WP-CLI info, checks for updates, or views defined aliases.
  comment               Creates, updates, deletes, and moderates comments.
  config                Generates and reads the wp-config.php file.
  core                  Downloads, installs, updates, and manages a WordPress installation.
  cron                  Tests, runs, and deletes WP-Cron events; manages WP-Cron schedules.
  db                    Performs basic database operations using credentials stored in wp-config.php.
  embed                 Inspects oEmbed providers, clears embed cache, and more.
  eval                  Executes arbitrary PHP code.
  eval-file             Loads and executes a PHP file.
  export                Exports WordPress content to a WXR file.
  help                  Gets help on WP-CLI, or on a specific command.
  i18n                  Provides internationalization tools for WordPress projects.
  import                Imports content from a given WXR file.
  language              Installs, activates, and manages language packs.
  maintenance-mode      Activates, deactivates or checks the status of the maintenance mode of a site.
  media                 Imports files as attachments, regenerates thumbnails, or lists registered image sizes.
  menu                  Lists, creates, assigns, and deletes the active theme's navigation menus.
  network               Perform network-wide operations.
  option                Retrieves and sets site options, including plugin and WordPress settings.
  package               Lists, installs, and removes WP-CLI packages.
  plugin                Manages plugins, including installs, activations, and updates.
  post                  Manages posts, content, and meta.
  post-type             Retrieves details on the site's registered post types.
  rewrite               Lists or flushes the site's rewrite rules, updates the permalink structure.
  role                  Manages user roles, including creating new roles and resetting to defaults.
  scaffold              Generates code for post types, taxonomies, plugins, child themes, etc.
  search-replace        Searches/replaces strings in the database.
  server                Launches PHP's built-in web server for a specific WordPress installation.
  shell                 Opens an interactive PHP console for running and testing PHP code.
  sidebar               Lists registered sidebars.
  site                  Creates, deletes, empties, moderates, and lists one or more sites on a multisite installation.
  super-admin           Lists, adds, or removes super admin users on a multisite installation.
  taxonomy              Retrieves information about registered taxonomies.
  term                  Manages taxonomy terms and term meta, with create, delete, and list commands.
  theme                 Manages themes, including installs, activations, and updates.
  transient             Adds, gets, and deletes entries in the WordPress Transient Cache.
  user                  Manages users, along with their roles, capabilities, and meta.
  widget                Manages widgets, including adding and moving them within sidebars.
As you can see, wp-cli has a lot of different commands you can run to manage your WordPress install. In this article, we’ll cover some of the more useful ones.
Managing Plugins
Let’s start off with the plugin command. This allows you to manage your plugins by installing, uninstalling, activating, deactivating, and updating your plugins. First, run the command by itself to see the various options:
wp plugin
It will output the following:
usage: wp plugin activate [<plugin>...] [--all] [--network]
   or: wp plugin deactivate [<plugin>...] [--uninstall] [--all] [--network]
   or: wp plugin delete [<plugin>...] [--all]
   or: wp plugin get <plugin> [--field=<field>] [--fields=<fields>] [--format=<format>]
   or: wp plugin install <plugin|zip|url>... [--version=<version>] [--force] [--activate] [--activate-network]
   or: wp plugin is-active <plugin>
   or: wp plugin is-installed <plugin>
   or: wp plugin list [--<field>=<value>] [--field=<field>] [--fields=<fields>] [--format=<format>]
   or: wp plugin path [<plugin>] [--dir]
   or: wp plugin search <search> [--page=<page>] [--per-page=<per-page>] [--field=<field>] [--fields=<fields>] [--format=<format>]
   or: wp plugin status [<plugin>]
   or: wp plugin toggle <plugin>... [--network]
   or: wp plugin uninstall [<plugin>...] [--deactivate] [--skip-delete] [--all]
   or: wp plugin update [<plugin>...] [--all] [--exclude=<name>] [--minor] [--patch] [--format=<format>] [--version=<version>] [--dry-run]
   or: wp plugin verify-checksums [<plugin>...] [--all] [--strict] [--format=<format>]

See 'wp help plugin <command>' for more information on a specific command.
Installing Plugins
Let’s install a new plugin. You’ll need to be in the directory of your WordPress installation to run the following commands as they affect the WordPress installation in the directory they are ran in. You can install a plugin from a zip file or URL. We’ll install the Classic Editor plugin to demonstrate. For convenience, we’ll use a URL.
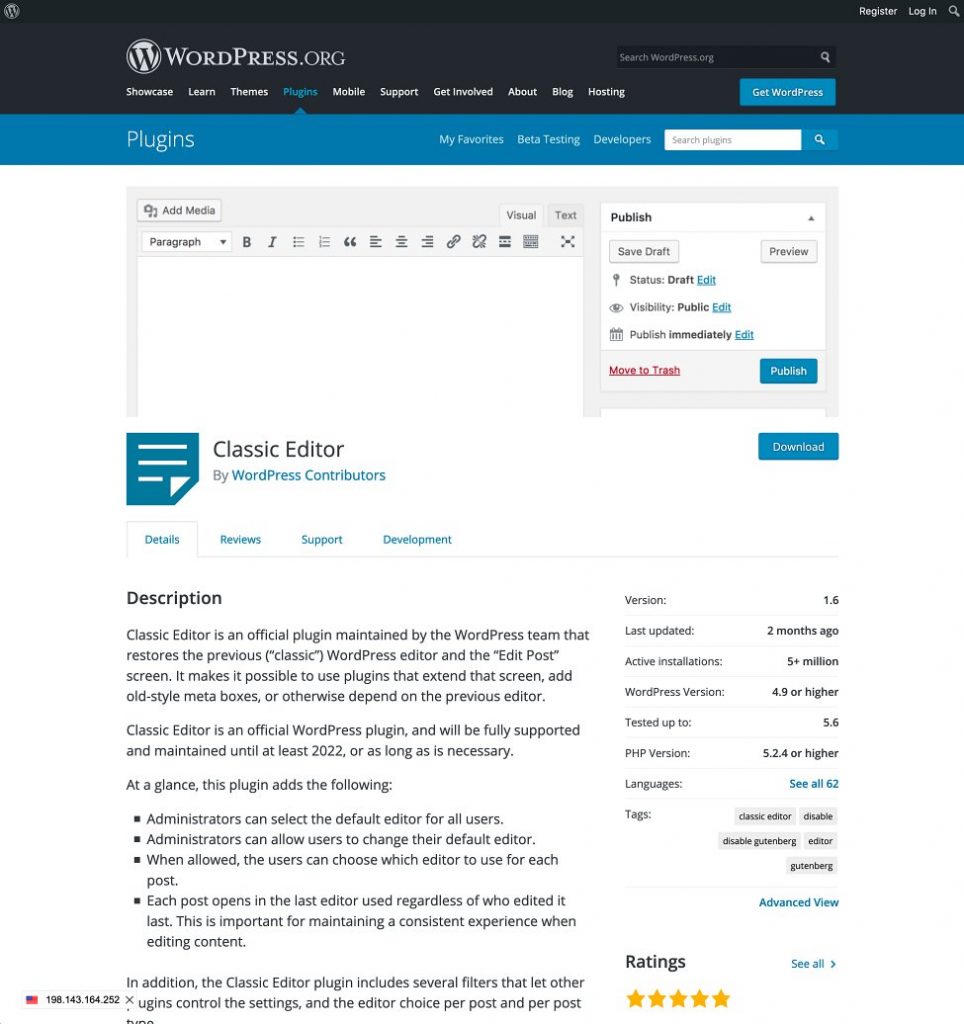
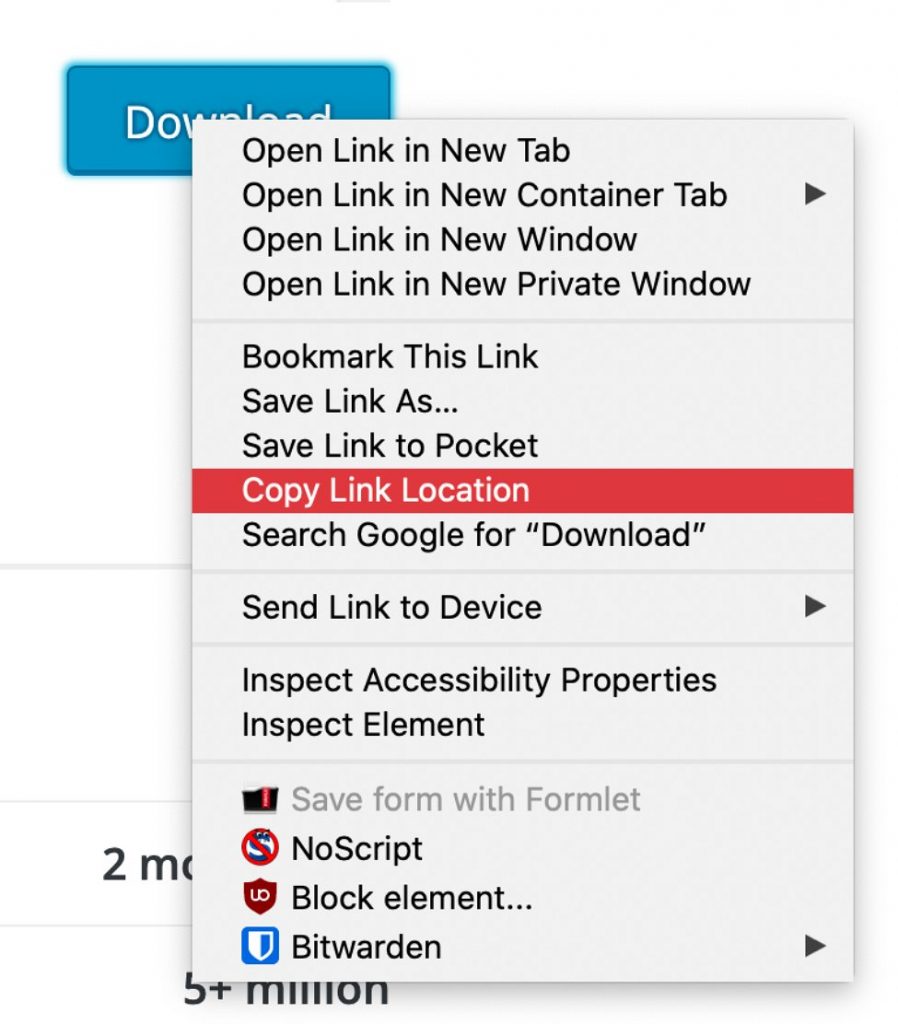
First, we’ll get the URL by copying it from the Download button on the plugin page at wordpress.org.
Then run:
wp plugin install https://downloads.wordpress.org/plugin/classic-editor.1.6.zip
You’ll see something like this if it was successful:
Downloading installation package from https://downloads.wordpress.org/plugin/classic-editor.1.6.zip...
The authenticity of classic-editor.1.6.zip could not be verified as no signature was found.
Unpacking the package...
Installing the plugin...
Plugin installed successfully.
Success: Installed 1 of 1 plugins.
Now let’s activate that plugin:
wp plugin activate classic-editor
Which should output:

Plugin 'classic-editor' activated.
Success: Activated 1 of 1 plugins.
Nice. We’ve installed this plugin and activated it. All with two commands. Since this is such a common operation, you could actually install and activate the plugin with one command:
wp plugin install --activate https://downloads.wordpress.org/plugin/classic-editor.1.6.zip
Scripting the Installation
You could easily copy that command and put it into a script along with commands to install all the plugins you need. For example, the following script installs and activates 3 plugins:
#! /bin/bash

wp plugin install --activate https://downloads.wordpress.org/plugin/classic-editor.1.6.zip
wp plugin install --activate https://downloads.wordpress.org/plugin/contact-widgets.1.7.0.zip
wp plugin install --activate https://downloads.wordpress.org/plugin/wd-youtube.1.0.33.zip
Save that in a file in the root of your WordPress installation called install.sh. You can call the script whatever you want but it’s advised to keep the sh extension which indicates it’s a shell script, in our case a bash shell script. Now run the following to make it executable:
chmod +x install.sh
That will allow you to execute it by either typing its full path name or, from the current directory, running it as:
./install.sh
Note that ./ indicates the current directory (the . in that expression) along with the directory separator / (which would be \ on Windows).
If everything went according to plan, you’ll see the following:
Downloading installation package from https://downloads.wordpress.org/plugin/classic-editor.1.6.zip...
The authenticity of classic-editor.1.6.zip could not be verified as no signature was found.
Unpacking the package...
Installing the plugin...
Plugin installed successfully.
Activating 'classic-editor'...
Warning: Plugin 'classic-editor' is already active.
Success: Installed 1 of 1 plugins.
Xdebug: [Step Debug] Could not connect to debugging client. Tried: localhost:9000 (fallback through xdebug.client_host/xdebug.client_port) 🙁
Downloading installation package from https://downloads.wordpress.org/plugin/contact-widgets.1.7.0.zip...
The authenticity of contact-widgets.1.7.0.zip could not be verified as no signature was found.
Unpacking the package...
Installing the plugin...
Plugin installed successfully.
Activating 'contact-widgets'...
Warning: Plugin 'contact-widgets' is already active.
Success: Installed 1 of 1 plugins.
Xdebug: [Step Debug] Could not connect to debugging client. Tried: localhost:9000 (fallback through xdebug.client_host/xdebug.client_port) 🙁
Downloading installation package from https://downloads.wordpress.org/plugin/wd-youtube.1.0.33.zip...
The authenticity of wd-youtube.1.0.33.zip could not be verified as no signature was found.
Unpacking the package...
Installing the plugin...
Plugin installed successfully.
Activating 'wd-youtube'...
Plugin 'wd-youtube' activated.
Success: Installed 1 of 1 plugins.
As you can see, this is a very powerful, simple, and easy way to install plugins. You can create a script with the plugins you typically use and run it in all of your WordPress installs.
Deleting and Updating Plugins
You can also remove plugins:
wp plugin delete classic-editor
Resulting in:
Deleted 'classic-editor' plugin.
Success: Deleted 1 of 1 plugins.
Or update:
wp plugin update classic-editor
Which yields:
Success: Plugin already updated.
In this case, there was no update available, but if there was one, it would have updated the plugin.
Running a development WordPress server
We will cover one more wp-cli command today and more in later blog posts. The wp server command will start a development server with your WordPress site running and ready to be worked on. All you need to do is run:
wp server
If it is successful in starting the server, you’ll see something like the below:
[Fri Jan 29 16:55:54 2021] PHP 7.4.14 Development Server (http://localhost:8080) started
If you get an error about the port (8080 by default) being used, you can try a different port until you find one that’s free like this:
wp server --port=6000
You can navigate to the URL (by default http://localhost:8080) and you’ll see your WordPress site! This is a quick way to test your site and work on it without having to install a web server and configure it yourself. The MySQL database server still needs to be installed and running so if you plan on using this technique to develop and test locally, you should look into instructions on installing the community port of MySQL, MariaDb.
Conclusion
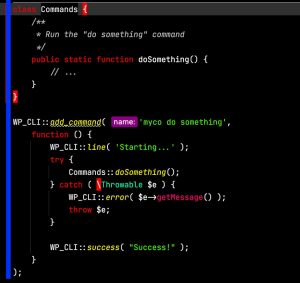
In this article, we learned why you would want to use the command line and how to install wp-cli to manage WordPress sites. We learned how to use wp-cli to install, activate, delete, and update plugins, and how to script these operations and batch them up so multiple operations can be ran with one command. Finally, we learned how to start a development server to work on and test our WordPress sites. In future blog posts, we’ll explore other wp-cli commands and features, including the ability to create your own custom commands that allow you to do virtually anything with a WordPress installation by running custom PHP code.
Also, make sure to subscribe to our YouTube channel and like our page on Facebook.