

Did you ever want to create custom post types for WordPress but never knew how?
Well, you’re not alone. Creating custom post types was a challenging task that only skilled developers could do for a long time. Thankfully, it all changed with the Custom Post Type UI plugin for WordPress.
Because using a PHP function may look complicated for non-techies, it will be easier to use a plugin.
This article will teach you how to use the Custom Post Type UI plugin to create custom post types in WordPress.
What is a Custom Post Type
Custom post types are designated posts added to WordPress and help us organize our website’s content better.
For example, WooCommerce will add it under Products, a custom post type, when creating a new product.
It won’t appear inside the blog archive page as a blog post because it isn’t.
Organizing your website’s content will make it easier for you to display it and for your visitors to view it.
Why Use CPT-UI Plugin
Although it’s possible to create a custom post type in WordPress without a plugin, a process like this requires the user to know an advanced PHP code.
When using the CPT-UI plugin, we can achieve that with only a few clicks, and therefore, it will save us a lot of time.
In addition, it’s keeping us from editing WordPress core files like the functions.php file where every minor mistake can break down the website.
The only con for using a plugin to create a custom post type is that it must stay active to add new items or even access the designed items’ URL (however, there is a way around it, and I will show you how).
That being said, it is one of the best WordPress plugins for creating custom post types.
Create a Custom Post Type with the Custom Post Type UI Plugin
We can use the Plugin to create:
- Custom post types.
- Custom taxonomies (categories and tags).
The process of developing any of them is very similar to each other.
Step #1: Download the Custom Post Type UI plugin
Navigate to the Plugin -> Add New screen of your WordPress website, search and install the Custom Posts Type UI plugin.
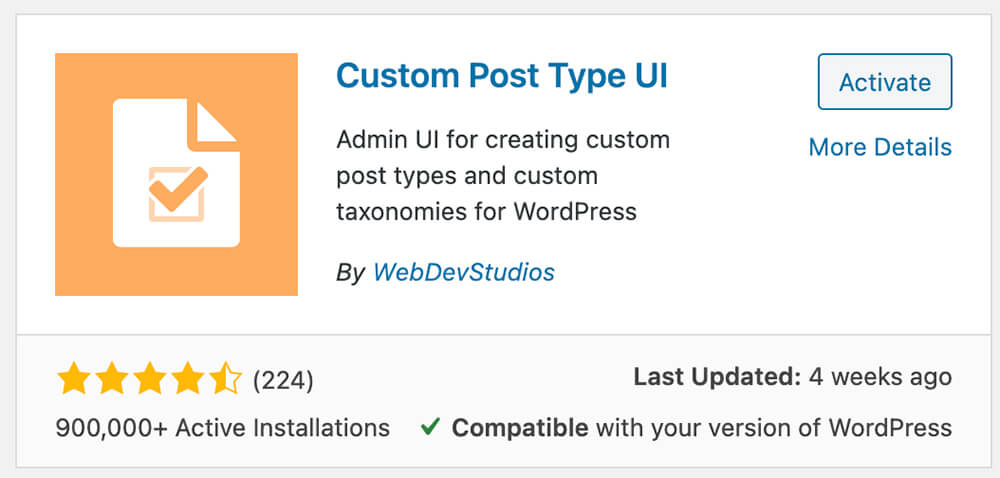
Once activating the plugin, we can create custom post types or taxonomies from the general or WooCommerce admin dashboard.
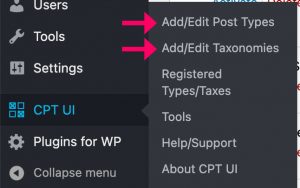
Step #2: Create a CPT / Taxonomy
In this step, navigate to the new CPT UI tab and the Add/Edit option of the item you would like to create. In this article, we will add a custom post type.
We only need to fill a few required fields on this screen, and the plugin will do the rest.
Enter the desired post type slug, plural, and singular labels inside the basic settings window. Most times, the slug and the singular label are the same ones.
For example, if you would like to create a Movie custom post type, the slug that will be displayed in the URL should be singular like so:
https://yourwebsite.com/movie/american-pie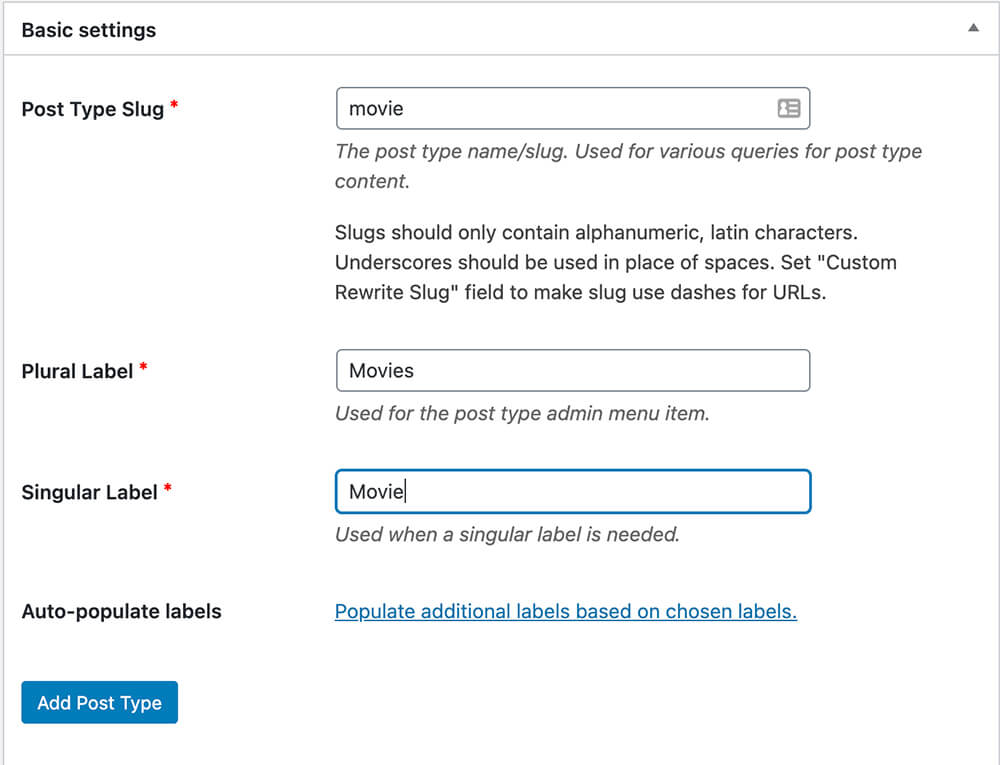
When creating a custom post type or taxonomy, there are many more options and fields to populate with relevant information.

Many of those fields can be found in the ‘Additional labels’ section. Instead of filling them individually, click on the Populate additional labels based on chosen labels link and let the Plugin fill them automatically.
Some of the additional labels that you should get familiar with are:
- Menu Position – The position in the menu order in the post type should appear.
- Has Archive – Whether or not the post type will have a post type archive URL.
- Parent – Used for hierarchical types that need a colon.
- Support – Add support for various available post editor features on the right.
You can explore more options on the Pluginize documentation center website.
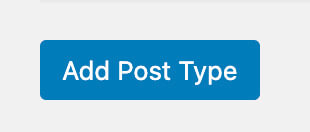
After clicking on the link and validating that the fields were filled with data, click on the Add Post Type button to create it.
We can now move forward to the last step and create data.
Step #3: Add a new item
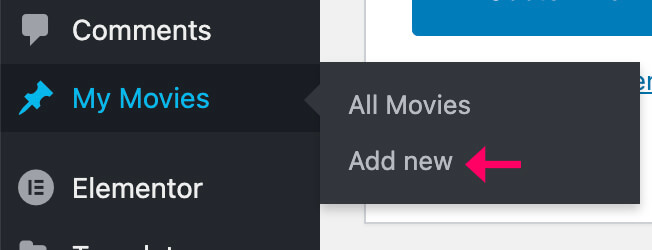
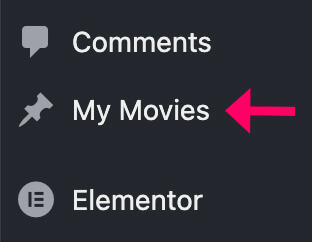
After creating the new custom type, you will see its label in the admin panel bar.
Hover on it and click on ‘Add new’ to add a new row into the database.
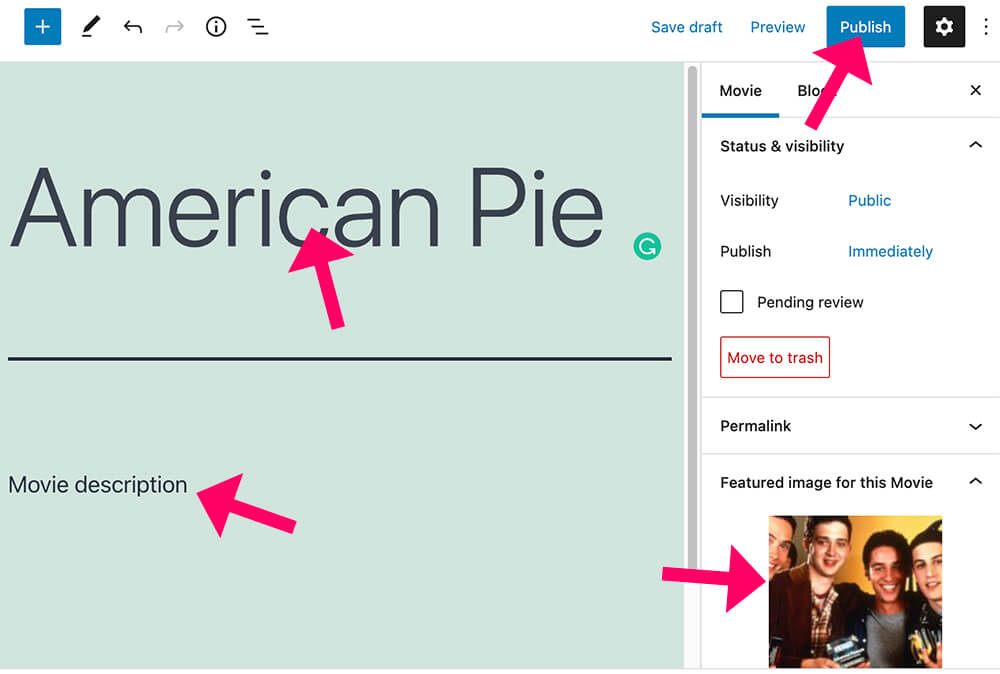
Like any default page or post, you’ll have all the meta options to populate on this screen.
Add a title, description featured image, etc., and click on ‘publish’ when done.
Visit the new custom post and verify that the URL contains the slug you created in the last step.

To view the archive page (if you enabled it), trim out the last part of the URL and click enter. Example:
https://yourwebsite.com/movie/
On the archive page, just like the blog page, all the custom types will be presented in chronological order. Keep adding more items and see them stacking up.
Custom Post Type with a Function
As I mentioned above, the new custom type will stop working after deactivating the CPT UI plugin. However, it is possible to keep it working after deactivating it by following the steps below.
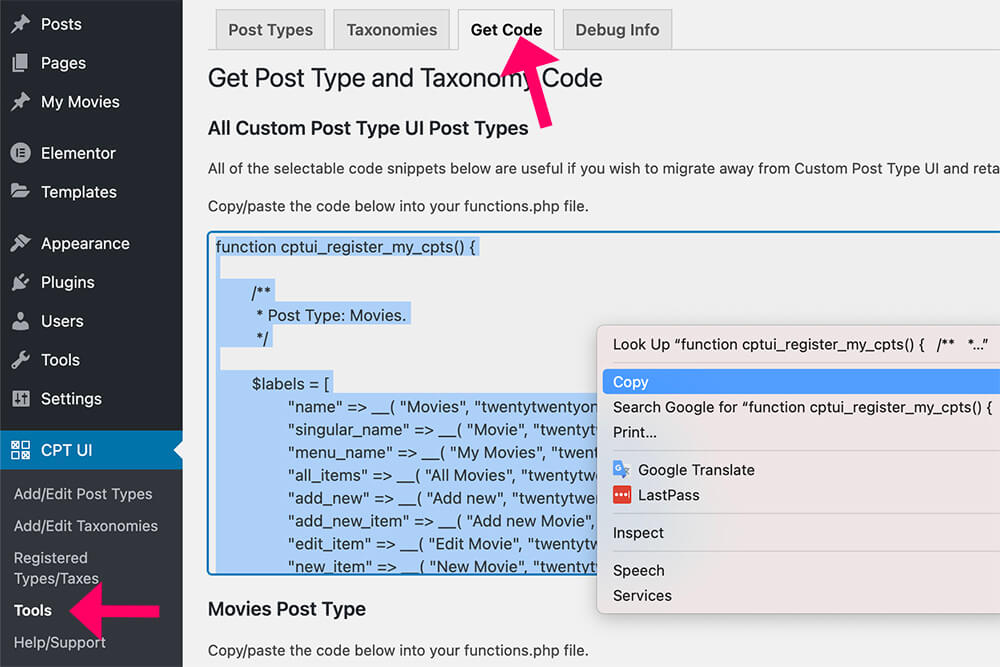
First, navigate to CPT UI -> Tools, click on the ‘Get Code’ tab at the top and copy the code from inside the ‘All Custom Post Type and Taxonomy Code’ (the first box) to your clipboard.
Then, go to Plugins -> Installed Plugins screen and deactivate the CPT UI plugin.

Last, go to Appearance -> File editor, click on the ‘functions.php‘ file from the list on the right, scroll to the bottom of the file and paste the code.
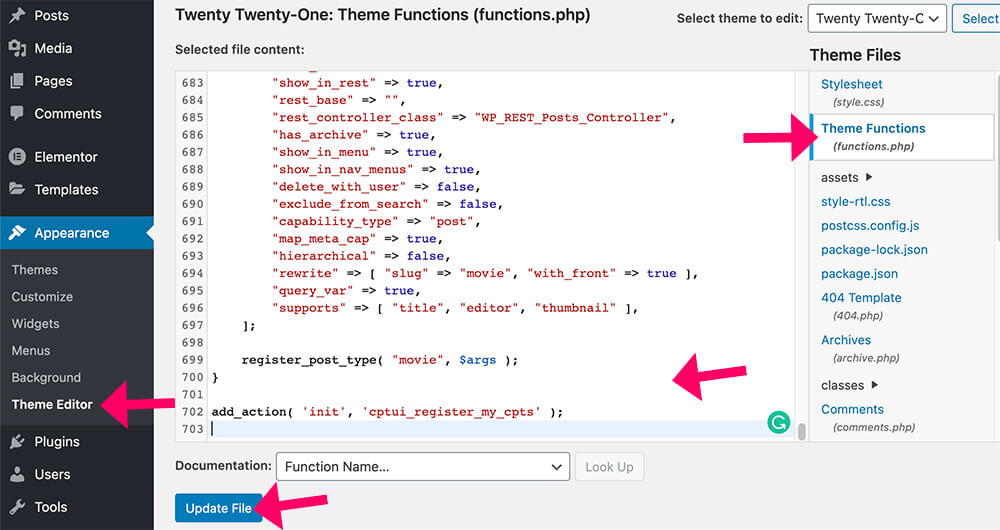
Before editing core files, make sure to backup your website, and paste the code inside your child’s theme. We created an article that will teach you how to create a child theme in WordPress if you don’t already have one yet.
After updating the file, you’ll see the custom post type or taxonomy back in the admin panel.
To view more custom post-type plugins, visit our plugins library and search. You’ll find many good ones.
Conclusion
In this article, you learned how to use the CPT UI plugin to create custom posts in WordPress.
Leave us a comment and let us know if you have any further questions regarding the process.
Also, make sure to subscribe to our YouTube channel and like our page on Facebook.

Nice instructional, but how do you create the “taxonomies?” Is there a difference between creating the tags and categories?
Thank you.
You have the option to add/edit taxonomies under the CPT UI tab.