
When installing and setting up WordPress for the first time, you were requested to enter a few details about yourself. One of them was your name.
The name you entered in that field will be displayed as the blog post author. If you entered your first name or just a random title to expedite the process, you may want to know how to change it.
In this article, I will show you how to change your author name or add a new author to your WordPress website.
Let’s start by changing your author name.
How to Change Your Displayed Author Name
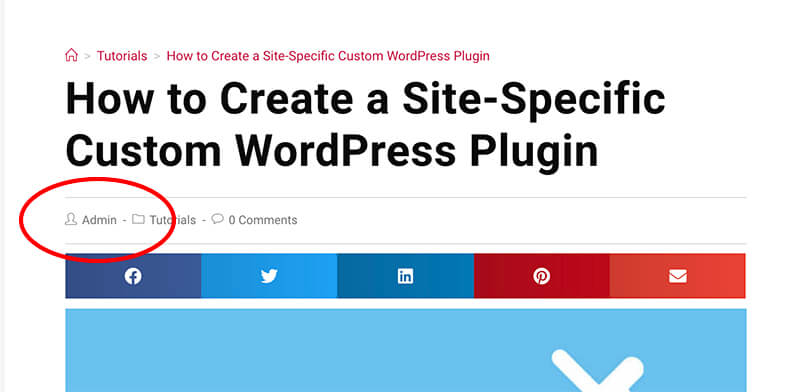
First, let’s see our current author name that we want to change. Navigate to one of your blog posts and look for the post’s meta section (post details).
As shown in the image below, the displayed blog post author’s name is ‘Admin’. Although I could use it, I would like to change it to PluginsForWP.
Step #1: Add author display name variations
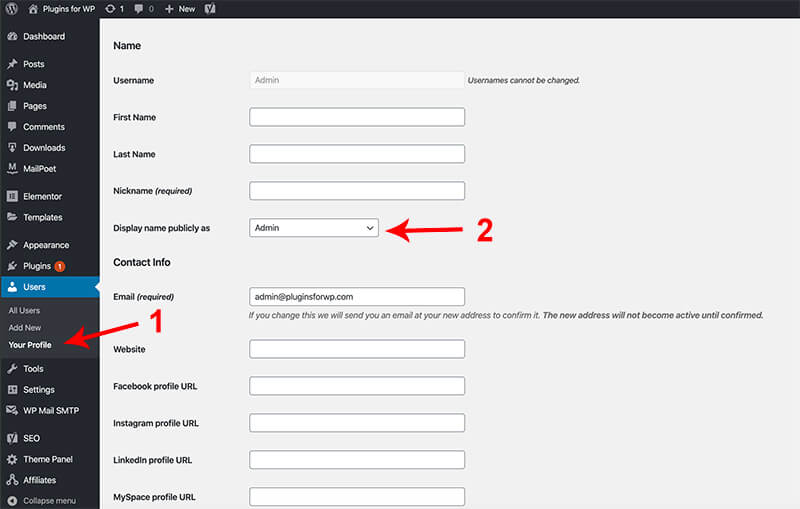
To see all your author name variations currently exist, log in to your WordPress website and navigate to Users -> Your Profile.
On this screen, look for ‘Display name publicly’ and click on the drop-down menu to view the available options. If you like any of the available options, choose it, scroll to the bottom of the page, and save the changes.
On the other hand, if you couldn’t find your desired variation, let’s add it.
You’ll find four fields above the Display name, publicly labeled as fields. The first one is the ‘Username,’ which is greyed out and can’t be changed from this screen. It is possible to change the username in WordPress. However, it’s not required for this tutorial.
Under the username, you’ll see three more fields:
- First Name
- Last Name
- Nickname
You can enter text or edit any of the fields above.
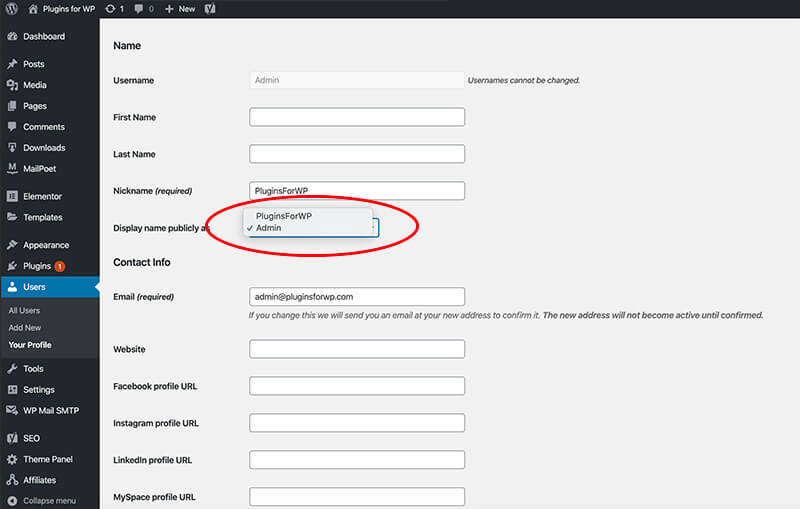
In the Nickname field, enter the preferred author name you want to display in your blog posts.
Once entered, scroll to the bottom of the page and save the changes.
Then, when checking the ‘Display name publicly as’ list again, you can enter the new nickname you created a second ago.
Choose it and save the page one more time.
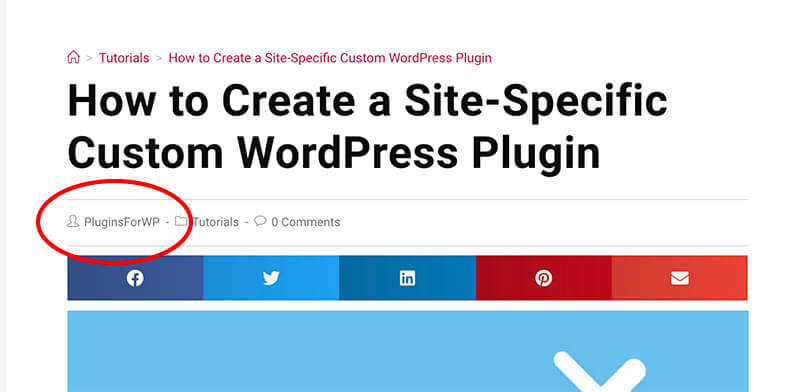
Step #2: Check your new author’s name
Now, revisit your blog posts and ensure that the changes have taken place and your new author name is displayed.
How to Add a New Author
You may want to outsource your blog posts and add more authors to your website when running a blog.
The authors can write the posts for you in a document file, send it over to you, and you’ll have to enter it yourself. That is a lengthy process and may negate the primary reason for outsourcing, which is to save time.
An excellent solution for you is to add them (the writers) as website authors and give them permission to enter and edit the blog posts themselves.
Adding users as authors won’t compromise your control or risk your website. Author role permissions are limited and similar to traditional user/subscriber roles, with the option to add, delete, and edit posts. That said, ensure you trust the writer before adding them as an author and provide them with the current user role. After all, you don’t want them to enter content if you don’t trust them.
Adding a new author is a relatively quick and easy process.
Step #1: Add a new user
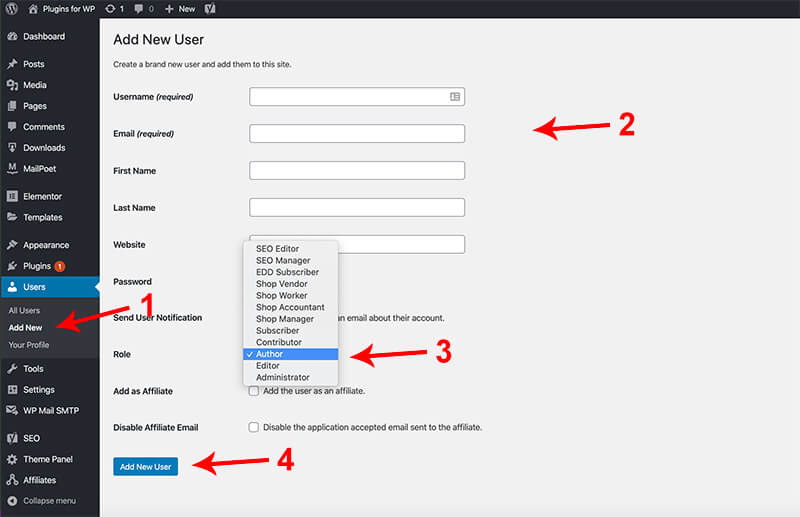
From inside your WordPress dashboard. Navigate to Users -> Add new.
You can also access the new user screen by clicking on New -> User, provided you haven’t hidden your admin bar.
On this screen, fill in the relevant information and click on the ‘Role’ drop-down menu.
Select the author from the Role list and click ‘Add New User’. Congratulations, you just added a new author name to your website.
Step #2 (optional): Change the new author display name.
Suppose you would like to change how the author’s name is displayed in your blog posts. Navigate to Users -> All Users and click Edit under your new author username.

As I showed you earlier, you can choose the displayed author name from the ‘Display name publicly as’ drop-down list.
Once you have found the correct name, select it, scroll to the bottom of the page, and click Save. Otherwise, edit the Nickname text and click Save. Once saved, you’ll see the new name under the ‘Display name publicly as’ drop-down list.
How to Change the Authors of an Existing Blog Post
Once you have multiple authors, you can change the author of any blog post.
Moreover, if you would like to change the blog post author, there is no need to republish it again under a different name. Instead, we can quickly change the blog post author with a single click.
Thus, navigate to the back-end of the blog post where you want to change the author’s name. On the new Gutenberg edit post interface, the option to change the author’s name will appear on the right side.
Under the ‘Status & Visibility’ tab, you’ll find the Author option with a drop-down list. Click on the list and choose your desired author.
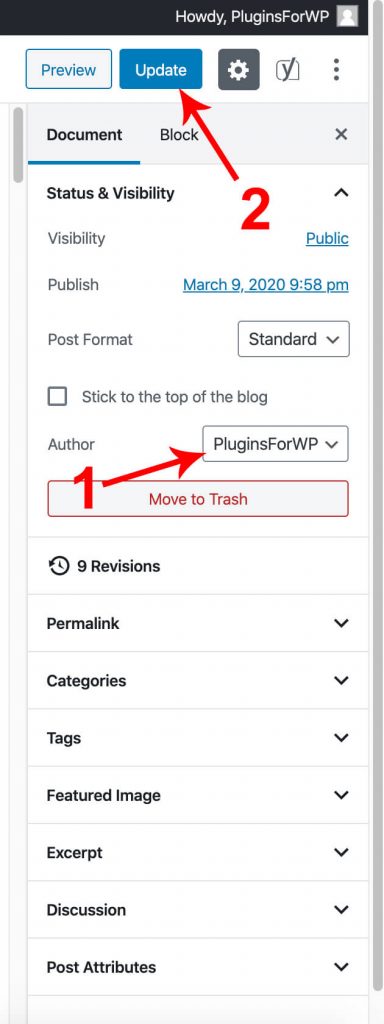
Then, update the post and revisit it to ensure the changes occur.
Add multiple authors to the same post.
WordPress allows you to assign one author to each blog post. While one is all you need in many cases, there are multiple co-authors in other cases.
Often, when multiple authors collaborate on writing articles, the right thing to do is to credit them all for their contributions.
To do that, we will need to install a dedicated plugin to expand WordPress’s functionality and enable this feature.
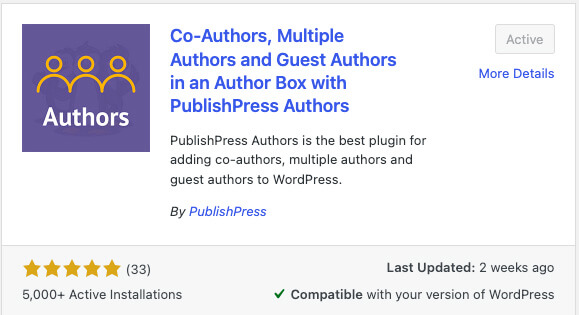
Therefore, navigate to Plugins -> Add New and search for the PublishPress Authors plugin.
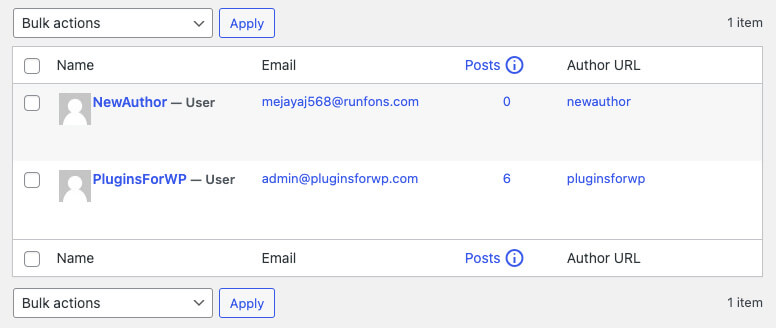
Once activated, navigate to the new Authors tab, select the author you’d like to add under the mapped user field, and click on the New Author button.
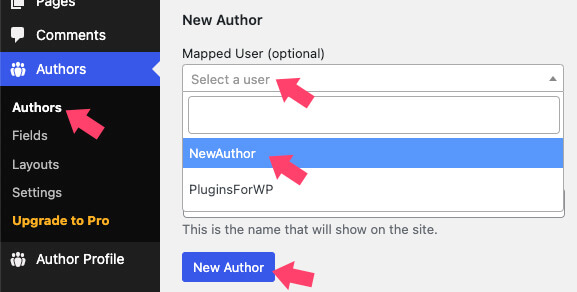
The new author will be added to the list on the right and join the other site’s authors.
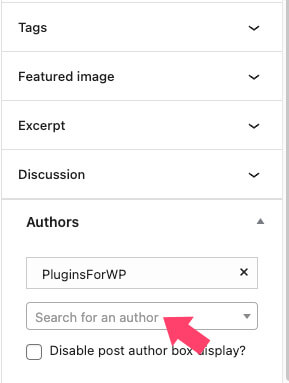
Then, edit one of the posts written by these multiple authors and expand the Authors tab.
An author has already been assigned to the article, but unlike before, you’ll now have the option to add more authors.
Click on the search for an author field and choose the relevant authors from the drop-down list.
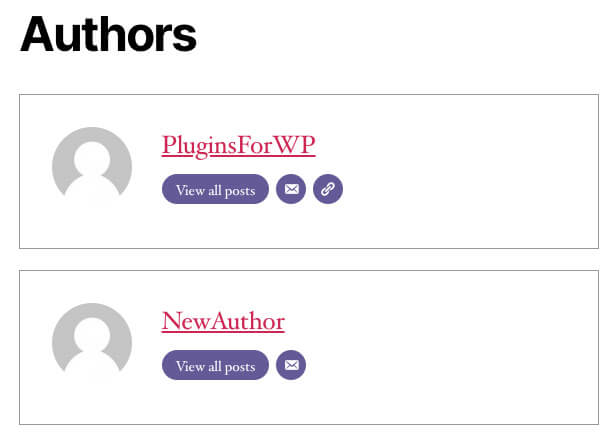
Once added, save the changes and revisit the post to ensure the new author box was added to the bottom of the post.
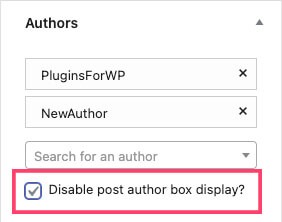
To hide the authors’ boxes, toggle the ‘Disable post author box display’ checkbox and save the changes.
You can now repeat the process and add more users with an author role through the plugin’s dashboard.
How to Bulk-Change Authors for Multiple Blog Posts
Changing the post author name can take some time if your website has a large number of blog posts. Instead of changing each position individually, we can bulk edit multiple posts at once.
To go through each of the blog posts one by one and change their author names can be a long process, especially if you have many blog posts. Therefore, we should use a much faster and more effective way to do it.
From your WordPress dashboard, navigate to Posts -> All Posts.
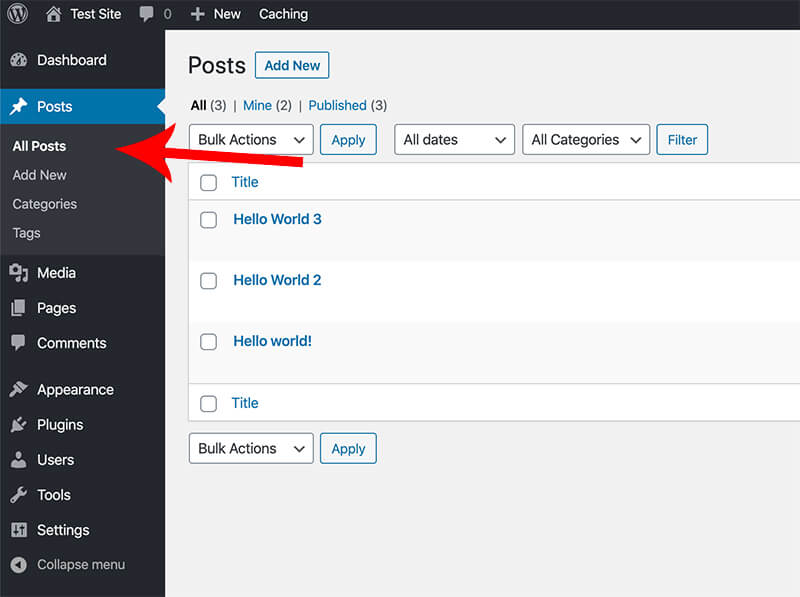
Check all the blog posts you want to change on this screen—the ones with the wrong authors.
Then, choose ‘Edit’ under ‘Bulk Action’ and click ‘Apply.’

On the left box, you’ll see all the blog posts you’re editing, and on the right side, you’ll have the option to choose an author. Choose your desired author and click ‘Update.’
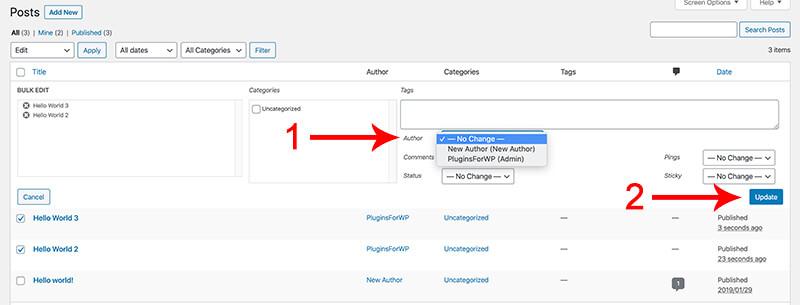
That’s it. All the checked blog posts have a new author. Feel free to navigate to any of the blog posts to confirm that.
Conclusion
In this article, you learned how to change your author name and add a new author to your WordPress website. Now that you’re happy with your displayed author name, it’s a good time to write more blog posts and share your knowledge with the world.
If you have any questions or want to share your blog posts with us, feel free to do so in the comment box below.
Also, make sure to subscribe to our YouTube channel and like our page on Facebook.