

This tutorial will teach you how to deploy your WordPress site on Digital Ocean (DO), one of the major cloud providers available in 2021.
We will create a Digital Ocean droplet and SSH into it. Once the machine is up, we will follow the instructions from our previous article Installing WordPress on AWS to install WordPress and run our site.
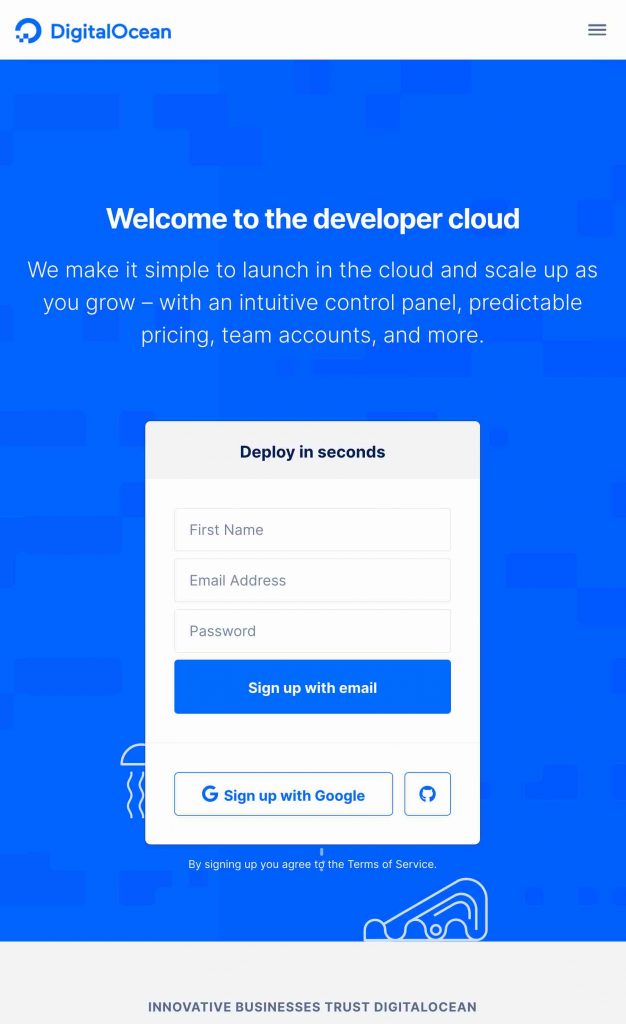
To begin, sign up for a new account or sign into your existing account at Digital Ocean:
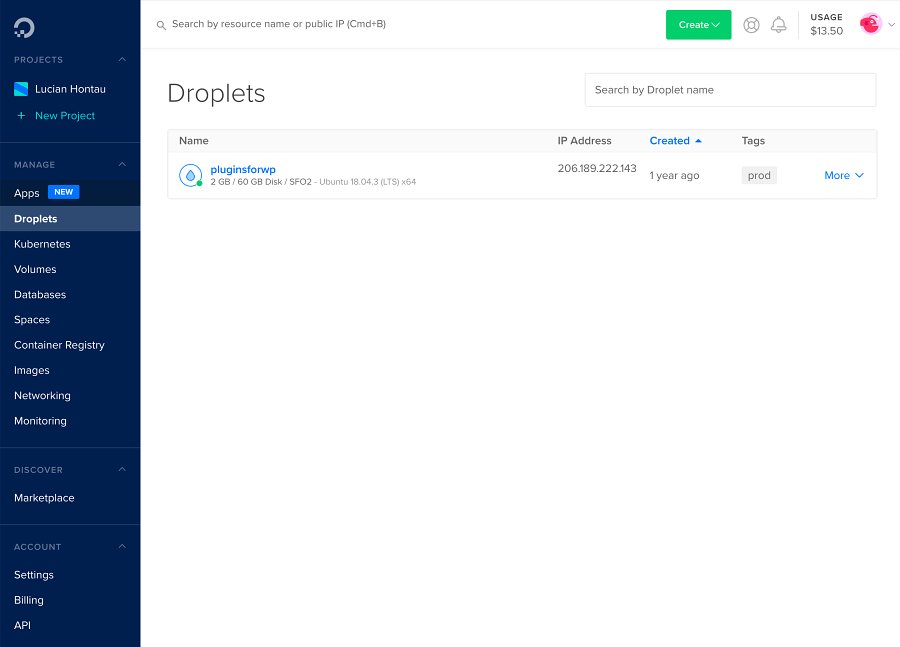
Creating the Droplet
Next click the “Droplets” tab on the left bar. Droplets in Digital Ocean are servers you can create on-demand to run WordPress or other apps.
We will create a droplet for our WordPress site. Select “Create” -> “Droplet” using the green drop-down.
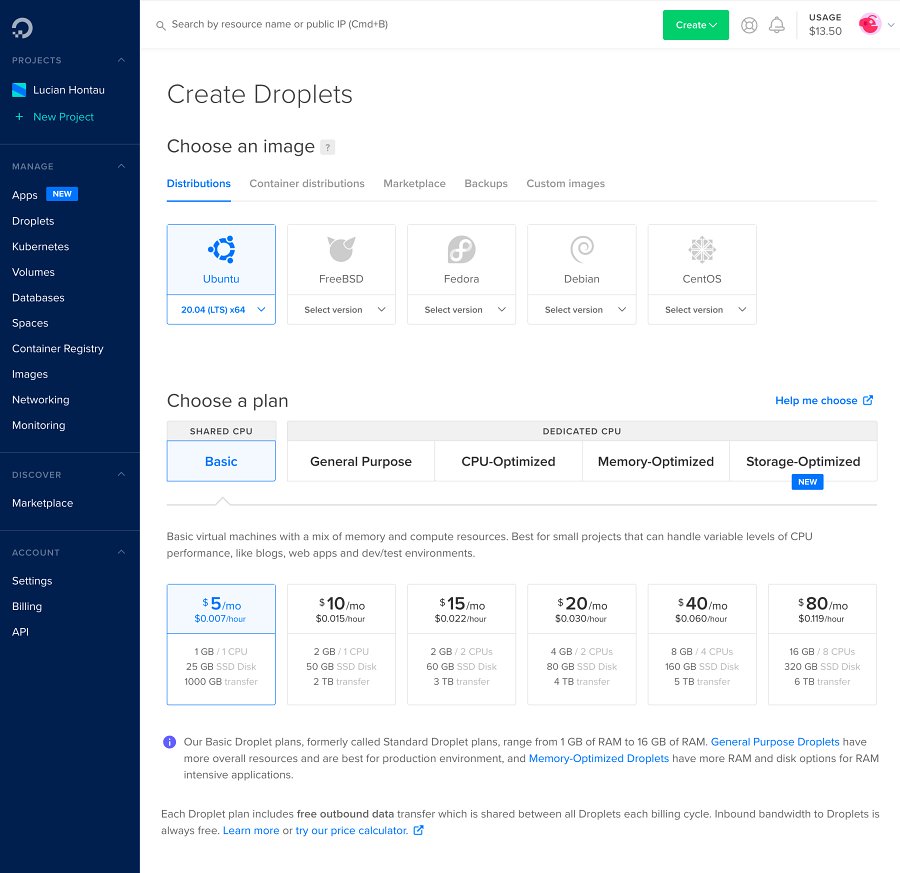
For most sites, you can use the basic settings. You can select your region, and select from various CPU/RAM/Networking configurations for your server.
For most typical sites, the minimalist $5/mo server should be plenty for serving up a few thousand blog requests a month. Of course, if your site’s usage patterns are different and you have more users, you’ll want to look into one of the bigger machines.
Creating and using an SSH Key
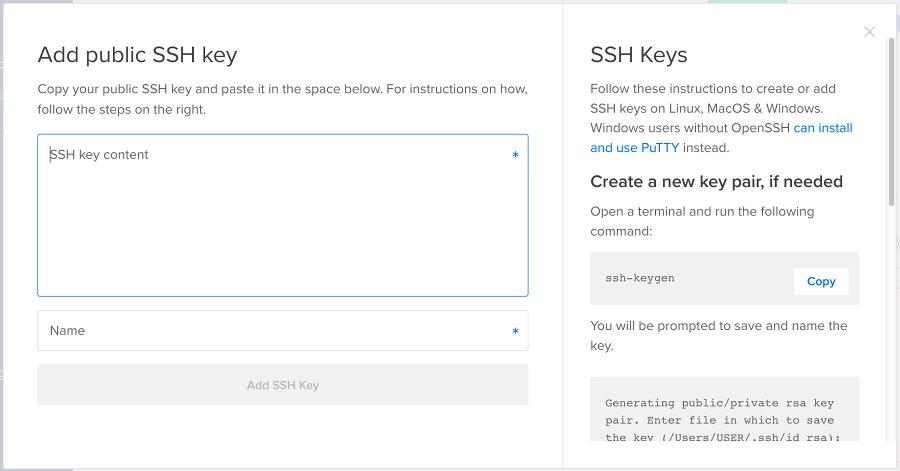
You will need to create an SSH key or use your existing one. This article explains SSH keys and how to create them in more depth if you are interested. On Windows, use putty to connect to the server. To create a new SSH key, if one doesn’t exist in ~/.ssh/id_rsa.pub run:
ssh-keygen -t rsa -b 4096
And to display it, run:
cat ~/.ssh/id_rsa.pub
Once you have a key, display it in a terminal and copy it into the box below.
You might want to check the “Add backups” box. Digital Ocean will create weekly snapshots of your server so that you can roll back in case of problems.
You should probably have other sources of backups, specifically, version control for all your code, database backups, and possibly, more frequent server backups. Or you can automate the creation of your server and create a new one in case of any issues.
Either way you go about it, it’s important to have a recovery plan in case of disaster.


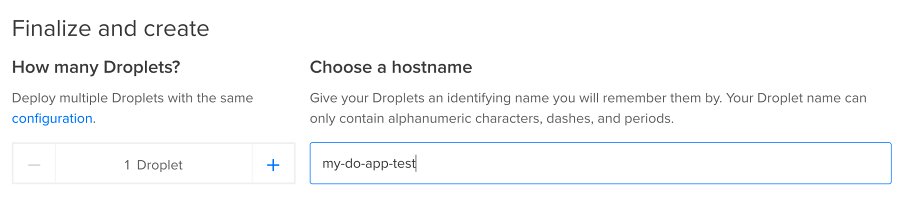
Here you can choose a host name for your server on Digital Ocean.
It will take awhile for your server to come up. You can follow its progress:

Once the server is up, you’ll see its IP.

You can click on the server name to see its details.
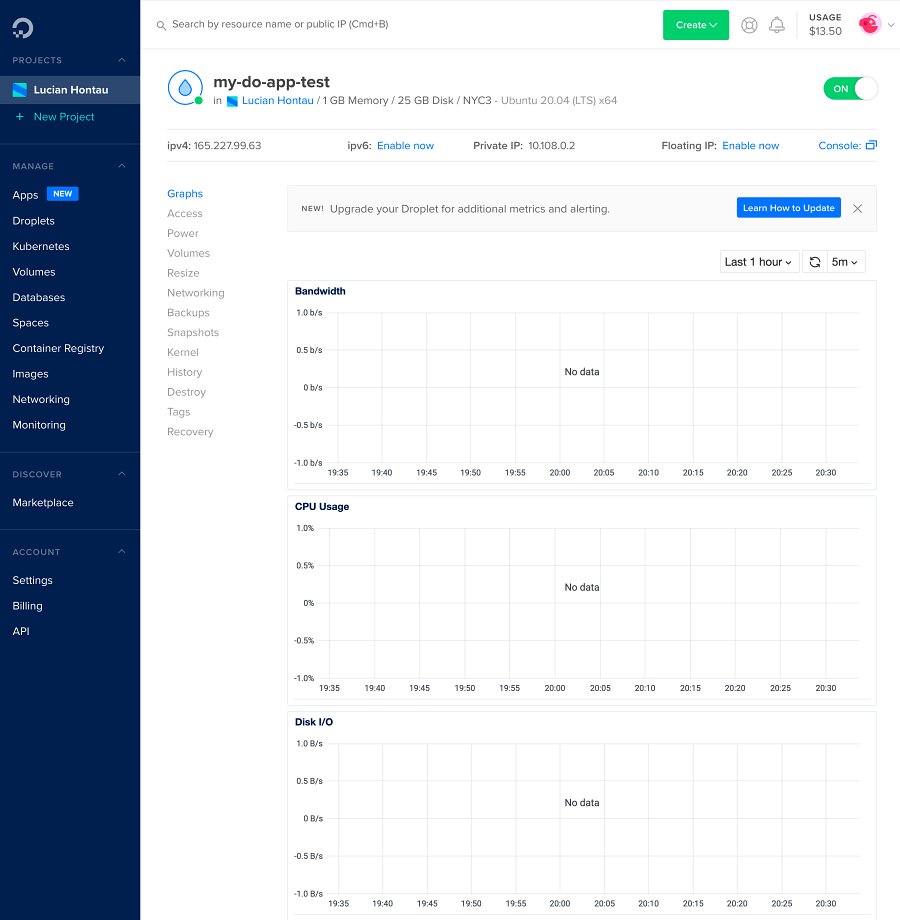
You’ll want to SSH into the server as root using the IPv4 address shown under the name in the details:
ssh [email protected]
Type “yes” to accept the fingerprint and you are now in the server. From here on, you can follow the instructions from our previous article, starting from the Setup your system section
Use the IP above to access your server and see your site in all the examples. You can also set up DNS records for your server and access it by its DNS name.
Restoring your backup
If you chose to backup your server, Digital Ocean will make weekly backups.
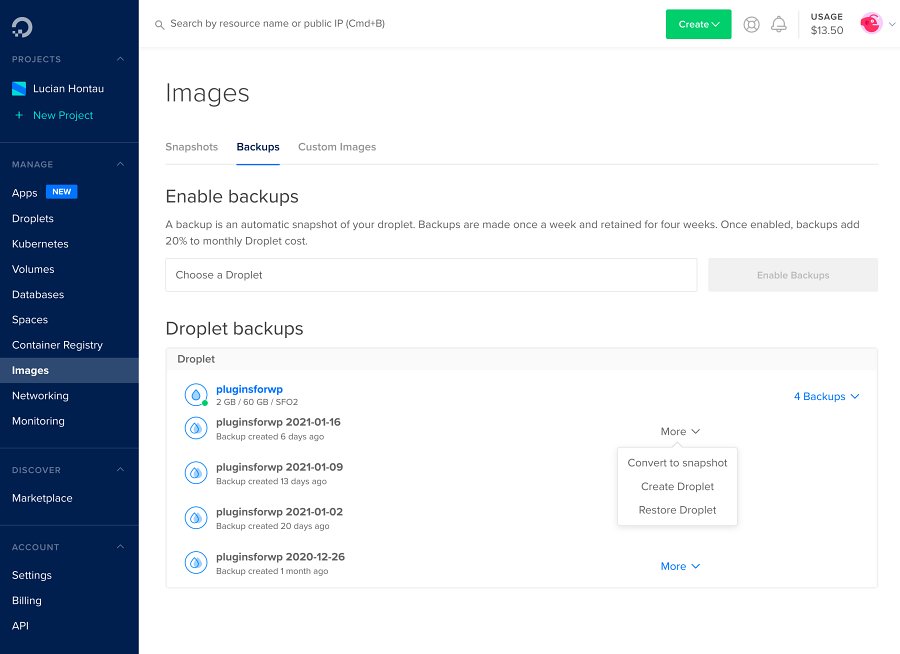
To restore a backup, go to the “Images” tab on the left side. Once there, click the “Backups” tab in the middle of the main page. You will see your available backups and can expand to see which images from which dates are available.
To create a new server from an old backup, click “More” -> “Create Droplet.” This will bring up the “Create Droplets” screen you have seen before where you can choose your system specs.
Conclusion
We learned how to create a Digital Ocean Droplet server, SSH into it, and install WordPress on it.
The process is not much different than creating the AWS server from our previous article.
Once the server is set up, installing Apache, MySQL, and PHP as well as configuring them and setting up WordPress are exactly the same as before. The only difference is in the initial setup of the server.
Also, make sure to subscribe to our YouTube channel and like our page on Facebook.
