

WordPress and Clickfunnel are some of the most popular platforms for building websites and funnels.
Combining the two will help your business become a powerhouse by acquiring more customers and generating more sales.
In this tutorial, you’ll learn how to integrate Clickfunnels with WordPress using the Clickfunnels plugin.
Why Integrating Clickfunnels and WordPress
Although WordPress is the best CMS platform for building websites, there isn’t a simple way to create beautiful and converting funnels. Therefore, many business owners are using Clickfunnels to achieve this task.
Clickfunnels is an easy drag & drop builder editor very similar to Elementor, making the whole process very easy.
Because Clickfunnels has an extensive library of professional and proven premade templates, it will save valuable time for building it with WordPress.
Clickfunnels is an entirely different service. Therefore, funnels use other domain names and URLs than the WordPress website.
By default, all funnels use the Clickfunnels subdomain URL in a combination of random letters and numbers.
If, for example, you are using a funnel to collect leads, your funnel path will look similar to this:
example.clickfunnels.com/leads-hbnekd737While for some people, it isn’t a big deal, for many others, it is, and they would like to display their custom domain name.
It looks more professional when funnels use your custom known domain name instead of Clickfunnels’ subdomain name.
After connecting Clickfunnels to WordPress, your new funnel URL will be your domain name, and the link will be similar to this:
example.com/collect-leadsNow that we got this out of the way let’s move on and learn how to integrate the two.
Integrate Clickfunnels with WordPress
The easiest and best way to connect the two is with the official Clickfunnels plugin.
Step #1: Install the plugin
From inside of your WordPress dashboard, navigate to the Plugins screen, and search for Clickfunnels.

There are several plugins with a similar name but make sure to install the official Clickfunnels plugin made by Etison.

After installing the plugin, click on activate.

Step #2: Enter your API key
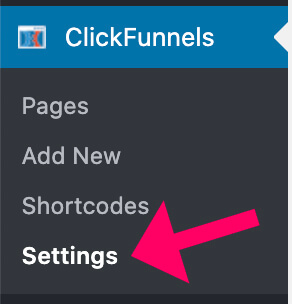
After activating the plugin, navigate to the Setting screen inside the new Clickfunnels tab.
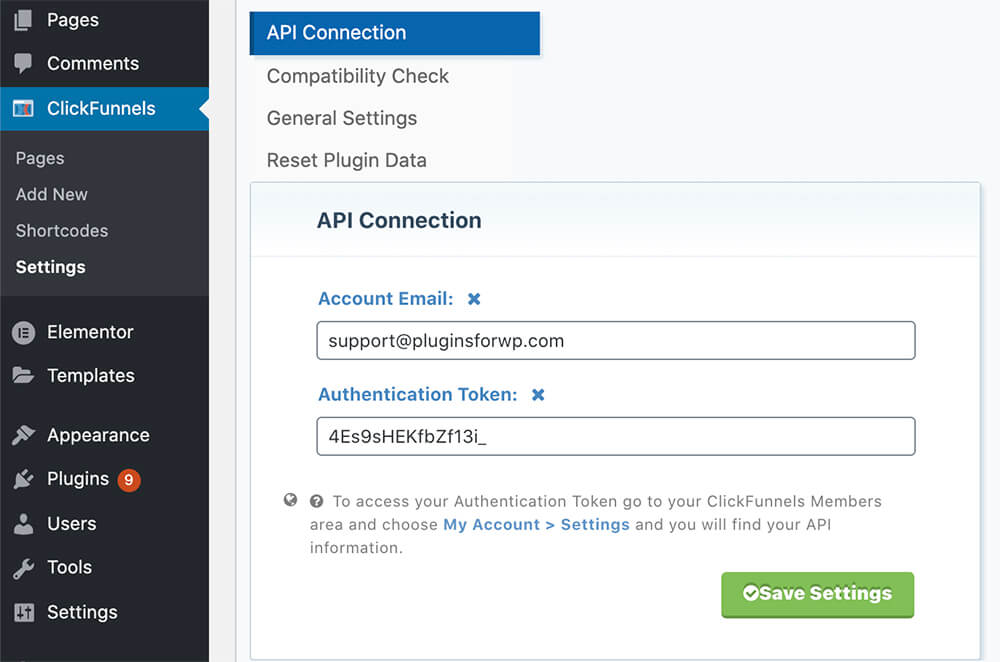
You’ll need to enter your Clickfunnels account email and authentication token.
Inside the Clickfunnels dashboard, navigate your account settings screen from the top right corner and scroll to the bottom.
Look for the WordPress API option and click expand to expose your authentication token.
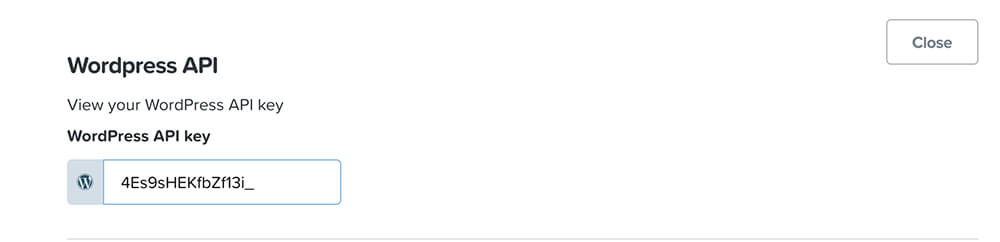
Then, copy the key, paste it inside the plugin along with your Clickfunnels account email, and save the changes.
Step #3: Create the funnel’s URL
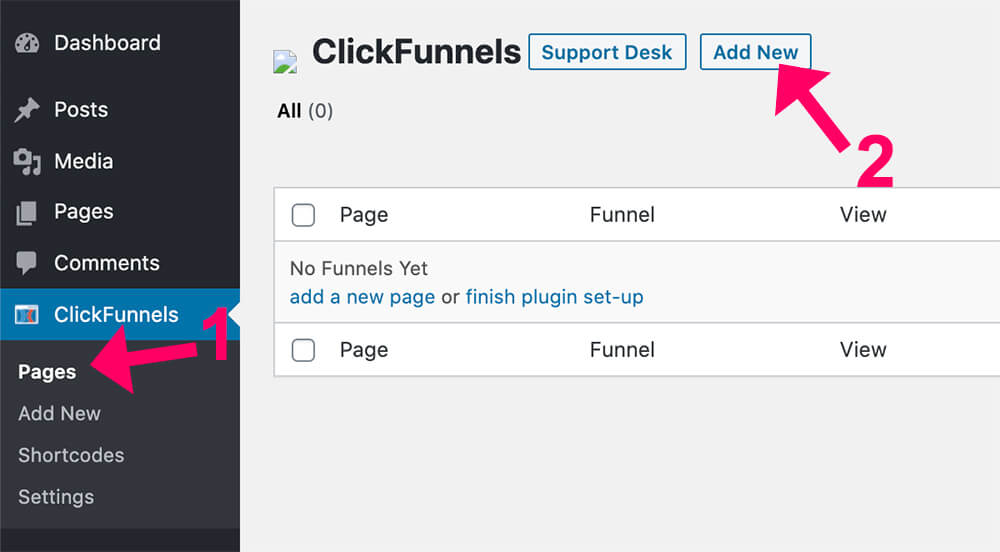
After saving the settings, navigate to Clickfunnels -> Pages and click on the Add New button.
In the settings screen, you’ll have the option to choose the page you would like to create. The possibilities are a regular page, home page, or 404 page. Make sure to select the regular page option.
In the Choose Funnel drop-down menu, select your desired funnel if you have more than one, and the funnel’s step where you would like your visitors to land.
I recommend you to leave the chosen step option as-is so that they will land on the first step of the funnel.
Now, inside the Custom Slug field, enter the desired URL path you want to use for your funnel.
For example, if you would like the URL of the funnel to be example.com/free-gift, just enter free-gift inside the text box.
Once you entered the slug, the URL link changed under the text box, and it’s now showing you the full URL of the funnel. That’s great.
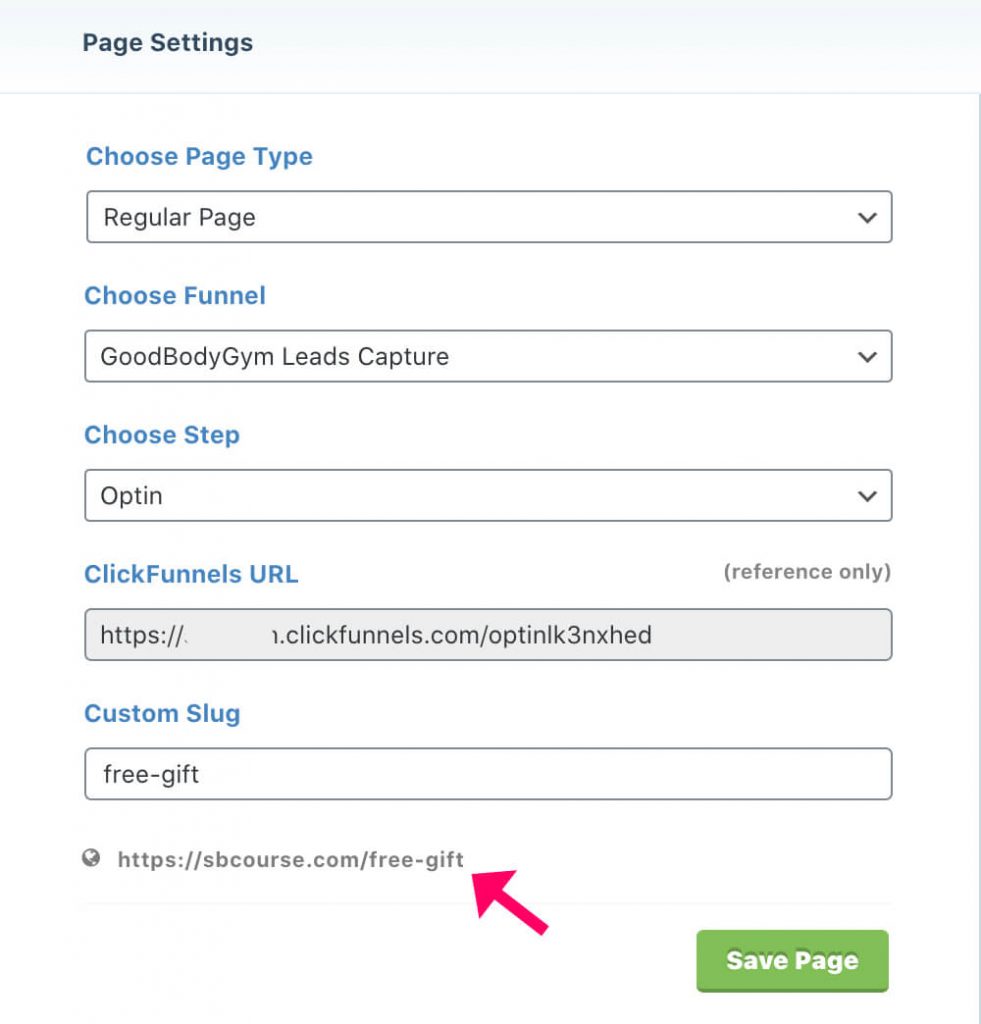
Copy the full funnel link and save the page.
Step #4: Test the funnel
After saving the page, paste the funnel’s URL in your browser and verify it’s displaying the correct funnel and step.
Once verified that everything is working as expected, share the new URL and start driving traffic into the funnel.
If you want to add the funnel’s URL, read our how to create anchor links in WordPress article.
Conclusion
In this article, you learned how to integrate Clickfunnels and WordPress to enjoy both platforms.
Leave us a comment and let us know if you have any questions regarding the integration process.
Also, make sure to subscribe to our YouTube channel and like our page on Facebook.
