

Do you need to migrate a WordPress site between servers? What about from production to a local environment?
If yes, this article will show you how to migrate a WordPress website with the All-In-One WP Migration plugin.
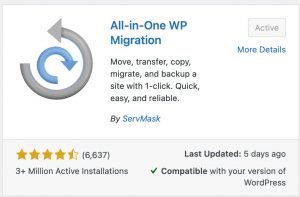
The All-In-One WP Migration is a powerful and easy-to-use WordPress plugin that enables you to export your website from one place to another.
Why Migrate a Website?
Migrating a site is not a task that you need to do often. Here are the most popular scenarios that will require you to do it:
- Moving between servers – when you reach your time to scale up and improve your website speed, you’ll need to move to a different server or host.
- Switching between environments – when working on your website in one environment and need to switch to a different one. For example, if you would like to change something on your live website, you should load it first on the stage or local machine and then push it to the live one.
- Backups – It’s very important to keep a local backup of the content and database. If anything goes bad, import the backup file to restore the website.
In the past, it was a long complicated task to migrate websites. The All-In-One WP Migration plugin is a game-changer by the way it simplifies the process.
How to Use the All-In-One WP Migration Plugin
The websites’ migration process is made with two steps: export and import.
On the site that you would like to migrate from, use the export option. On the other website, the one you’re migrating to, use the import option.
Export a Website
First, let’s navigate to the backend of the WordPress website that we would like to migrate.
Go into the plugins -> add new and install the All-In-One WP Migration plugin.
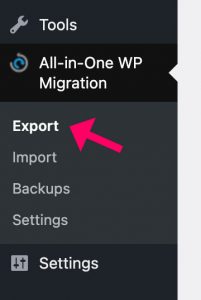
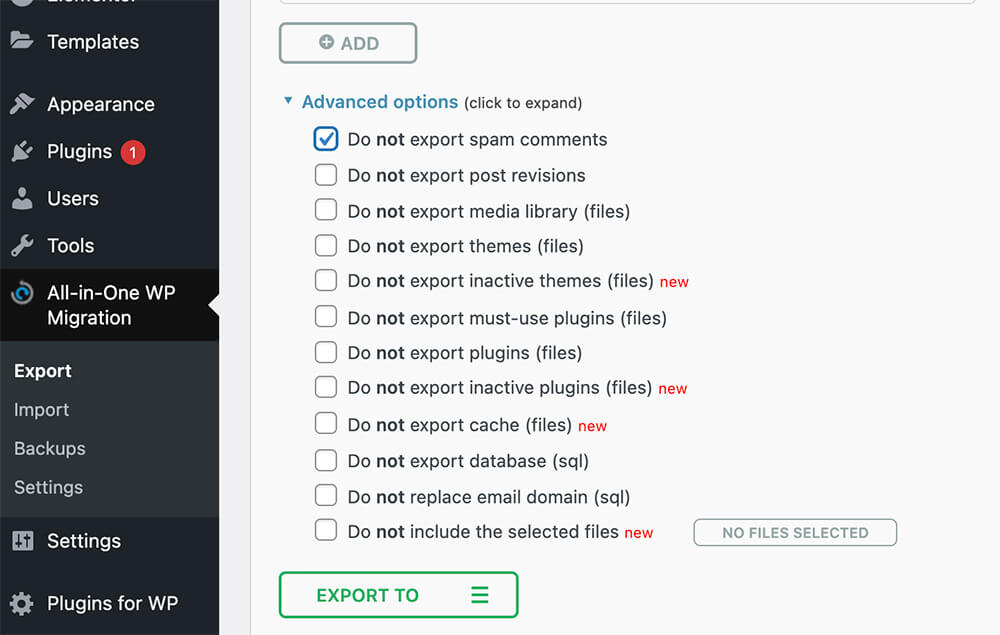
Once activated, navigate into the export option of the new All-In-One tab from the left sidebar.
Exporting a website will include images, content, database, comments, and other components. To control what parts to exclude from exporting, expand the advanced options.
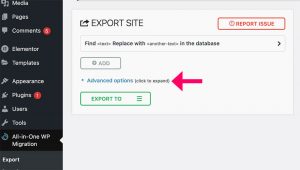
The advanced options will enable you to leave some parts out of the exported file. There is no reason to include spam comments, for example, thus you can exclude them from being exported.
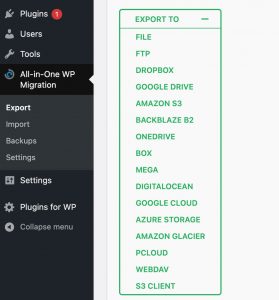
Second, click on the export to button and choose the desired destination where you would like to save the exported file.
You can choose any of the popular clouds like dropbox, s3, one cloud and etc. In this tutorial, I’ll save it on my computer by choosing the file option.
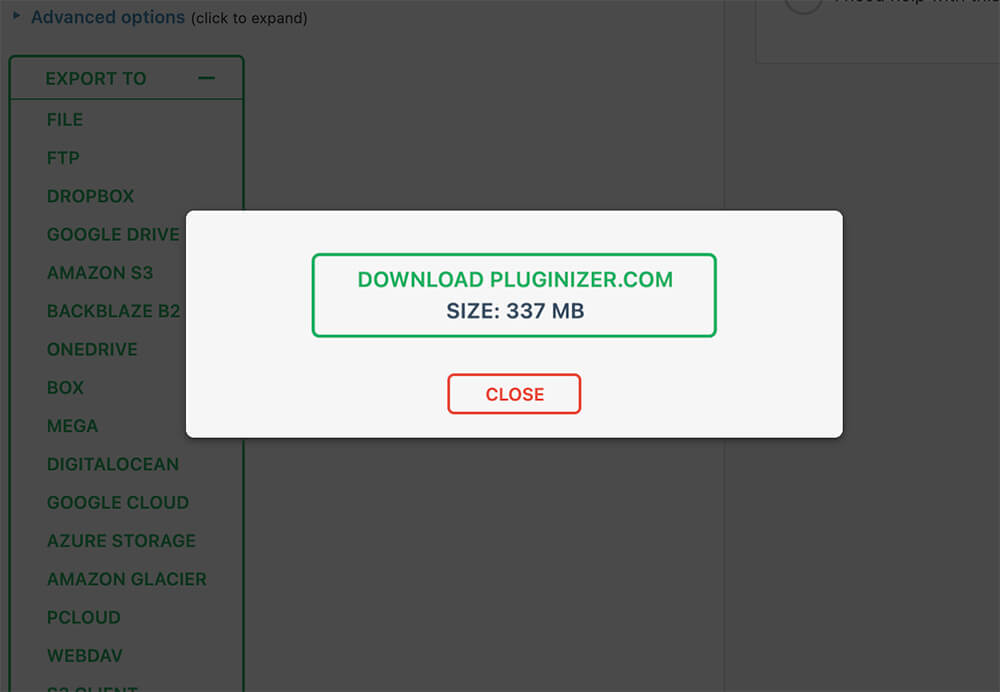
Last, the plugin will start the exportation process and will prepare the file for you. When it finished, download and save it locally, or visit your chosen cloud.
We finished the first step of the process. Now, we can move on and import the content to the other website.
Importing a Website
In this second step of the two steps process, we will import the file to the new WordPress website.

First, install and Activate the All-In-One WP Migration plugin on the new website as well.
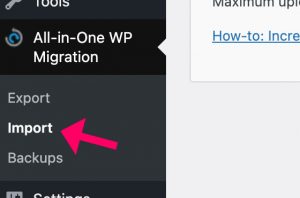
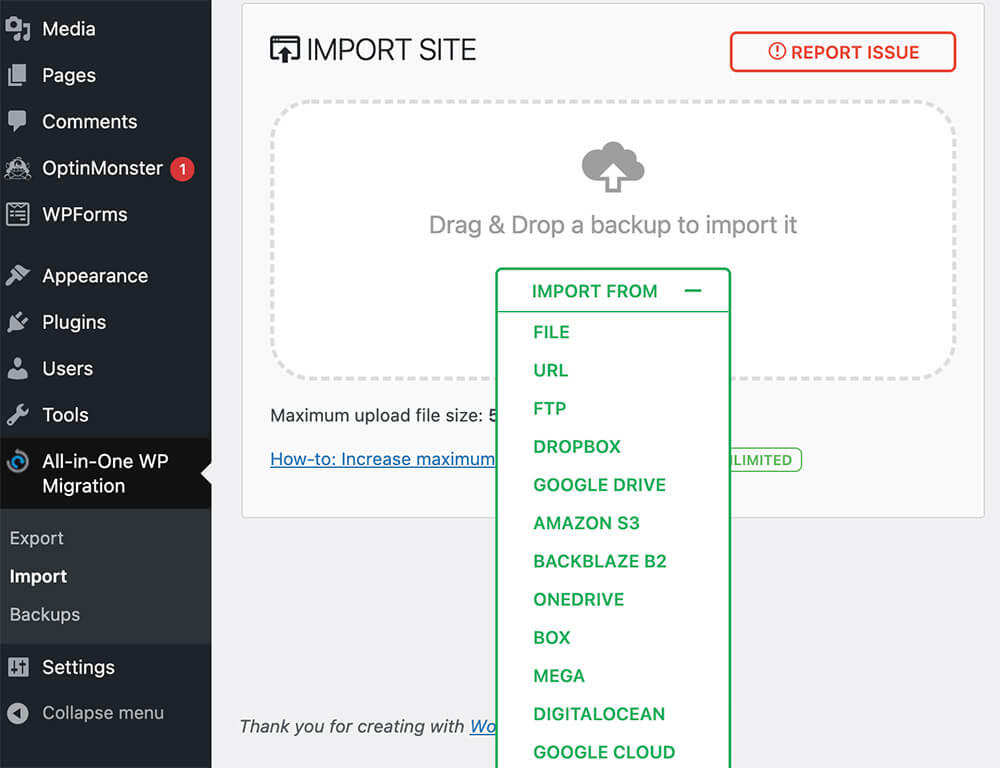
This time, navigate into the import option of the plugin and click on the import from button.
If you saved the file locally, choose the file option, otherwise, select the cloud you saved the file on.
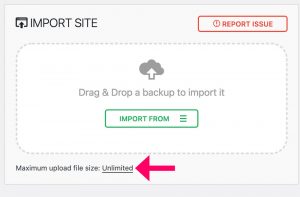
The free version of the plugin has an upload limit of a maximum of 128MB.
You can get the unlimited extension from the official website for $69 or the exact same extension from us for only $4.99.
After downloading the unlimited extension, upload and activate it on your WordPress website.
Once you did, refresh the All-In-One Migration plugin page to remove the maximum upload file size restriction.
Choose the exported file once again to start the importation process. The time of the importation process depends on the size of the file.
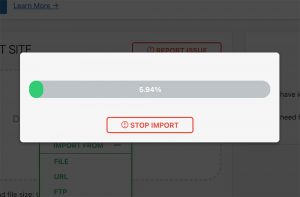
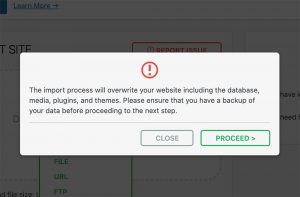
When it finished, it will prompt you with a warning message that the file will overwrite the existed website, click Proceed to continue.
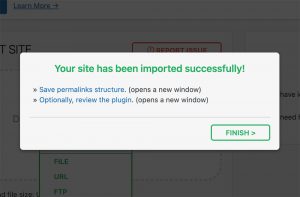
The plugin will take another minute to finish the import and when it did, click on finish.
Test the Migration
Once both steps have been completed, visit the homepage (or any other page) of your website to verify that the migration process finished successfully.
Use the All-In-One WP Plugin for Backups
The All-In-One Migration plugin is also very useful to perform and keep backup files of your website.
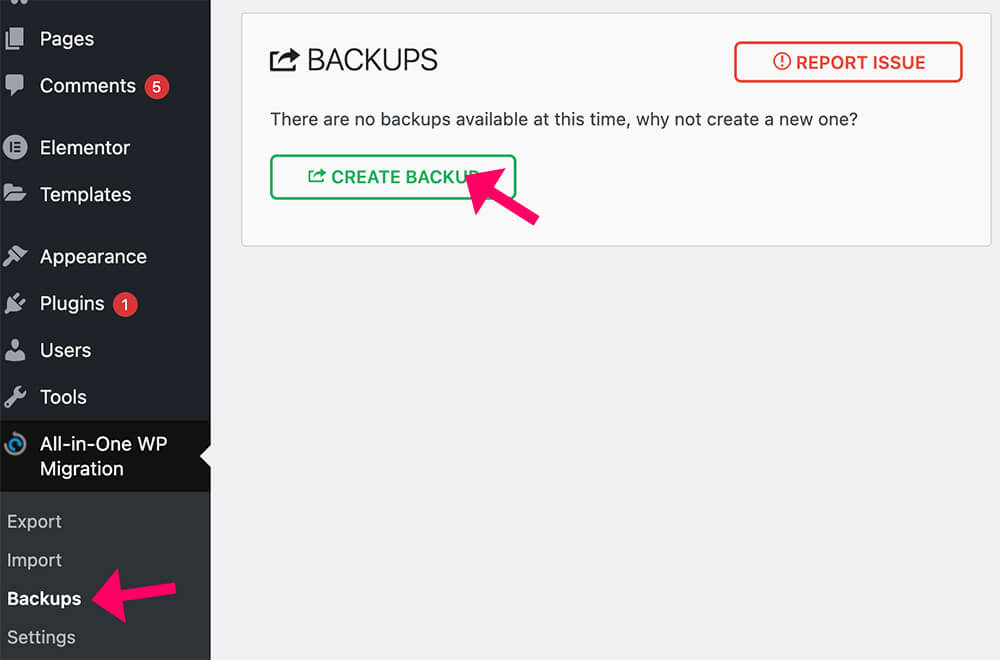
Navigate into the backups tab of the plugin and click on the create backup button.
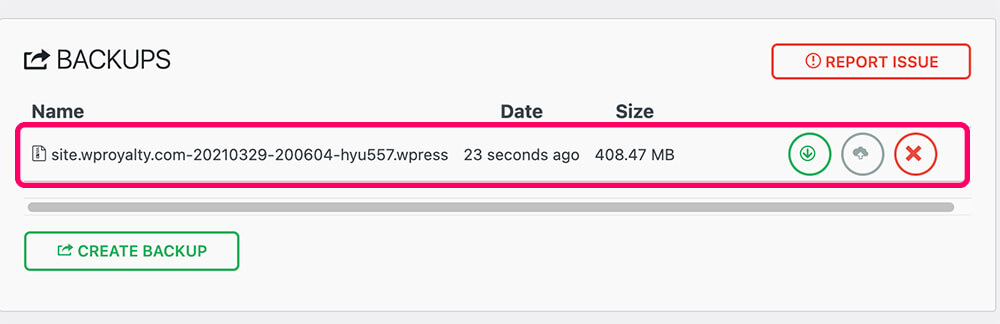
After creating the backup file, three different options were added to the right of the file:
- Download – this option will download the backup file to your computer.
- Restore – Choose this option if you would like to restore the website for that specific screenshot.
- Delete – this will delete the backup file from the plugin.
I always recommend creating a backup on a weekly basis and download the file to your computer.
Conclusion
Migrating a WordPress website is an easy process when done with the right plugin. In this article, you learned how to use the best plugin for this job.
We also created an easy-to-follow video tutorial at the top of this post for your convenience.
Let us know how was the migration process of your website by leaving us a comment down below.
Also, make sure to subscribe to our YouTube channel and like our page on Facebook.
