The most powerful solution for importing XML and CSV files to WordPress. Import to Posts, Pages, and Custom Post Types. Support for imports that run on a schedule update existing substances, and much more.
The import process was made super easy with this great plugin.
To start importing into a WordPress website, activate the plugin and navigate to All Import -> New Import.
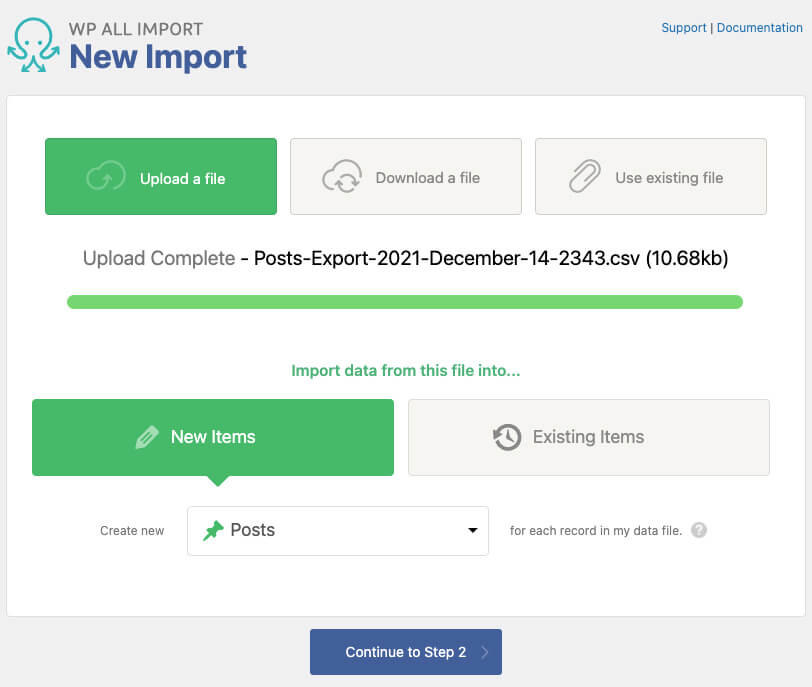
Step #1: choose an import option
First, specify how you want to import your data. There are three different options:
- Upload a file.
- Download a file.
- Use existing files.
We will upload a CSV file we created with the WP All Export plugin in this example.
Once you choose your preferred option, select the item to create for each record in the data file.
Because I exported the blog posts, I’ll choose to import the posts type.
Step #2: review the pulled data
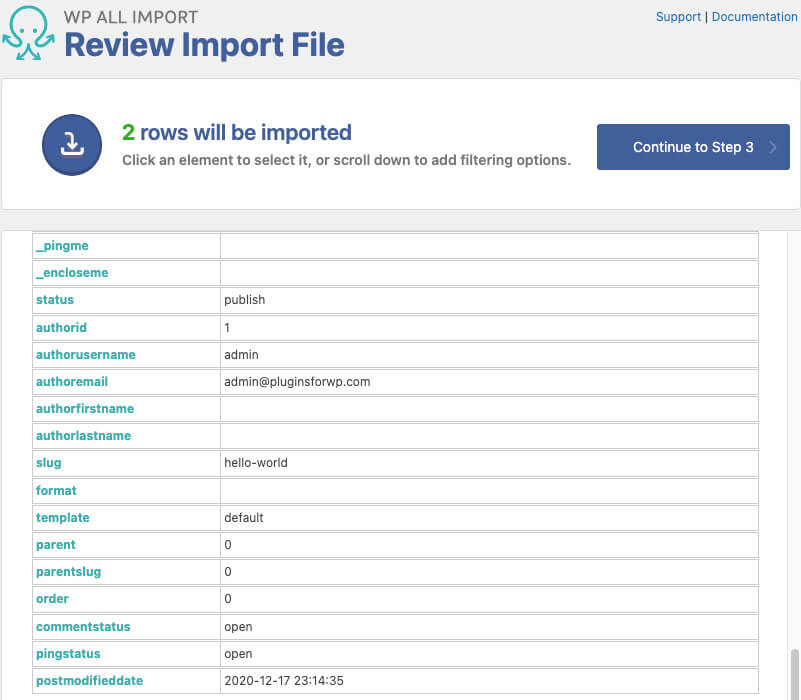
On the second screen of the import process, you’ll see all the items that will be imported, and you’ll be able to review their data.
You can move on to the next row of the file by clicking on the right or left arrow.
Once verified, the record lines continue to step 3.
Step #3: match record to the field
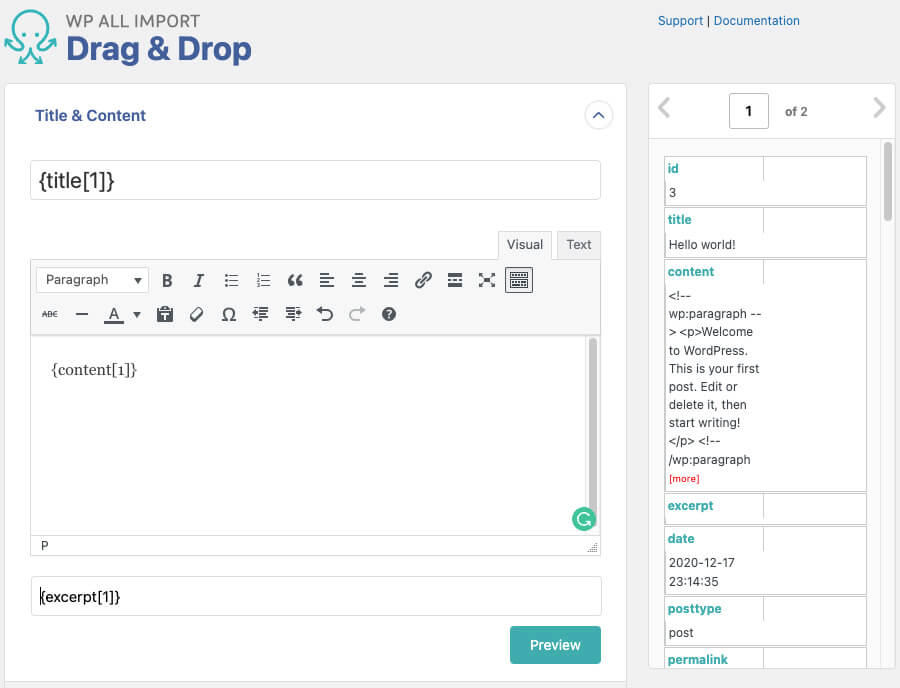
On the third screen of the import process, you’ll need to select the records to populate the relevant fields.
You do that by dragging the data on the right to the field on the left.
For example, we will drag the title record into the title field and the content record into the content field.
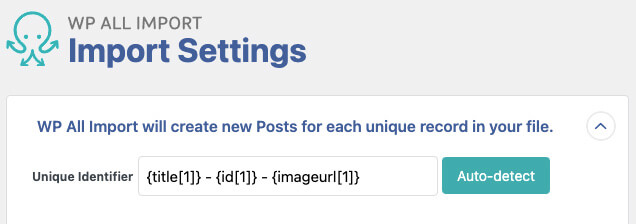
Once you match all the relevant records from the right to their place on the left, move on to the next screen and click on the auto-detect button to assign a unique identifier to each record.
Step 4: confirm and run Import
Click on the confirm & import button to start the import process on the last screen.
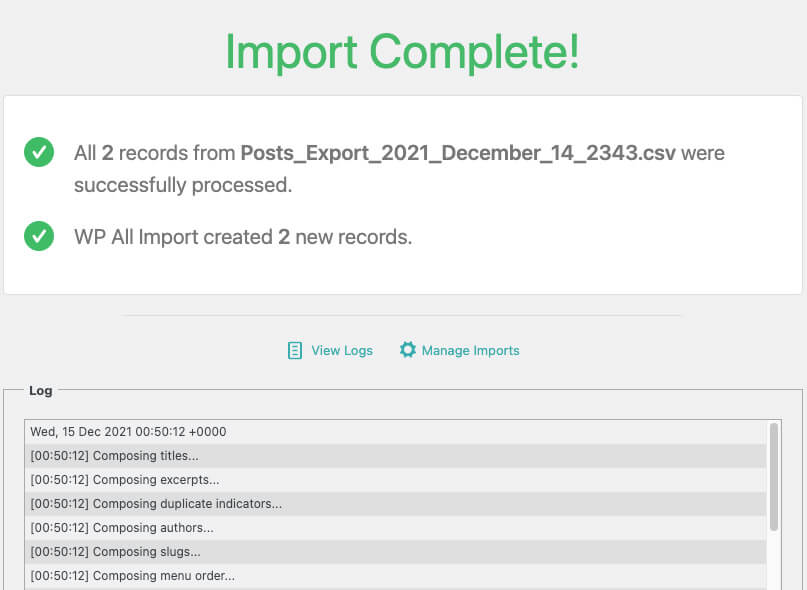
Once the import process is finished, you’ll see a message on the screen notifying you that it was imported successfully with the option to download the process log.


