Ninja Forms is one of the most popular WordPress plugins to create forms using a drag & drop builder.
The File Uploads add-on for Ninja Form will enable your websites’ users to attach files to the form.
Install the File Uploads Add-on
To start using the file uploads plugin, we will need to install it on our website.
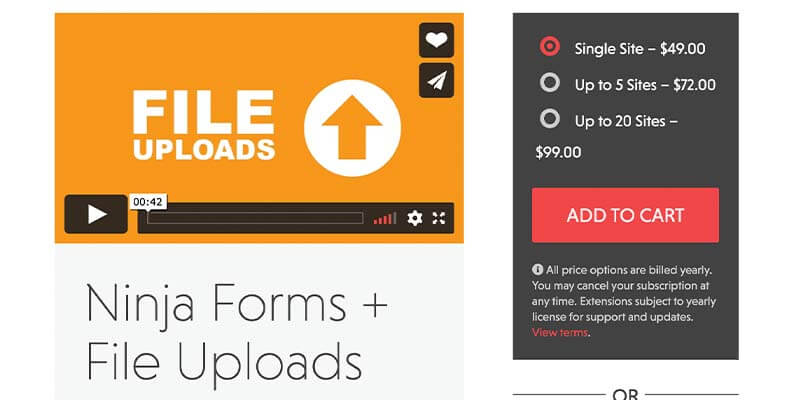
The first step is to purchase the add-on and then download the ZIP file.
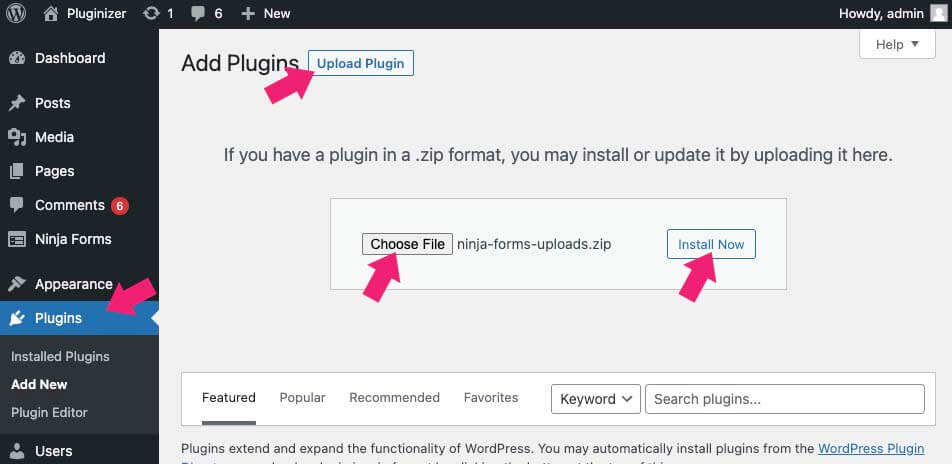
Then, navigate to Plugins -> Add New -> Upload File and upload the zip file.
Once activated, the upload file option will be added to the form editor screen.
How to Use the File Uploads Add-on
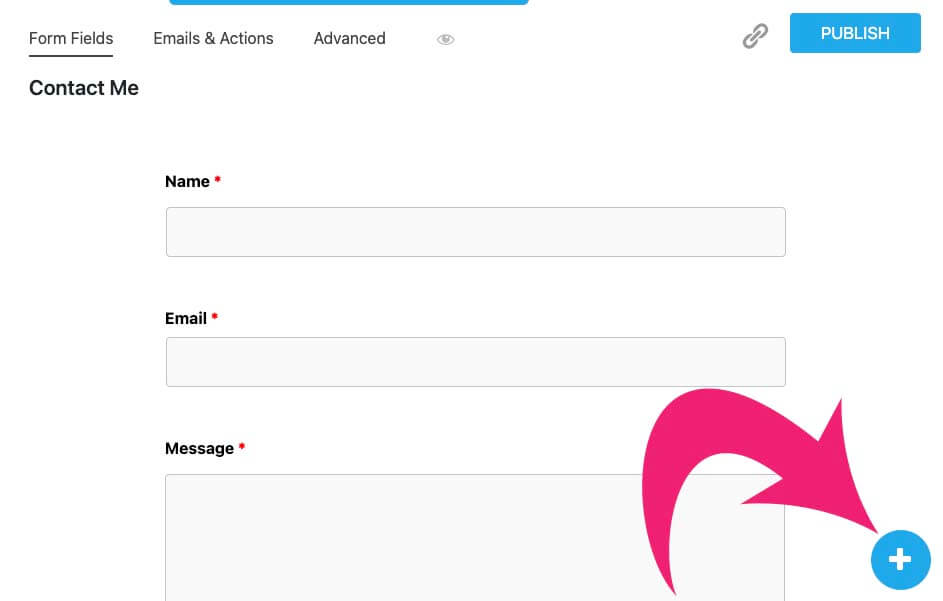
Inside the form editor, click on the plus (+) icon to add a new field.
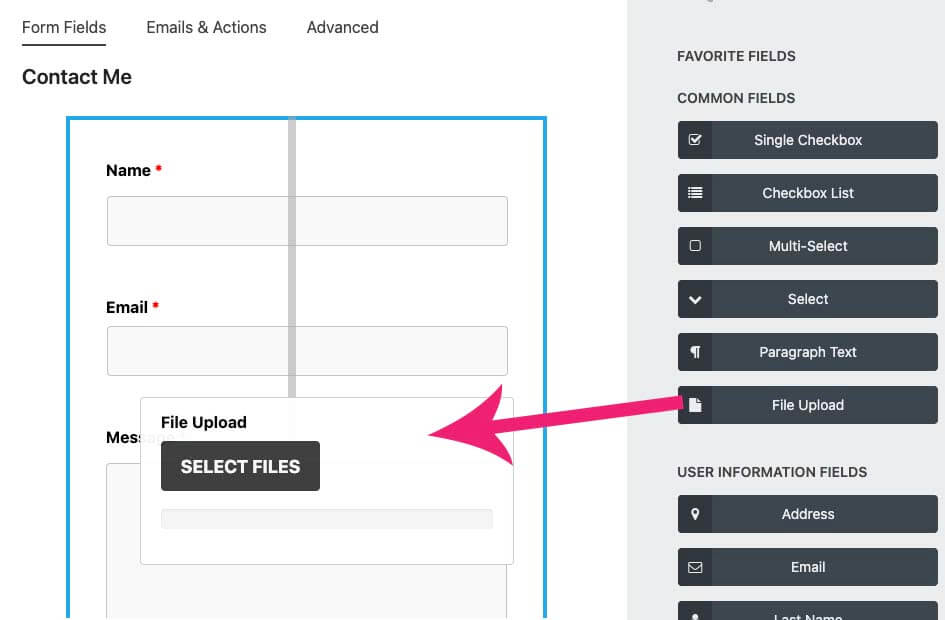
Then, drag the File Upload filed from under the common fields to the desired position in the form.
Once you add the field, there are a few tabs to help modify the field’s behavior.
File Upload
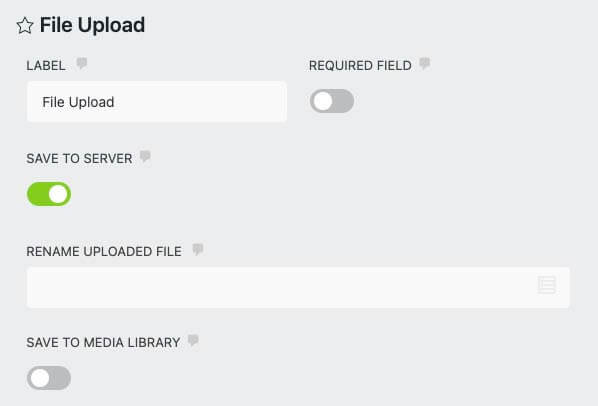
In this tab, you can change the field label from File Upload to your desired text and decide whether or not to make it required.
You can also save the attached files to the server or media library and rename them with a specific name.
Restrictions
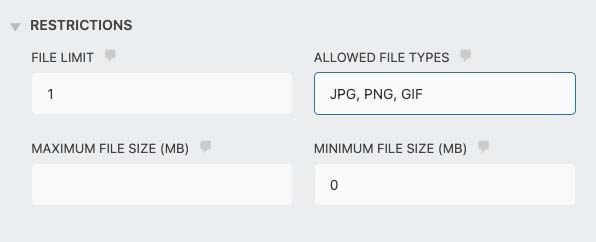
Inside the restrictions tab, you can control how many, the size, and the kind of files the users will add.
For example, if you only want to accept image files, enter the file extensions like ‘JPG, PNG, GIF’ inside the allowed file types box.
Display
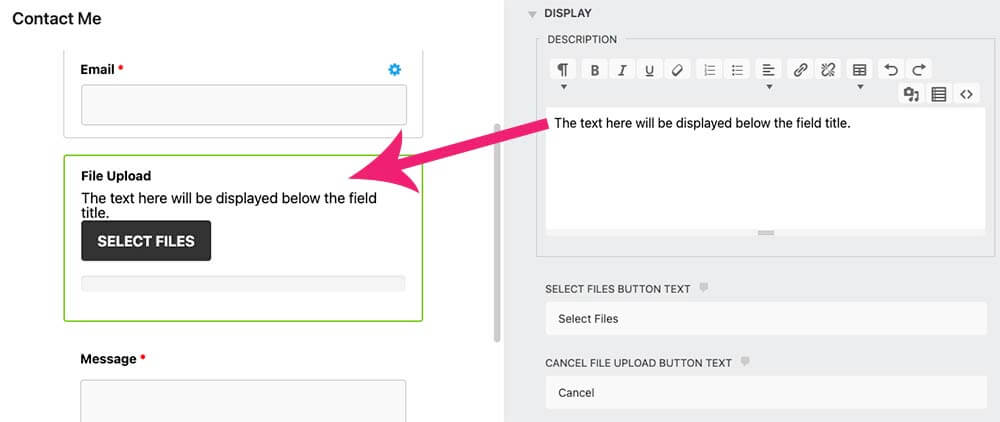
Under the display tab, you’ll find options related to the upload button of the form.
The text you’ll enter inside the editor box will be displayed below the file upload title.
You can also change the select files button’ text to your desired custom text.
Once you have finished customizing the form, make sure to click Done and run some tests to verify that it’s working well.

